ADVERTISEMENT
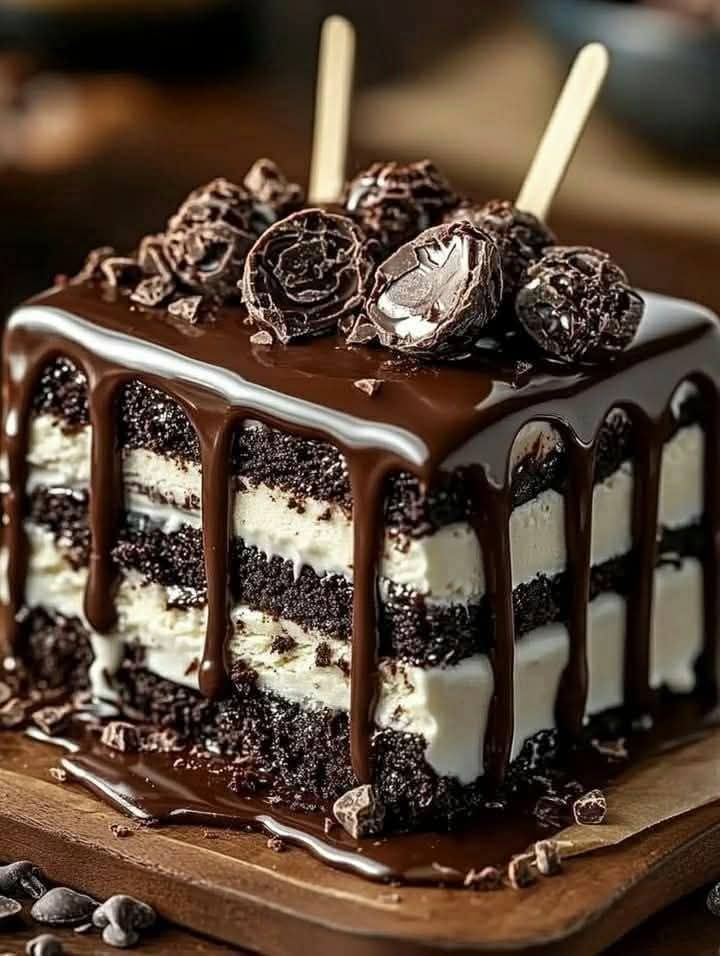
### Chocolate-Covered Ice Cream Bars: A Sweet Treat You Can Make at Home
There’s nothing quite as satisfying as biting into a creamy ice cream bar coated in a crisp chocolate shell. Chocolate-covered ice cream bars are a beloved dessert, perfect for hot summer days, special occasions, or just as an indulgent treat. While store-bought versions are convenient, making these delightful bars at home allows you to customize flavors, use high-quality ingredients, and have fun in the kitchen.
In this article, you’ll learn how to make chocolate-covered ice cream bars from scratch, along with tips for flavor variations, decorating ideas, and storage.
—
#### Why Make Homemade Chocolate-Covered Ice Cream Bars?
– **Customization**: Choose your favorite ice cream flavors, chocolate types, and toppings.
– **Better Ingredients**: Use high-quality or organic ingredients for a healthier treat.
– **Creative Fun**: Decorate your bars with sprinkles, nuts, or drizzled chocolate for a personal touch.
– **Cost-Effective**: Homemade bars are often more affordable than gourmet store-bought versions.
—
#### Ingredients for Chocolate-Covered Ice Cream Bars
To make these bars, you’ll need:
– **Ice Cream**: Choose your favorite flavor, or try making homemade ice cream for an extra-special touch.
– **Chocolate**: Use high-quality dark, milk, or white chocolate.
– **Coconut Oil or Butter**: Helps the chocolate shell harden and creates a smooth texture.
– **Wooden Popsicle Sticks**: For easy handling.
– **Optional Toppings**: Sprinkles, crushed nuts, shredded coconut, or cookie crumbs.
—
#### Equipment Needed
– Ice cream molds (silicone molds work best) or a loaf pan lined with parchment paper
– Mixing bowls
– A small saucepan or microwave-safe bowl for melting chocolate
– A spatula or spoon for spreading the chocolate
—
#### Step-by-Step Recipe:
**1. Prepare the Ice Cream Bars**
– Allow your ice cream to soften slightly for easy scooping.
– Scoop the ice cream into molds, pressing down to ensure there are no air pockets. Insert a popsicle stick into each mold.
– Smooth the top with a spatula and freeze for at least 4 hours or until completely firm.
– If you don’t have molds, pour softened ice cream into a parchment-lined loaf pan, smooth the top, and freeze. Once solid, cut into bar shapes and insert sticks.
**2. Melt the Chocolate**
– In a small saucepan or microwave-safe bowl, combine the chocolate and coconut oil (about 2 tablespoons per cup of chocolate).
– Heat gently, stirring often, until the chocolate is fully melted and smooth. Let it cool slightly to prevent melting the ice cream.
**3. Coat the Ice Cream Bars**
– Remove the frozen bars from their molds. Work quickly to prevent melting.
– Dip each bar into the melted chocolate, ensuring it’s fully coated. Let excess chocolate drip off.
– Place the coated bars on a parchment-lined tray.
**4. Add Toppings**
– While the chocolate is still wet, sprinkle your desired toppings over the bars. Popular options include:
– Crushed nuts (e.g., peanuts, almonds, pistachios)
– Rainbow or chocolate sprinkles
– Crushed cookies or pretzels
– Drizzled white or dark chocolate for a marbled effect
**5. Freeze Again**
– Return the bars to the freezer for at least 30 minutes to allow the chocolate to set completely.
**6. Serve and Enjoy**
– Once fully hardened, your chocolate-covered ice cream bars are ready to serve.
For Complete Cooking STEPS Please Head On Over To Next Page Or Open button (>) and don’t forget to SHARE with your Facebook friends
ADVERTISEMENT
