ADVERTISEMENT
—
#### Tips for Success
1. **Work Quickly**: Ice cream melts fast, so have everything prepared and work efficiently.
2. **Use High-Quality Chocolate**: The chocolate is a key flavor component, so choose one you love.
3. **Double Dip for Extra Crunch**: For a thicker chocolate coating, dip the bars a second time after the first layer has set.
4. **Experiment with Flavors**: Try unique ice cream flavors like salted caramel, mint chocolate chip, or even dairy-free options.
—
#### Storage
– Wrap each ice cream bar in parchment paper or plastic wrap and store in an airtight container.
– Homemade bars can be kept in the freezer for up to 2 weeks.
—
#### Flavor and Decoration Ideas
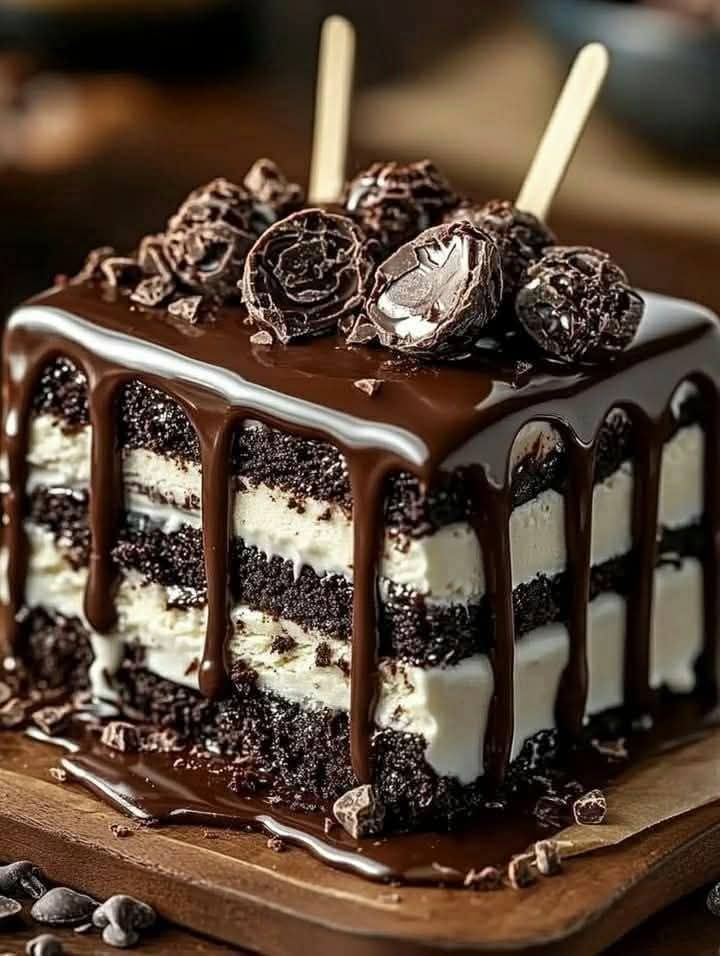
1. **Classic Almond Bar**: Use vanilla ice cream and coat with milk chocolate, then sprinkle with crushed almonds.
2. **Cookies and Cream Bar**: Use cookies and cream ice cream, and sprinkle crushed chocolate sandwich cookies over the chocolate shell.
3. **Tropical Delight**: Use coconut or mango ice cream and top with shredded coconut.
4. **Dark Chocolate Raspberry**: Pair raspberry sorbet with dark chocolate for a tangy twist.
5. **Peanut Butter Lover**: Use peanut butter ice cream and drizzle with melted peanut butter before the chocolate sets.
—
#### Conclusion
Making chocolate-covered ice cream bars at home is easier than you think and incredibly rewarding. With endless flavor and topping combinations, you can create a personalized treat that beats any store-bought version. Whether you’re hosting a party, treating your family, or satisfying your own sweet tooth, these bars are sure to be a hit.
So grab your favorite ice cream and get dipping—your next favorite dessert awaits!
ADVERTISEMENT
ADVERTISEMENT
