ADVERTISEMENT
**Smooth and Creamy Homemade Cream Cheese: A Simple Recipe with Just Two Ingredients**
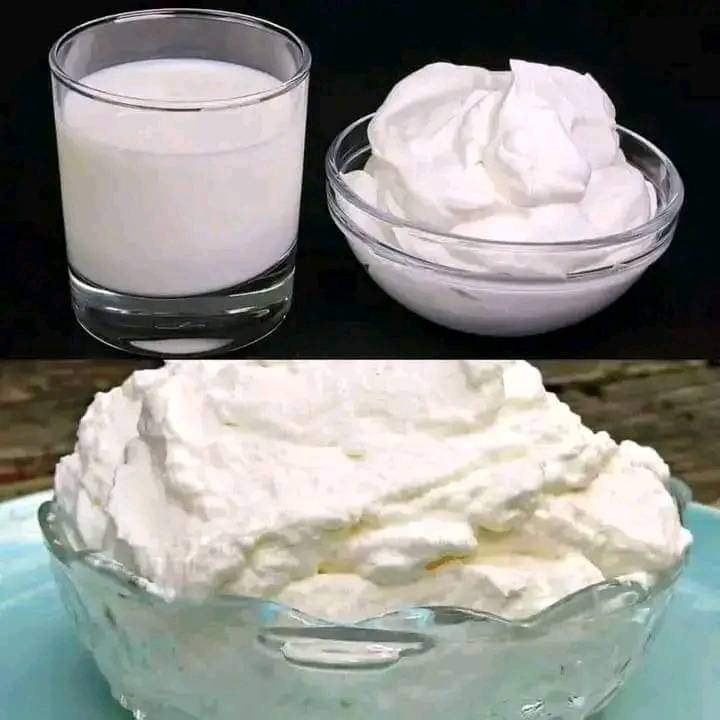
There’s something special about homemade cream cheese that you just can’t find in store-bought versions. It’s smoother, creamier, and more flavorful, with the ability to adapt to your taste preferences. Plus, making cream cheese at home is much easier than you might think! With just two simple ingredients, you can create a luscious, spreadable treat that’s perfect for bagels, dips, baked goods, or just enjoying straight from the spoon.
In this article, we’ll show you how to make **smooth and creamy homemade cream cheese** using just two basic ingredients. Whether you’re a seasoned chef or a kitchen newbie, you’ll be amazed at how easy and delicious this homemade version is.
### Ingredients for Homemade Cream Cheese
– **1 liter of whole milk** (preferably full-fat for extra creaminess)
– **1/4 cup of white vinegar** (or fresh lemon juice for a milder taste)
That’s it! Only two ingredients are needed to make this delicious, creamy spread. If you prefer a more indulgent flavor, you can even add a little salt or herbs, but the basic recipe is perfect on its own.
### Step-by-Step Instructions for Making Homemade Cream Cheese
#### Step 1: Heat the Milk
Pour the **whole milk** into a heavy-bottomed saucepan. Place the saucepan over medium heat and bring the milk to a simmer, stirring occasionally. The milk should not come to a full boil, so keep an eye on it. Once it begins to steam and small bubbles appear around the edges, it’s time to move to the next step.
#### Step 2: Add the Vinegar (or Lemon Juice)
Once the milk is simmering, add the **white vinegar** (or lemon juice). Stir the mixture gently, and you’ll notice the milk curdling almost immediately. This is the process of separating the curds (the solid part) from the whey (the liquid part). Continue stirring for about 2 minutes to make sure the milk fully curdles.
#### Step 3: Let it Sit
Remove the saucepan from the heat and let it sit for about 10 minutes. This allows the curds and whey to separate completely. After the resting period, you should see thick curds floating in a pool of whey.
#### Step 4: Strain the Curds and Whey
To separate the curds from the whey, line a fine-mesh strainer with a clean cheesecloth or a thick kitchen towel. Place the strainer over a bowl to catch the whey. Pour the curds into the strainer and allow the liquid to drain for 10-15 minutes. The longer you let the curds drain, the firmer the cream cheese will be.
#### Step 5: Blend the Curds into Cream Cheese
Once the excess liquid has drained off, transfer the curds to a blender or food processor. Blend on high speed for 1-2 minutes, scraping down the sides as needed, until you achieve a smooth, creamy texture. If you prefer a slightly firmer cream cheese, blend for a shorter period. For a smoother consistency, add a tablespoon or two of cold water and blend again until you reach your desired consistency.
Step 6: Chill and Store
Once your cream cheese is smooth and creamy, transfer it into an airtight container and refrigerate it for at least 1 hour. This chilling process helps the cream cheese firm up a bit and makes it easier to spread.
For Complete Cooking STEPS Please Head On Over To Next Page Or Open button (>) and don’t forget to SHARE with your Facebook friends
ADVERTISEMENT
