ADVERTISEMENT
**Hershey’s Red Velvet Blossom Cookies: A Festive and Delicious Twist on a Classic Treat**
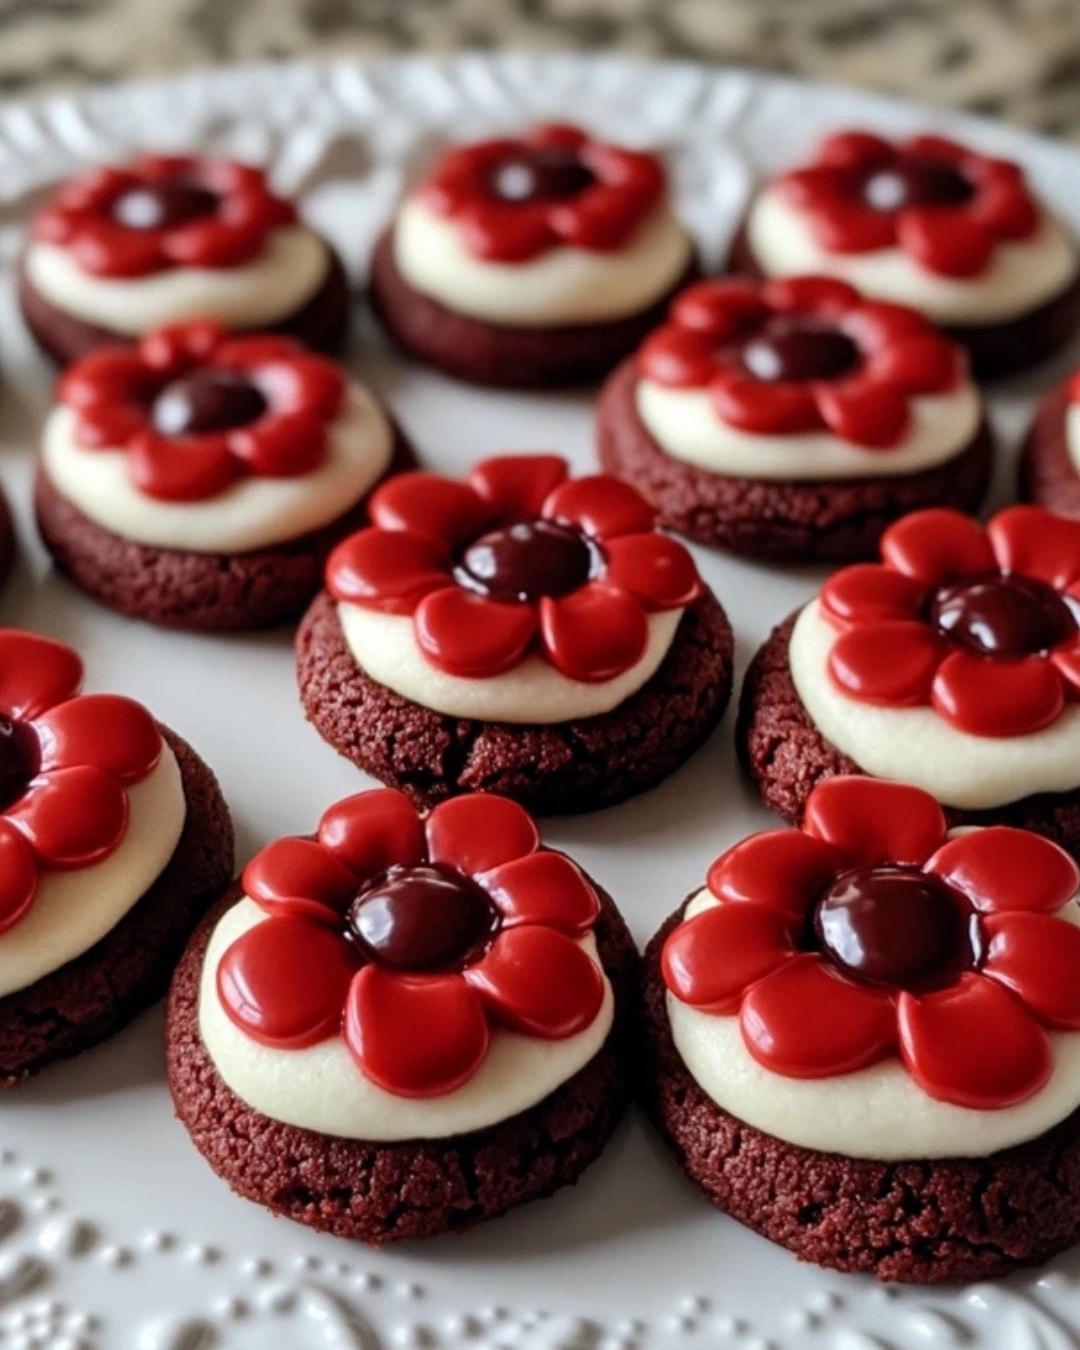
If you love the rich, indulgent flavor of red velvet cake, then you’re going to adore **Hershey’s Red Velvet Blossom Cookies**! These gorgeous, vibrant cookies are not only visually striking with their deep red hue, but they also offer a deliciously soft, chewy texture paired with a hint of cocoa and topped off with a delightful Hershey’s chocolate kiss in the center.
Perfect for the holiday season, special occasions, or whenever you’re craving a sweet treat, these red velvet blossom cookies are a fun, festive twist on the classic chocolate blossom cookie. Whether you’re baking with family, impressing guests, or treating yourself, these cookies are sure to become a favorite.
### Why You’ll Love Hershey’s Red Velvet Blossom Cookies:
1. **Vibrant and Festive**: The striking red color makes these cookies a perfect addition to any holiday or special occasion spread. Their eye-catching appearance will steal the show at your next party or gathering.
2. **Soft and Chewy Texture**: These cookies have a tender, melt-in-your-mouth texture that makes them incredibly satisfying. The combination of cream cheese and cocoa gives them a soft yet firm bite, just like a perfect red velvet cake.
3. **Delicious Flavor**: The red velvet flavor is rich and chocolatey, with a slight tang from the cream cheese that balances out the sweetness. Topped with a Hershey’s chocolate kiss, these cookies bring the perfect combination of flavors to your palate.
4. **Easy to Make**: Despite their impressive appearance, these cookies are easy to prepare. With simple ingredients and straightforward instructions, even novice bakers can make these cookies with ease.
5. **Great for Gifting**: These cookies are perfect for gifting to friends and family. They’re as delicious as they are beautiful, making them a thoughtful homemade gift for the holidays or any occasion.
### Ingredients You’ll Need:
To bake a batch of **Hershey’s Red Velvet Blossom Cookies**, you will need the following ingredients:
– **2 ½ cups all-purpose flour**: The foundation for the dough.
– **1 tablespoon unsweetened cocoa powder**: Adds the rich chocolate flavor that complements the red velvet.
– **1 teaspoon baking soda**: Helps the cookies rise and become soft and chewy.
– **1 teaspoon salt**: Enhances the flavor of the dough.
– **½ cup unsalted butter (softened)**: Adds richness and moisture to the dough.
– **1 cup granulated sugar**: Sweetens the cookies perfectly.
– **2 large eggs**: Provide structure and help bind the dough together.
– **1 teaspoon vanilla extract**: Adds depth of flavor.
– **1 tablespoon red food coloring**: Gives the cookies their signature vibrant red color.
– **8 oz cream cheese (softened)**: The cream cheese gives the cookies that characteristic red velvet flavor and a soft, tender texture.
– **Hershey’s Kisses (one for each cookie)**: The signature topping that adds a rich, melty chocolate center to each cookie.
### How to Make Hershey’s Red Velvet Blossom Cookies:
**Step 1: Preheat the Oven and Prepare the Baking Sheets**
Preheat your oven to **350°F (175°C)**. Line your baking sheets with parchment paper or silicone baking mats to prevent the cookies from sticking.
**Step 2: Prepare the Dough**
In a medium bowl, combine the **all-purpose flour**, **unsweetened cocoa powder**, **baking soda**, and **salt**. Set this dry mixture aside.
In a large bowl, beat together the **unsalted butter** and **granulated sugar** until light and fluffy. This may take about 2-3 minutes using a hand mixer or stand mixer on medium speed.
Add the **eggs**, one at a time, beating well after each addition. Then, mix in the **vanilla extract** and **cream cheese**. Finally, add the **red food coloring** and mix until the dough turns a vibrant red.
Gradually add the dry ingredients to the wet ingredients, mixing until just combined. The dough should be thick but manageable.
**Step 3: Shape the Cookies**
Use a cookie scoop or your hands to form the dough into 1-inch balls. Roll each ball of dough in a small bowl of **granulated sugar** to coat them lightly. This sugar coating will give the cookies a slightly crisp exterior.
Place the sugar-coated dough balls onto the prepared baking sheets, spacing them about 2 inches apart to allow room for spreading during baking.
**Step 4: Bake the Cookies**
Bake the cookies in the preheated oven for **8-10 minutes**, or until the edges are set and the tops are slightly cracked. Be careful not to overbake—these cookies should remain soft in the center.
**Step 5: Add the Hershey’s Kisses**
As soon as the cookies are out of the oven, gently press a **Hershey’s Kiss** into the center of each cookie while they are still warm. The warmth of the cookie will allow the chocolate to gently melt into the dough.
Allow the cookies to cool on the baking sheet for a few minutes before transferring them to a wire rack to cool completely.
For Complete Cooking STEPS Please Head On Over To Next Page Or Open button (>) and don’t forget to SHARE with your Facebook friends
ADVERTISEMENT
