ADVERTISEMENT
Absolutely! Here’s a detailed and practical article for your topic:
—
**How to Properly Freeze Corn on the Cob – The Ultimate Guide for Fresh Summer Flavor All Year Long**
Corn on the cob is the epitome of summer—sweet, juicy, and bursting with flavor. Whether you enjoy it at cookouts, family dinners, or as a side dish to just about anything, corn is a true crowd-pleaser. But what if you want to enjoy that sweet, fresh taste long after the summer months are over? Freezing corn on the cob is the perfect way to preserve that deliciousness and enjoy it year-round!
Here’s a step-by-step guide on **how to properly freeze corn on the cob**, ensuring that you can have the best of summer no matter the season.
—
### 🌽 Why Freeze Corn on the Cob?
Freezing corn is a fantastic way to capture its peak flavor while it’s fresh, locking in its natural sweetness and texture. Whether you have an abundance of corn from a garden harvest or a great sale at the grocery store, freezing it is a great option to avoid wasting this seasonal treat. Here’s why you should freeze corn:
– **Preserves Freshness**: Freezing helps lock in the corn’s natural sweetness and nutrients.
– **Convenience**: You can store it for months, making it easy to enjoy at any time.
– **Versatility**: Frozen corn on the cob can be used in a variety of dishes—just heat it up and serve, or cut the kernels off for salads, soups, and casseroles.
—
### 🧑🍳 Steps to Freeze Corn on the Cob
Freezing corn on the cob requires a bit of prep, but with these easy steps, you’ll have perfectly frozen corn ready to enjoy at any time.
#### 1. **Choose Fresh, Sweet Corn**
Start with the **freshest corn** possible. Corn that’s just been harvested or bought at the farmer’s market is the best option. Avoid corn with **dried-out husks**, **yellowed kernels**, or signs of wilting, as these may not freeze well.
#### 2. **Husk the Corn**
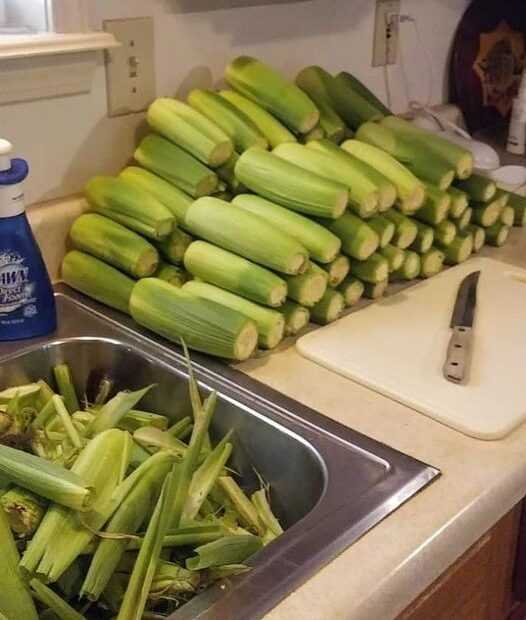
Remove the **husks** and **silk** from each ear of corn. The husk can make the freezing process more difficult, and the silk can get stuck in your food later on. Simply peel back the outer leaves and pull off all the threads of silk to leave a clean cob of corn.
#### 3. **Blanch the Corn**
Blanching is the process of briefly boiling vegetables to preserve their color, flavor, and nutritional value before freezing. It’s crucial for corn to retain its quality.
– **Boil a large pot of water**. Add enough water to cover the corn cobs completely.
– **Add the corn** to the boiling water, one or two ears at a time, depending on the size of your pot.
– **Blanch for 4–6 minutes**. This will stop the enzymes that cause the corn to lose flavor and texture during freezing.
– **Cool the corn** quickly by placing the ears in a bowl of **ice water** for another 4–6 minutes. This stops the cooking process and helps retain the corn’s crispness.
#### 4. **Dry the Corn**
Once the corn has cooled, carefully remove it from the ice water and pat it dry with a clean towel. This step is important, as excess moisture can cause freezer burn and affect the quality of the corn.
5. **Wrap and Store**
For Complete Cooking STEPS Please Head On Over To Next Page Or Open button (>) and don’t forget to SHARE with your Facebook friends
ADVERTISEMENT
