ADVERTISEMENT
**How to Preserve Parsley: The Tricks That Really Work**
Fresh parsley is a must-have herb in many kitchens, known for its vibrant color, fresh flavor, and versatility in cooking. From garnishing soups and salads to being a key ingredient in pesto or tabbouleh, parsley adds a fresh, peppery bite to dishes. However, like many fresh herbs, parsley doesn’t last long once harvested, and it can quickly lose its flavor and wilty texture if not stored properly. The good news is there are a number of methods that can help preserve parsley, so you can enjoy its flavor long after it’s been picked.
Whether you grow your own parsley or buy it from the store, learning how to preserve it will allow you to reduce waste, save money, and always have fresh parsley on hand for your culinary needs. In this article, we’ll explore several methods for preserving parsley that really work.
### 1. **Freezing Parsley: The Ultimate Preservation Method**
Freezing parsley is one of the most effective ways to preserve its flavor and color for months. While fresh parsley loses its texture when frozen, it retains its vibrant color and robust taste, making it an excellent choice for cooking and adding to soups, stews, and sauces later.
#### How to Freeze Parsley:
– **Step 1:** Start by washing the parsley thoroughly to remove any dirt or pesticides.
– **Step 2:** Dry the parsley completely using a clean towel or a salad spinner. Removing excess moisture will help prevent ice crystals from forming during freezing.
– **Step 3:** Remove the leaves from the stems. You can either pluck them by hand or use kitchen shears to snip them off.
– **Step 4:** Chop the parsley if you prefer smaller pieces, or leave the leaves whole if you plan to use them for garnishing.
– **Step 5:** There are two popular methods for freezing parsley:
– **Freezing in Bags:** Place the chopped or whole parsley in a freezer-safe bag or airtight container. Remove as much air as possible before sealing it tightly. Label the bag with the date for easy reference.
– **Freezing in Ice Cube Trays:** For a more convenient portion size, place chopped parsley in an ice cube tray. Fill each compartment with parsley and top it off with a little water or olive oil. Once frozen, transfer the parsley cubes to a resealable bag. This method works especially well for cooking because you can simply pop a cube or two into your dish.
**Pro Tip:** Freezing parsley in olive oil is ideal for maintaining its fresh flavor and adding an extra depth of taste to your cooking. Olive oil helps protect the parsley from freezer burn and makes it easy to incorporate into dishes like stir-fries and sauces.
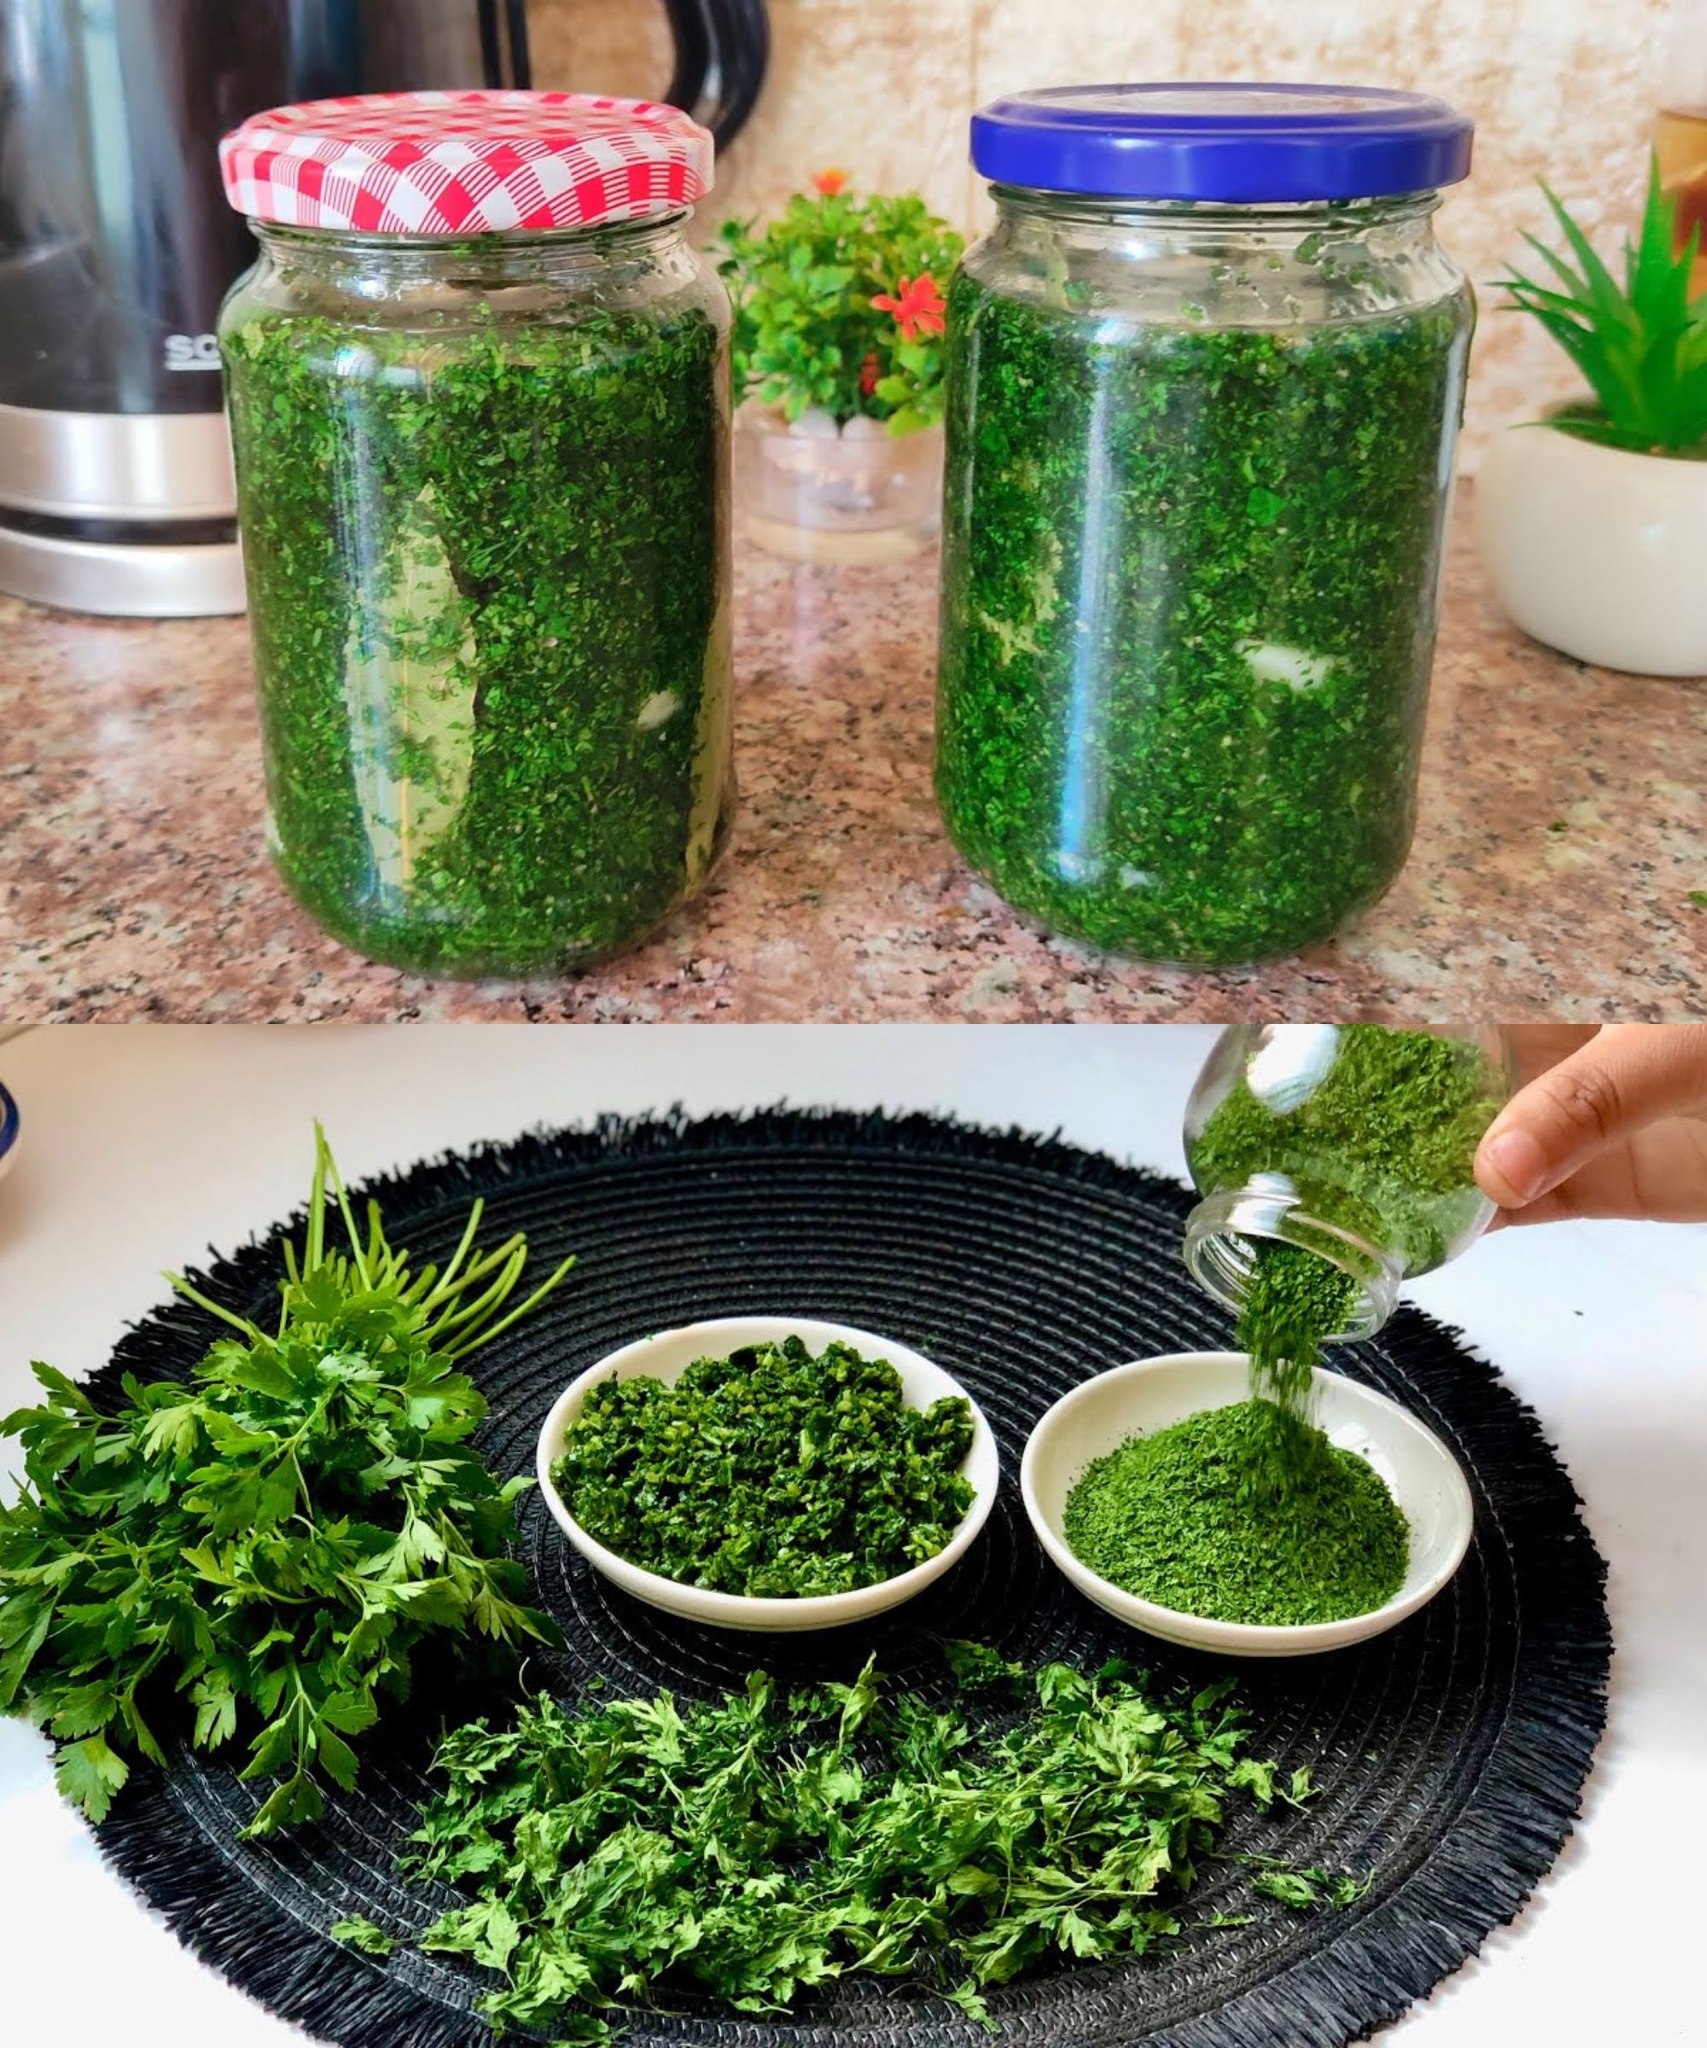
### 2. **Drying Parsley: A Long-Lasting Option**
Drying parsley is another effective way to preserve it for long-term storage. While dried parsley won’t have the same vibrant flavor as fresh parsley, it can still be used in cooking, especially in soups, stews, and marinades. The drying process removes moisture, which helps to prevent spoilage.
How to Dry Parsley:
– **Step 1:** Wash and dry the parsley thoroughly. As with freezing, remove any dirt or debris.
– **Step 2:** Remove the leaves from the stems. You can dry both the leaves and stems, but the leaves are more flavorful, so it’s best to use them.
– **Step 3:** Use one of these methods to dry the parsley:
– **Air Drying:** Tie a bundle of parsley with a string and hang it upside down in a warm, dry place with good airflow. Avoid direct sunlight, as it can cause the leaves to lose color. It can take anywhere from 1 to 2 weeks for the parsley to dry fully.
– **Oven Drying:** Place the parsley in a single layer on a baking sheet. Set your oven to the lowest temperature (usually around 180°F or 80°C) and leave the oven door slightly ajar to allow moisture to escape. Check the parsley every 30 minutes, and remove it once the leaves are completely dry and crumble easily.
– **Dehydrator Drying:** If you have a food dehydrator, this is the quickest method. Simply spread the parsley in a single layer on the dehydrator trays, set the temperature according to the manufacturer’s instructions (usually around 95°F or 35°C), and dry for several hours until fully crisp.
– **Step 4:** Once dry, crush the leaves and store them in an airtight container, preferably a glass jar, away from light. For best flavor, use within 6 months to a year.
For Complete Cooking STEPS Please Head On Over To Next Page Or Open button (>) and don’t forget to SHARE with your Facebook friends
ADVERTISEMENT
