ADVERTISEMENT
# **Tough Meat That We Can’t Tenderize? This is a Perfect Trick for Every Cooking Lover!**
Have you ever been excited about a hearty meat dish, only to bite into a tough, chewy piece of meat that just won’t break down, no matter how much you tenderize it? If you’re a cooking lover, you’ve likely encountered the challenge of tough cuts of meat. But here’s some good news: there’s a *simple trick* that can completely change the game when it comes to tenderizing even the toughest meats. Whether you’re making stew, steak, or a slow-cooked roast, this method will ensure that your meat becomes melt-in-your-mouth tender every time!
Read on to discover the secret technique that chefs swear by for transforming even the toughest cuts of meat into juicy, tender perfection.
—
## **The Secret Trick: Using Baking Soda to Tenderize Meat**
One of the most effective and underrated tricks for tenderizing meat is **baking soda**. Yes, you read that right! This kitchen staple can work wonders on tougher cuts of meat, making them incredibly tender. The magic lies in its ability to break down the proteins in the meat, softening the fibers and allowing them to retain moisture.
Let’s break it down:
### **How Does It Work?**
Baking soda is an alkaline substance, and when applied to meat, it raises the pH level on the surface. This change in pH makes the proteins in the meat less able to bond, effectively *softening* them. The result? Tender, juicy meat that’s easy to cook and eat!
—
## **Step-by-Step Guide to Using Baking Soda to Tenderize Meat**
### **1. Choose Your Meat**
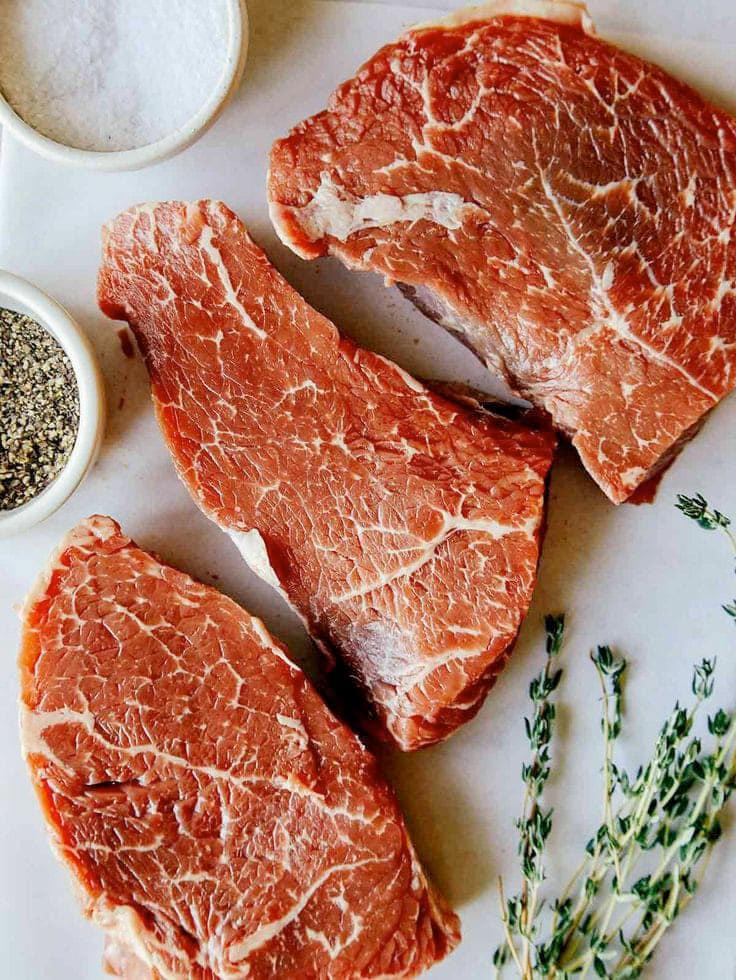
This trick works wonders on **tough cuts of meat**, like flank steak, sirloin, brisket, or even ground meat. If you’re working with cuts that are known for being a bit chewy or tough, this method will be perfect.
### **2. Coat the Meat with Baking Soda**
For every 1 pound of meat, you’ll need about **1 teaspoon of baking soda**. Sprinkle the baking soda evenly over the meat. For **steaks** or **chunks of meat**, rub the baking soda in to make sure it covers the surface. If you’re using **ground meat**, mix it in thoroughly.
### **3. Let It Rest**
After coating the meat, let it sit for about **15 to 20 minutes**. Don’t let it sit for too long, as the baking soda can start breaking down the meat too much, leading to a mushy texture. For larger cuts of meat, you can refrigerate it during this resting time.
### **4. Rinse Off the Baking Soda**
After the resting time, you’ll need to **rinse off** the baking soda thoroughly. This step is important to prevent the meat from having a strange flavor due to the baking soda. Make sure you remove all the excess before cooking.
### **5. Cook as Desired**
Once the baking soda has been rinsed off, you can cook the meat as you normally would. Whether you’re grilling, slow cooking, or pan-searing, you’ll notice that the meat cooks faster and more evenly, with a much more tender texture than before.
—
## **Why This Method Works So Well**
– **Preserves Moisture**: Tough meats often dry out during cooking. Baking soda helps the meat retain moisture, resulting in a juicier, more flavorful dish.
– **Improved Texture**: The breakdown of protein fibers ensures that even cuts of meat with a lot of connective tissue become softer and more pleasant to chew.
– **Quick and Easy**: This method doesn’t require any special equipment or marinating overnight. Just a quick sprinkle and rinse, and you’re good to go!
For Complete Cooking STEPS Please Head On Over To Next Page Or Open button (>) and don’t forget to SHARE with your Facebook friends
ADVERTISEMENT
