ADVERTISEMENT
**How to Make Homemade Cheese: A Simple and Delicious Recipe**
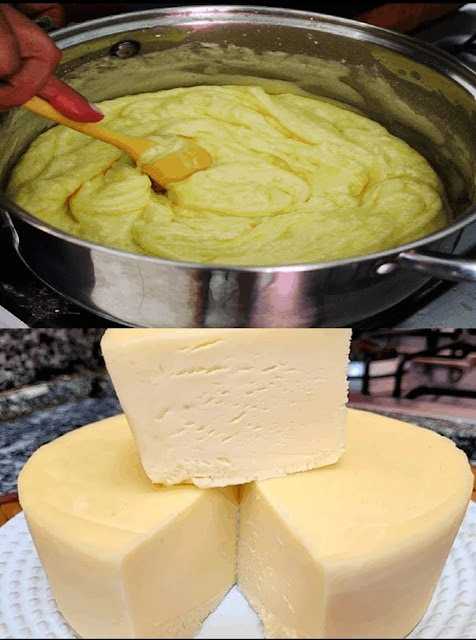
Making homemade cheese might sound like a daunting task, but with the right ingredients and a little patience, it’s surprisingly easy to create a delicious, fresh cheese right in your own kitchen. Homemade cheese not only tastes better but can be customized to your preferences, offering a fresh, creamy, and flavorful product that you won’t find in stores. Whether you’re a beginner or an experienced home cook, this simple cheese recipe will help you make your very own cheese from scratch!
### The Basics: What You Need
Before diving into the recipe, it’s essential to gather the right tools and ingredients. Making cheese at home requires a few special items, but all of them are easy to find.
**Ingredients**:
1. **Whole Milk** – 1 gallon (preferably raw or full-fat milk for the best flavor and texture)
2. **White Vinegar or Lemon Juice** – 1/4 cup (to acidify the milk and help it curdle)
3. **Salt** – 1-2 teaspoons (for flavor)
4. **Cheesecloth** – For draining the curds (available at most kitchen supply stores)
5. **A Large Pot** – To heat the milk
6. **A Spoon or Slotted Spoon** – For stirring
7. **A Thermometer** – To measure the temperature of the milk
8. **A Strainer** – To drain the curds
9. **A Large Bowl** – To catch the whey
### Instructions: Step-by-Step Guide to Homemade Cheese
#### 1. **Heat the Milk**
Start by pouring the entire gallon of milk into your large pot. Place the pot over medium heat and slowly heat the milk to around **190°F (88°C)**. Stir gently every few minutes to prevent the milk from scalding. Keep a close eye on the temperature with your thermometer.
**Pro Tip**: If you don’t have a thermometer, just keep an eye on the milk—it should start to steam, and small bubbles will form around the edges of the pot. Avoid letting it boil.
#### 2. **Add the Acid**
Once the milk reaches the desired temperature, it’s time to add the acid. You can use either **white vinegar** or **lemon juice**, depending on your preference. Slowly add the vinegar or lemon juice into the milk while stirring gently. You’ll notice the milk begin to curdle and separate into **curds** (solid) and **whey** (liquid).
**Pro Tip**: If the curds don’t form immediately, let the milk sit for a few minutes, and the curds will begin to form.
#### 3. **Let the Curds Settle**
Turn off the heat and let the curds sit in the pot for about 10-15 minutes. This resting period allows the curds to firm up and separate more easily from the whey. The whey will appear as a yellowish liquid, while the curds will look like soft white clumps.
#### 4. **Drain the Curds**
Place a strainer over a large bowl and line it with **cheesecloth**. Pour the curds and whey into the strainer, allowing the liquid (whey) to drain into the bowl. You can gently stir the curds with a spoon to help the liquid drain more quickly.
**Pro Tip**: If you prefer a drier cheese, let the curds drain for a longer time.
#### 5. **Season the Cheese**
Once most of the whey has drained away, you can season the curds. Add **1-2 teaspoons of salt**, or more if you like your cheese saltier. Mix it in thoroughly with your hands or a spoon.
#### 6. **Shape and Press the Cheese**
Now it’s time to shape your cheese. You can either wrap the curds into the cheesecloth and tie it off to form a small ball or press the curds into a mold to create a block of cheese. If you like firmer cheese, you can press it gently with a weight to expel more whey and create a denser texture. Let the cheese rest in the cloth or mold for about 30 minutes to an hour, allowing it to firm up further.
**Pro Tip**: If you want a firmer cheese, press it more. If you prefer a softer, crumbly texture, skip the pressing.
For Complete Cooking STEPS Please Head On Over To Next Page Or Open button (>) and don’t forget to SHARE with your Facebook friends
ADVERTISEMENT
