ADVERTISEMENT
—
## 🧑🔧 Step-by-Step Guide to Repairing Your Remote with WD-40
### Step 1: **Remove the Batteries**
Before you start, it’s crucial to remove the batteries from the remote. This ensures no power is running through the remote during the cleaning process, reducing the risk of damage.
### Step 2: **Disassemble the Remote (if possible)**
To get to the internal components, you may need to remove the screws from the back of the remote. Use a small screwdriver to open the casing. Take note of how the parts fit together, as you’ll need to reassemble them after cleaning.
### Step 3: **Spray WD-40 on a Cloth**
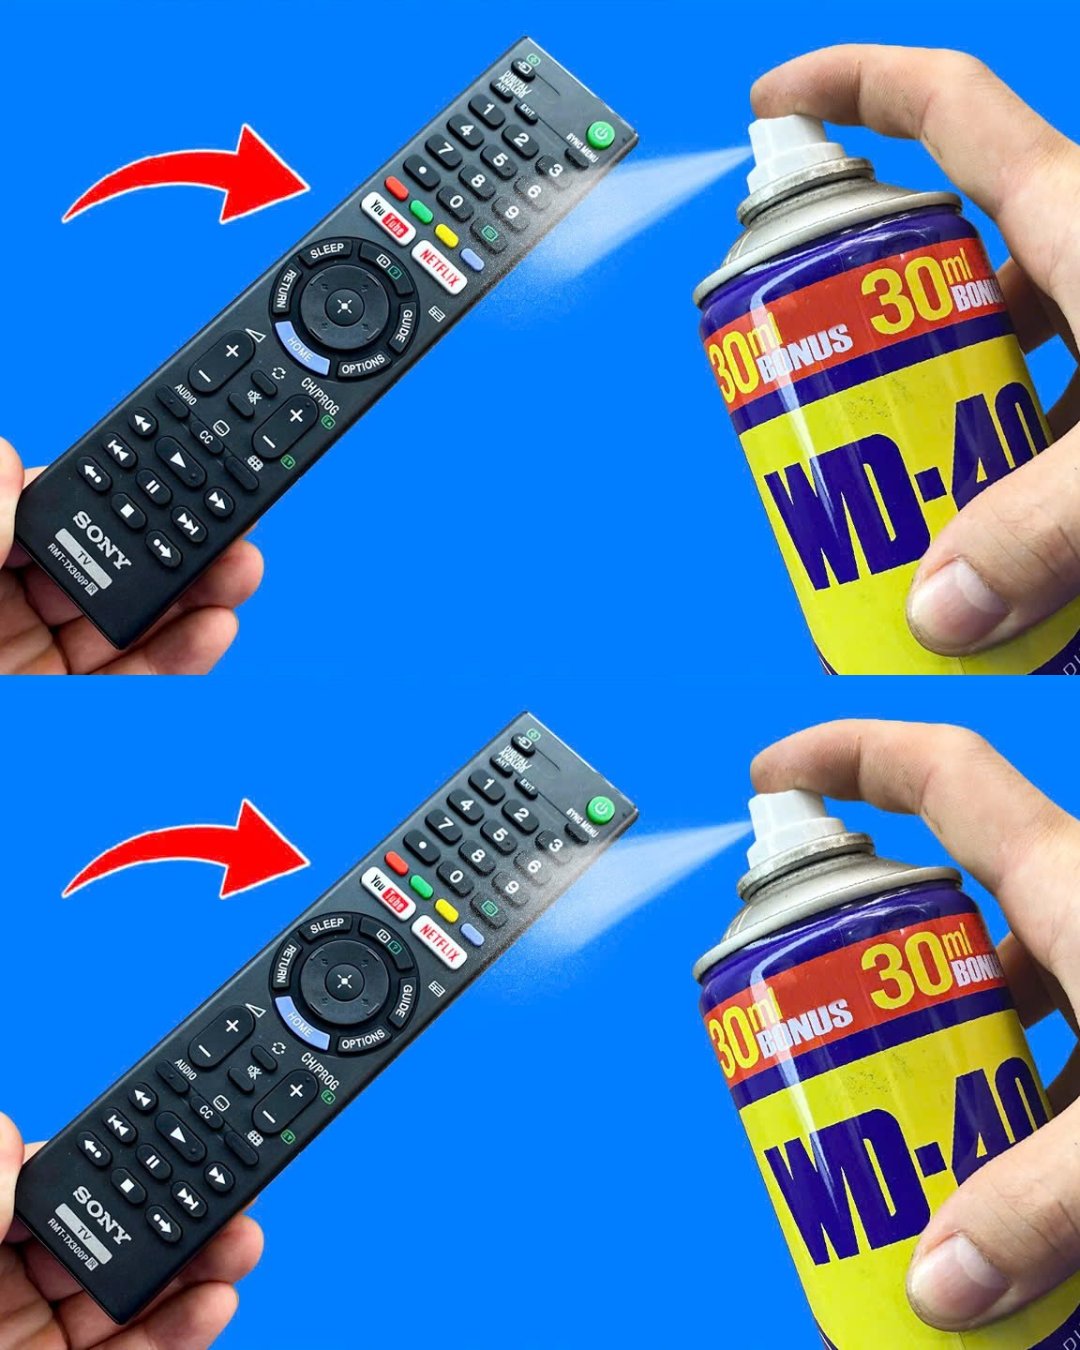
Instead of spraying WD-40 directly into the remote, spray a small amount onto a soft cloth or cotton swab. You don’t want to use too much — just a light coating will do.
### Step 4: **Clean the Button Contacts**
Gently rub the cloth or swab over the buttons and the contact points inside the remote. Be sure to get into all the nooks and crannies where dirt might be hiding. Focus on the areas where the buttons make contact with the internal circuits.
### Step 5: **Clean the Battery Terminals**
If the battery terminals are corroded or have any rust, apply a small amount of WD-40 to a cloth and gently wipe the contacts. This will help **remove corrosion** and **displace moisture**, ensuring the batteries make good contact and power the remote effectively.
### Step 6: **Reassemble and Test**
Once you’ve cleaned all the components, let the remote sit for a few minutes to ensure there’s no excess WD-40 left inside. Afterward, reassemble the remote and insert the batteries. Test the remote to see if the buttons are now responsive and the remote works smoothly.
### Step 7: **Repeat if Necessary**
If the remote is still unresponsive, you may need to repeat the cleaning process once or twice. Sometimes, it takes a bit more WD-40 to fully clean the contacts or remove stubborn debris.
—
## ⚠️ Important Tips and Cautions
– **Use sparingly**: While WD-40 is effective, it’s important to use it in moderation. Too much can cause a buildup of residue inside the remote.
– **Avoid spraying directly into the remote**: Always apply WD-40 to a cloth or swab to avoid accidentally over-saturating the device.
– **Let the remote dry**: After cleaning, ensure the remote has time to dry out before reinserting the batteries to prevent any liquid from interfering with the electronics.
– **Test before reassembling**: If you can test the remote before putting it back together, you’ll be able to verify whether the cleaning worked without having to disassemble the remote again.
—
## 🛡️ Preventative Measures: Keeping Your Remotes in Good Shape
Once your remote is working again, it’s important to keep it in good shape to prevent further issues:
– **Regular cleaning**: Clean the buttons and contact points every few months to prevent build-up.
– **Store remotes properly**: Keep remotes in a dry place and away from moisture. Consider using a remote control holder to keep them safe.
– **Use rechargeable batteries**: To avoid corrosion, consider switching to rechargeable batteries. They tend to last longer and don’t leak as much as regular batteries.
—
## 🌟 Final Thoughts: A Simple Solution to a Common Problem
Don’t let a **broken remote** ruin your entertainment experience. With a can of WD-40, you can **fix your remote controls quickly and easily**, saving you the hassle and expense of replacing them. By cleaning the contacts, displacing moisture, and lubricating the buttons, WD-40 restores your remote to working order without the need for harsh chemicals or costly repairs.
The next time your remote is on the fritz, reach for the WD-40 before you go searching for a replacement. It’s a fast, cost-effective solution that will have your remote working like new again!
—
Would you like more tips on how to maintain your electronics or other DIY fixes around the house? Let me know!
ADVERTISEMENT
