ADVERTISEMENT
**Instructions:**
1. Pour a small amount of oil onto the skillet (about 1–2 tsp).
2. Rub it in **all over** — inside, outside, bottom, and handle — using a paper towel.
3. Then **wipe away all excess oil** with a clean paper towel. It should look dry, not greasy.
—
#### **🔥 Step 3: Bake It to Seal the Seasoning**
This is where the magic happens.
**Instructions:**
1. Place your skillet **upside down** in the oven (a sheet of foil on the lower rack catches drips).
2. Bake at 450–500°F (232–260°C) for 1 hour.
3. Turn off the oven and let it cool completely inside.
**Pro tip:** For best results, repeat this process **2–3 times** to build up a strong, slick seasoning layer.
—
### 🧡 **Aftercare Tips to Keep It Perfect**
– **Skip the soap** going forward — just rinse with hot water and scrub with a brush or chainmail.
– **Dry immediately** and rub a thin layer of oil after each wash.
– **Avoid cooking acidic foods** (like tomatoes) until your seasoning is well established.
– **Use it often!** Cooking with it is the best way to maintain seasoning.
—
### 🥘 Don’t Toss It — Transform It
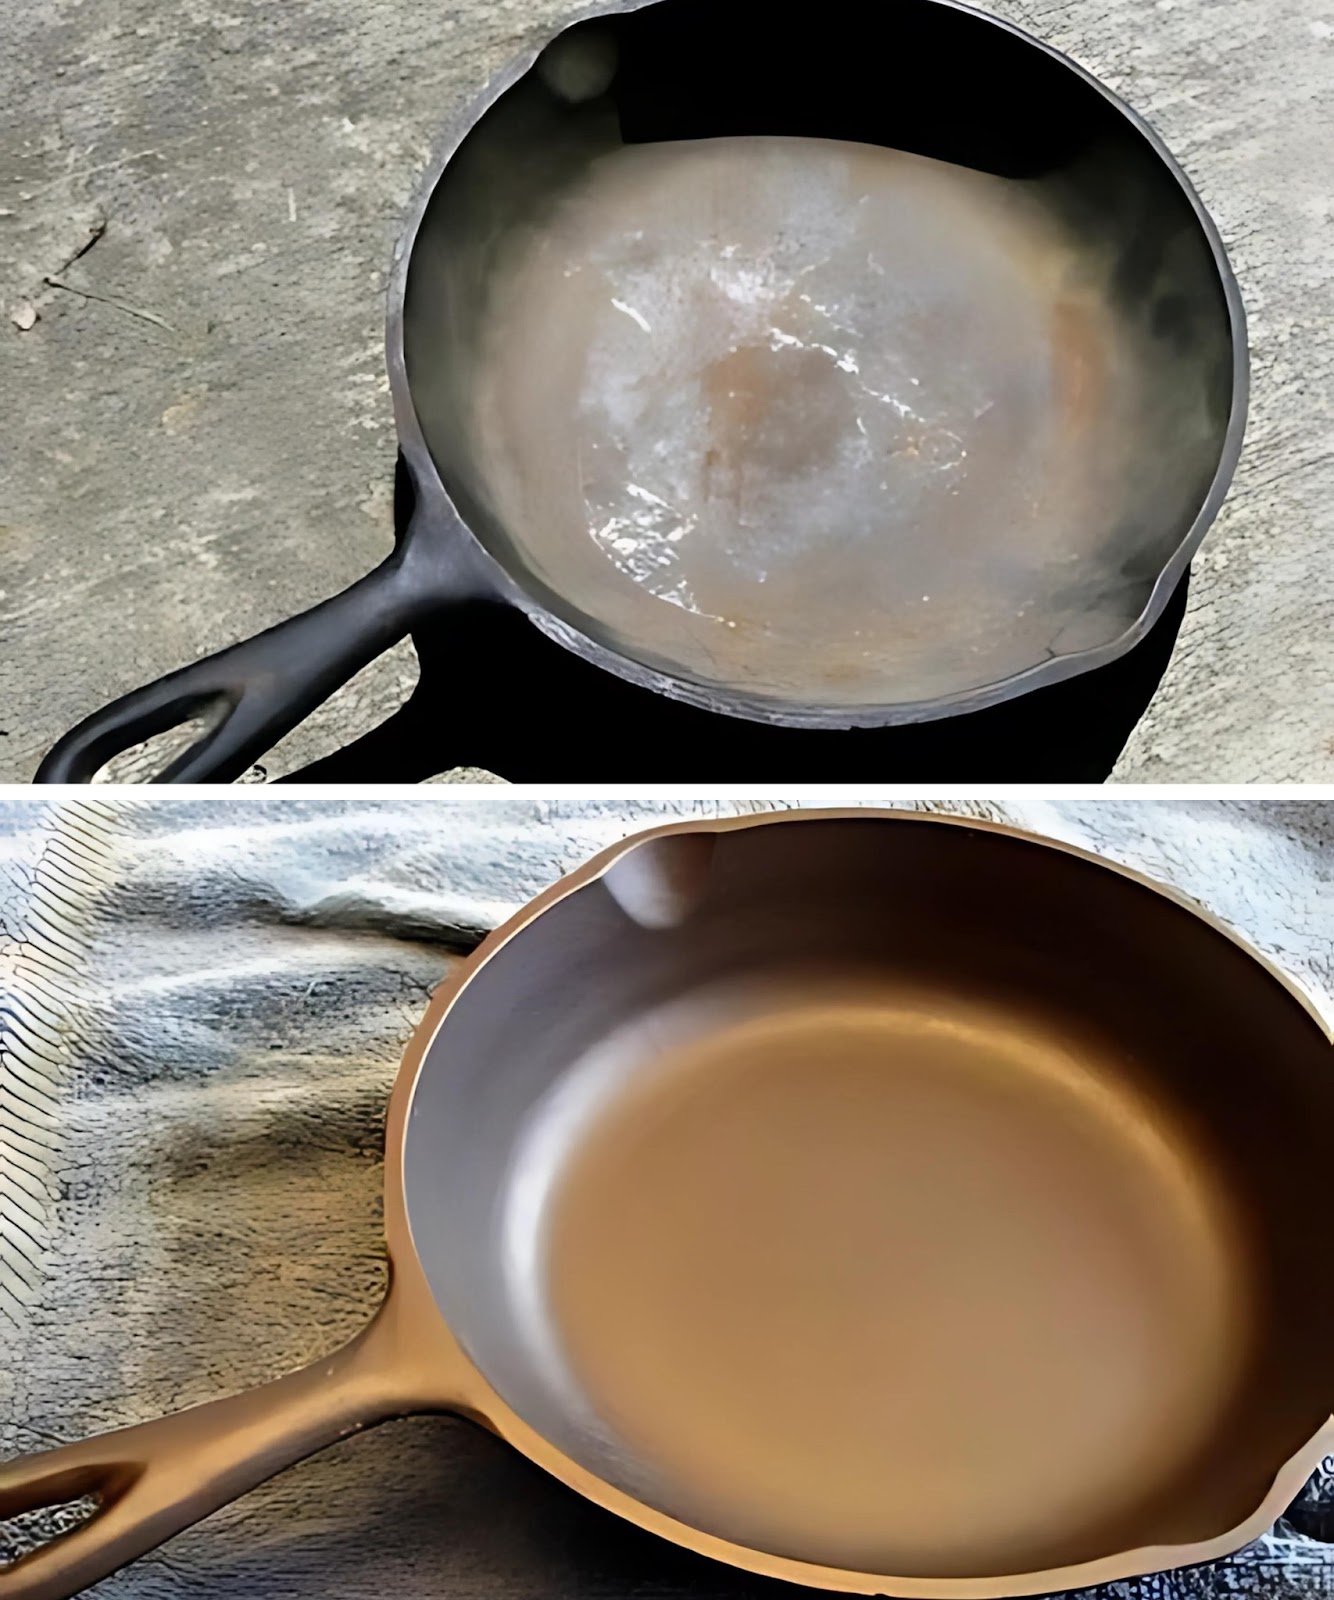
Even a rusty, garage-bound cast iron skillet can come back from the dead with a little effort. Seasoning isn’t a one-time fix — it’s a relationship. The more you care for your pan, the better it performs, and the more naturally nonstick it becomes.
So pull out that forgotten skillet, give it some love, and get ready to enjoy a lifetime of perfectly crisp, golden, cast-iron magic.
—
Want a printable version of this guide or a one-sheet to hang in your kitchen?
ADVERTISEMENT
