ADVERTISEMENT
—
## 🧱 Step 3: Fill and Repair the Wall
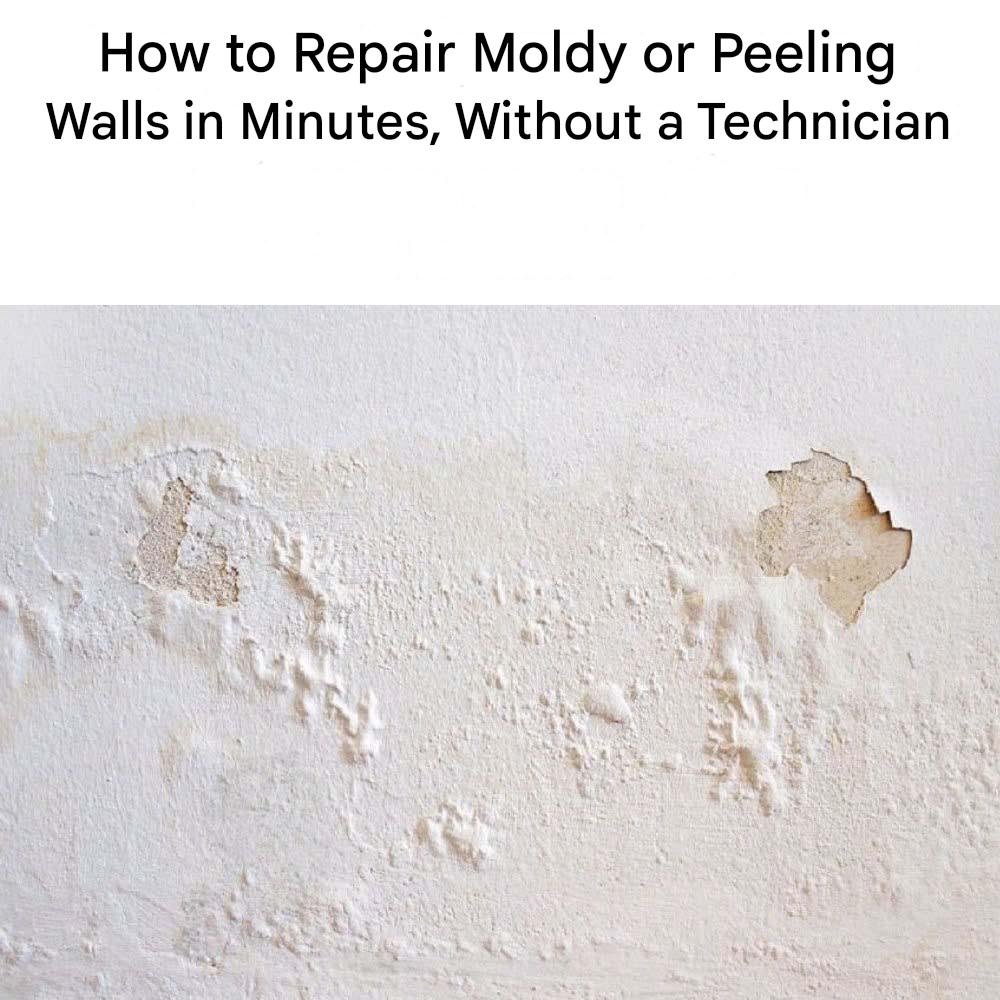
– Apply **spackling paste or wall filler** to any holes, cracks, or uneven areas.
– Smooth it out with a putty knife and let it dry (check the product’s drying time).
– Once dry, lightly sand the area until it’s even with the wall.
—
## 🎨 Step 4: Prime and Paint (Optional but Recommended)
– Apply a **mold-resistant primer** over the repaired area. This prevents future peeling and protects against mold.
– Once the primer dries, repaint the wall with your chosen color for a fresh, finished look.
If you’re in a rush, you can use a **quick-drying primer + paint combo**.
—
## ✅ Bonus Tips to Prevent Mold and Peeling in the Future
– Use a **dehumidifier** in damp rooms.
– Make sure your space is **well-ventilated**—open windows or install exhaust fans.
– Fix leaks promptly—under sinks, near windows, or in ceilings.
– Consider using **moisture-resistant paint**, especially in bathrooms or basements.
—
## 🏠 Final Thoughts
Fixing moldy or peeling walls doesn’t have to be overwhelming or time-consuming. With these quick steps, you can **refresh your walls in under an hour**, protect your home from further damage, and enjoy a cleaner, healthier space.
—
**Tried this DIY fix?** Share your results or ask your questions below—happy repairing! 🧰🖌️✨
ADVERTISEMENT
