ADVERTISEMENT
Sure! Here’s an article titled *”How to Defrost Your Freezer in Less Than 30 Minutes”*:
—
**How to Defrost Your Freezer in Less Than 30 Minutes**
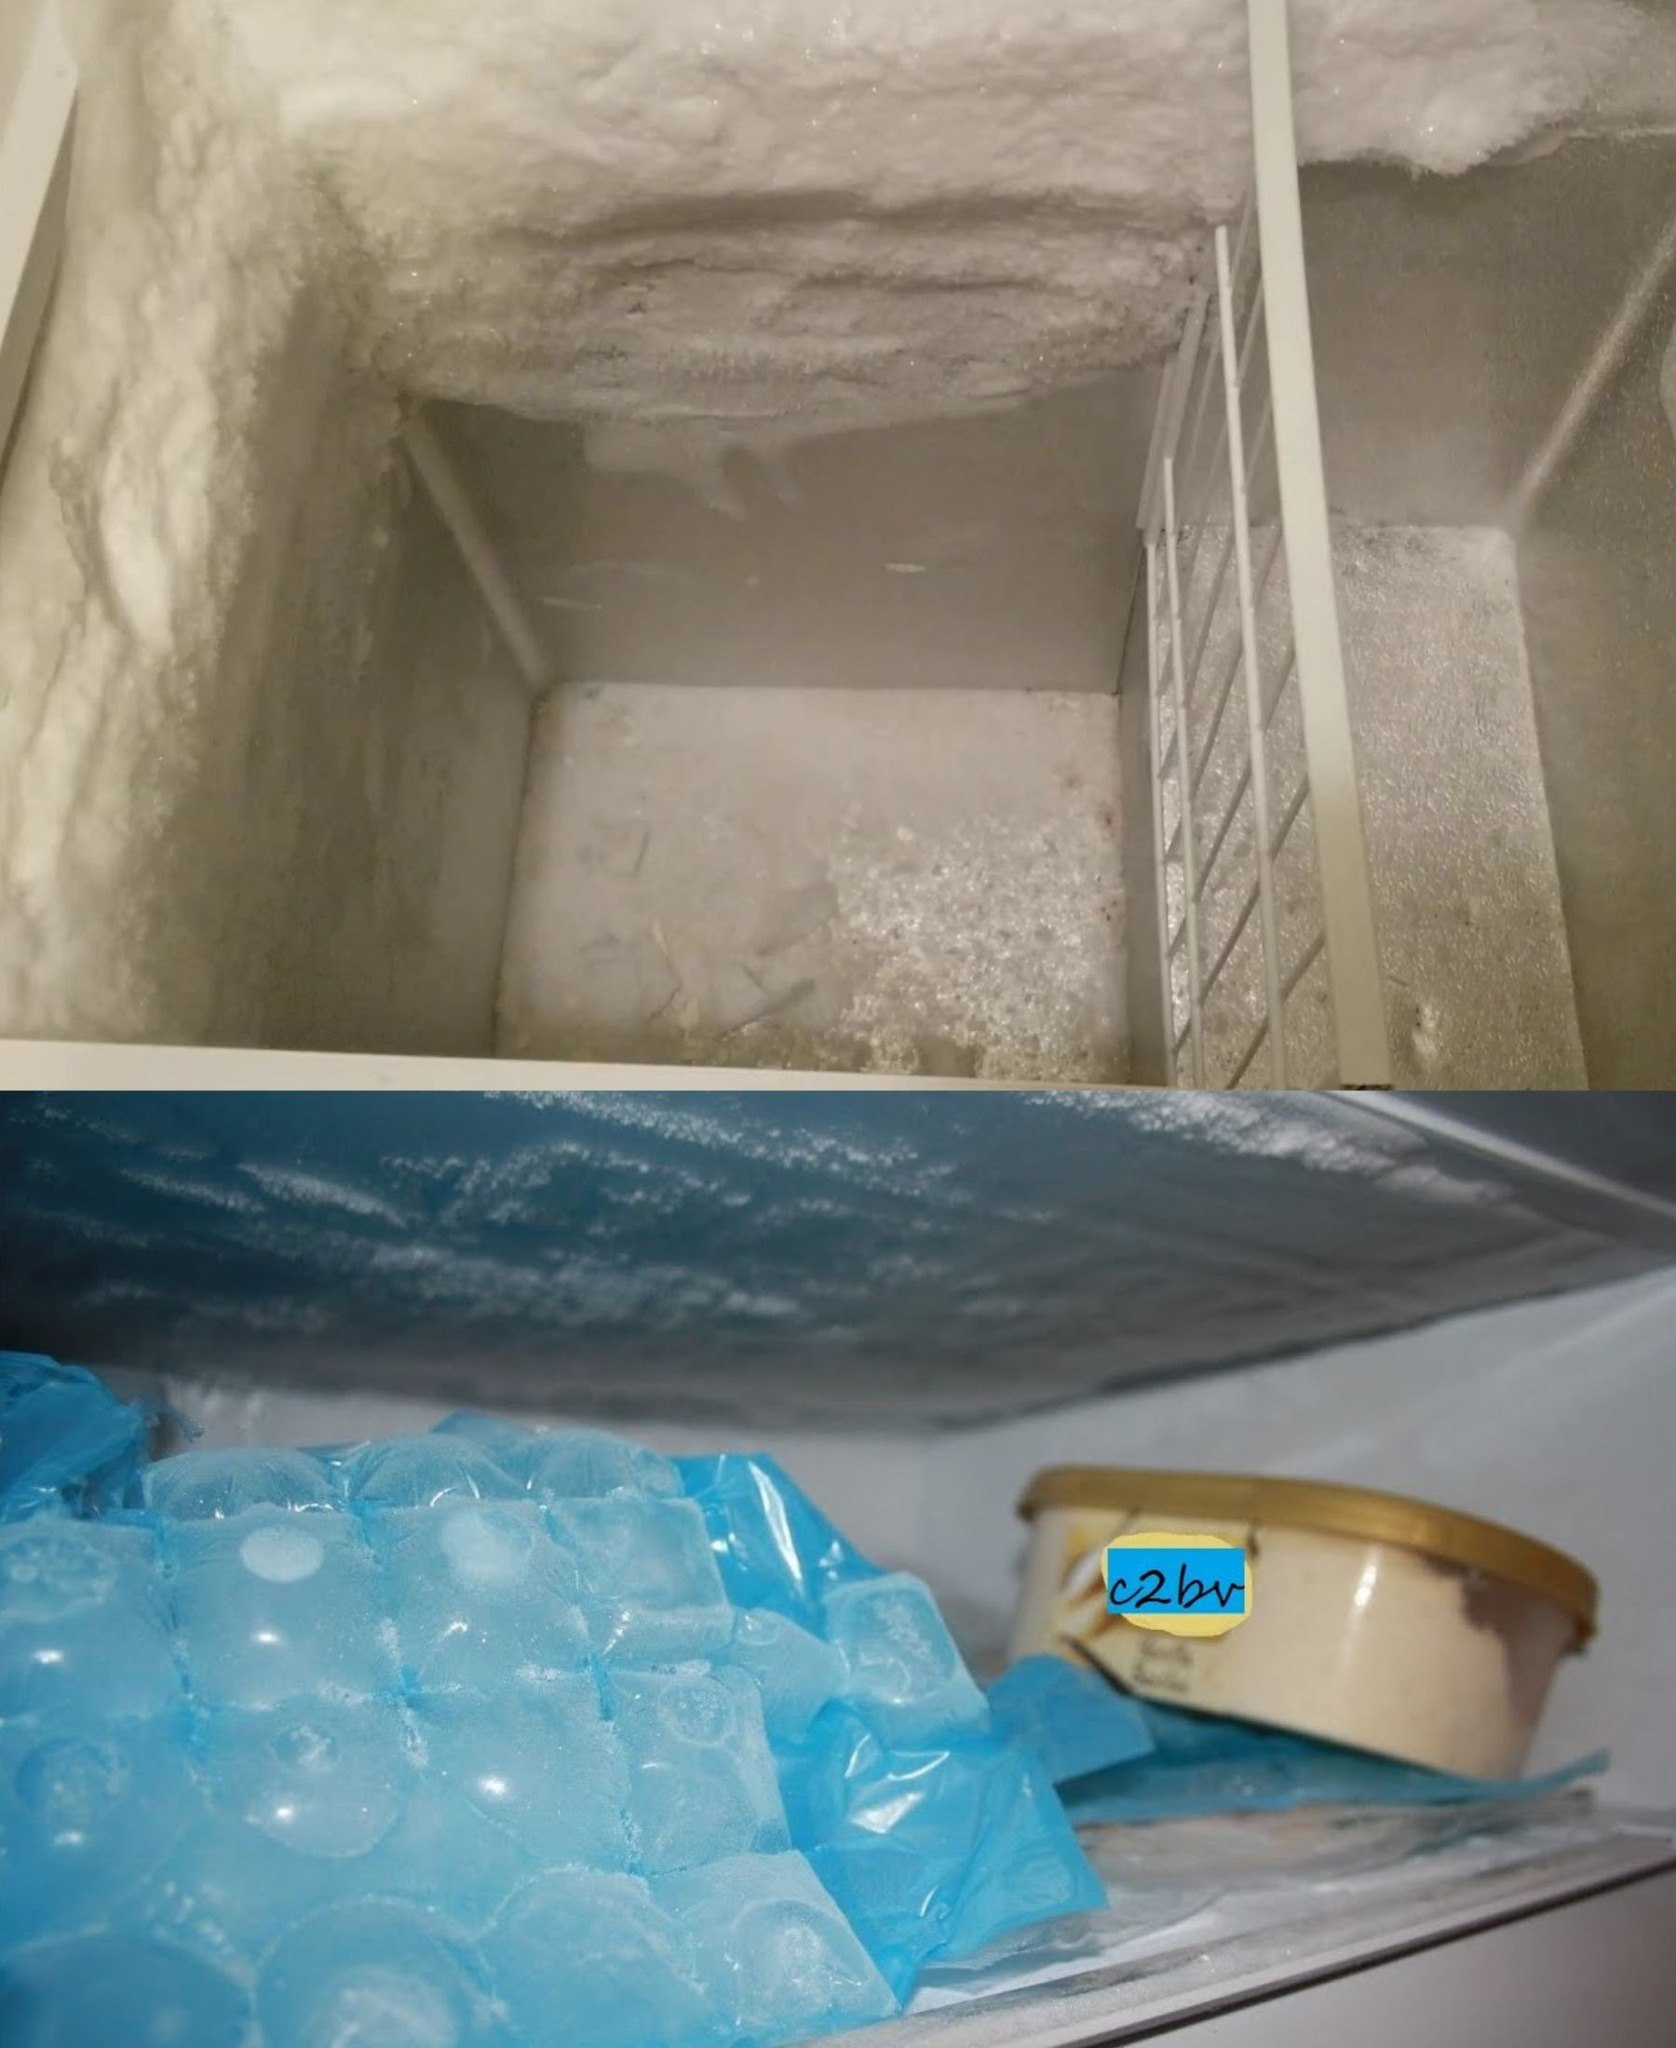
We’ve all been there: your freezer is filled with ice buildup, making it hard to close the door properly or even see what’s inside. But did you know that defrosting your freezer doesn’t have to be a daunting, all-day task? In fact, you can defrost your freezer in under 30 minutes with just a few simple steps.
In this article, we’ll walk you through how to defrost your freezer quickly and efficiently so that you can get back to storing your frozen foods with ease—no more frustrating ice buildup.
### Why You Should Defrost Your Freezer
Before we dive into the steps, let’s briefly talk about why defrosting your freezer is important:
1. **Energy Efficiency**: When ice builds up in your freezer, it forces the appliance to work harder to maintain a cold temperature, which can lead to higher energy bills.
2. **More Storage Space**: Ice buildup takes up valuable space, leaving less room for your food.
3. **Better Functionality**: A well-defrosted freezer works more effectively, keeping your food properly frozen and accessible.
### Tools You’ll Need
Before you get started, gather these items:
– A towel or cloth (to soak up any water)
– A plastic or wooden spatula (to help scrape off ice)
– A hairdryer (optional, for faster defrosting)
– A bowl or container (to collect any dripping water)
– A cooler (optional, for storing frozen foods during the process)
– A fan (optional, for extra airflow)
### Step-by-Step Guide to Defrosting Your Freezer in Less Than 30 Minutes
**Step 1: Empty the Freezer (and Keep Things Cool!)**
Start by removing all the frozen food from your freezer. This step is necessary not just to clear out the ice but also to prevent your food from thawing while you defrost.
– **Tip**: If you’re concerned about your food thawing, place it in a cooler with ice packs to keep it cold while you work.
**Step 2: Turn Off the Freezer**
Unplug the freezer to stop the freezing process and ensure it’s safe to work on. If your freezer has a defrost button or setting, now is the time to use it, though this won’t always speed up the process.
**Step 3: Focus on Ice Removal**
Now that you’ve cleared the freezer, it’s time to tackle the ice buildup. Here’s how to do it quickly:
– **Method 1: The Hot Water Bowl Trick**
– Place a heat-resistant bowl of hot (but not boiling) water on a shelf or in the bottom of the freezer.
– Close the freezer door and let the steam loosen the ice. This will soften the ice, making it easier to scrape off.
– **Tip**: If you want to speed things up even more, place a towel around the bowl to capture any excess water.
– **Method 2: Hair Dryer (For a Super-Fast Defrost)**
– Use a hairdryer to blow hot air onto the ice. Hold the dryer a few inches away from the surface and move it around the areas where ice buildup is thickest.
– As the ice begins to melt, you can gently scrape it off with a plastic spatula. Be cautious not to damage the freezer’s interior.
– **Tip**: This method works incredibly fast but requires some care—keep the hairdryer moving and be mindful of water buildup to prevent any electrical hazards.
**Step 4: Scrape Off the Ice**
Once the ice has softened or started to melt, use your plastic or wooden spatula to gently scrape it away from the walls of the freezer. Try to remove as much of the ice as possible.
– **Tip**: Be patient and work in small sections to avoid damaging the freezer.
**Step 5: Clean Up the Water**
As the ice melts, you’ll likely have a small pool of water in the bottom of the freezer. Use towels to soak up the water and wipe down the surfaces. A sponge can help get into tight corners or crevices.
For Complete Cooking STEPS Please Head On Over To Next Page Or Open button (>) and don’t forget to SHARE with your Facebook friends
ADVERTISEMENT
