ADVERTISEMENT
**Perfect Homemade Fluffy Bread – A Simple Recipe for Soft, Warm Loaves 🍞✨**
There’s nothing quite like the smell of freshly baked bread filling your home. The soft, warm texture of a perfectly fluffy loaf can turn any meal into a comforting experience. Whether you’re a baking pro or just starting out, making homemade bread is easier than you might think — and the results are beyond worth it.
This recipe for **Perfect Homemade Fluffy Bread** will show you how to create that bakery-style softness, with a golden, crusty exterior and a light, airy interior. No fancy equipment required, just a few simple ingredients, a little patience, and some love. Get ready to enjoy the softest, fluffiest homemade bread you’ve ever tasted!
—
### 🌟 Why You’ll Love This Recipe
– **Soft and fluffy**: The texture is light and pillowy, perfect for sandwiches, toast, or just eating on its own.
– **Simple ingredients**: No complicated steps or fancy ingredients – you likely already have everything you need in your kitchen.
– **Versatile**: Great for making bread rolls, a classic loaf, or even as a side to soups and stews.
– **Homemade goodness**: The satisfaction of baking your own bread makes it all the more special.
—
### 🧾 Ingredients
– 4 cups all-purpose flour (plus extra for dusting)
– 2 teaspoons active dry yeast
– 1 cup warm water (about 110°F or 45°C)
– 2 tablespoons sugar
– 2 tablespoons olive oil (or melted butter for a richer flavor)
– 1 teaspoon salt
– 1/2 cup milk (for extra softness)
– 1 egg (optional, for brushing on top before baking)
—
### 👩🍳 How to Make Perfect Homemade Fluffy Bread
#### 1. **Activate the Yeast**
Start by activating the yeast. In a small bowl, mix the **warm water**, **sugar**, and **yeast**. Stir it gently, and let it sit for about 5–10 minutes. You’ll know it’s ready when the mixture becomes frothy and bubbly, indicating that the yeast is active and ready to work its magic.
#### 2. **Mix the Dough**
In a large bowl, combine the **flour** and **salt**. Make a well in the center, and pour in the activated yeast mixture, along with the **milk** and **olive oil**. Stir the mixture with a wooden spoon or spatula until the dough begins to come together.
#### 3. **Knead the Dough**
Once the dough starts to form, transfer it to a lightly floured surface and begin kneading. Knead the dough for about **8–10 minutes**, until it becomes smooth and elastic. If the dough is too sticky, sprinkle in a little more flour as needed, but be careful not to add too much — the dough should still feel soft and slightly tacky.
#### 4. **Let It Rise**
Form the dough into a ball and place it in a lightly oiled bowl, covering it with a clean kitchen towel or plastic wrap. Let it rise in a warm, draft-free area for **1 to 1.5 hours**, or until it doubles in size. This is the time for the yeast to work, creating all those fluffy bubbles inside the dough!
#### 5. **Shape the Dough**
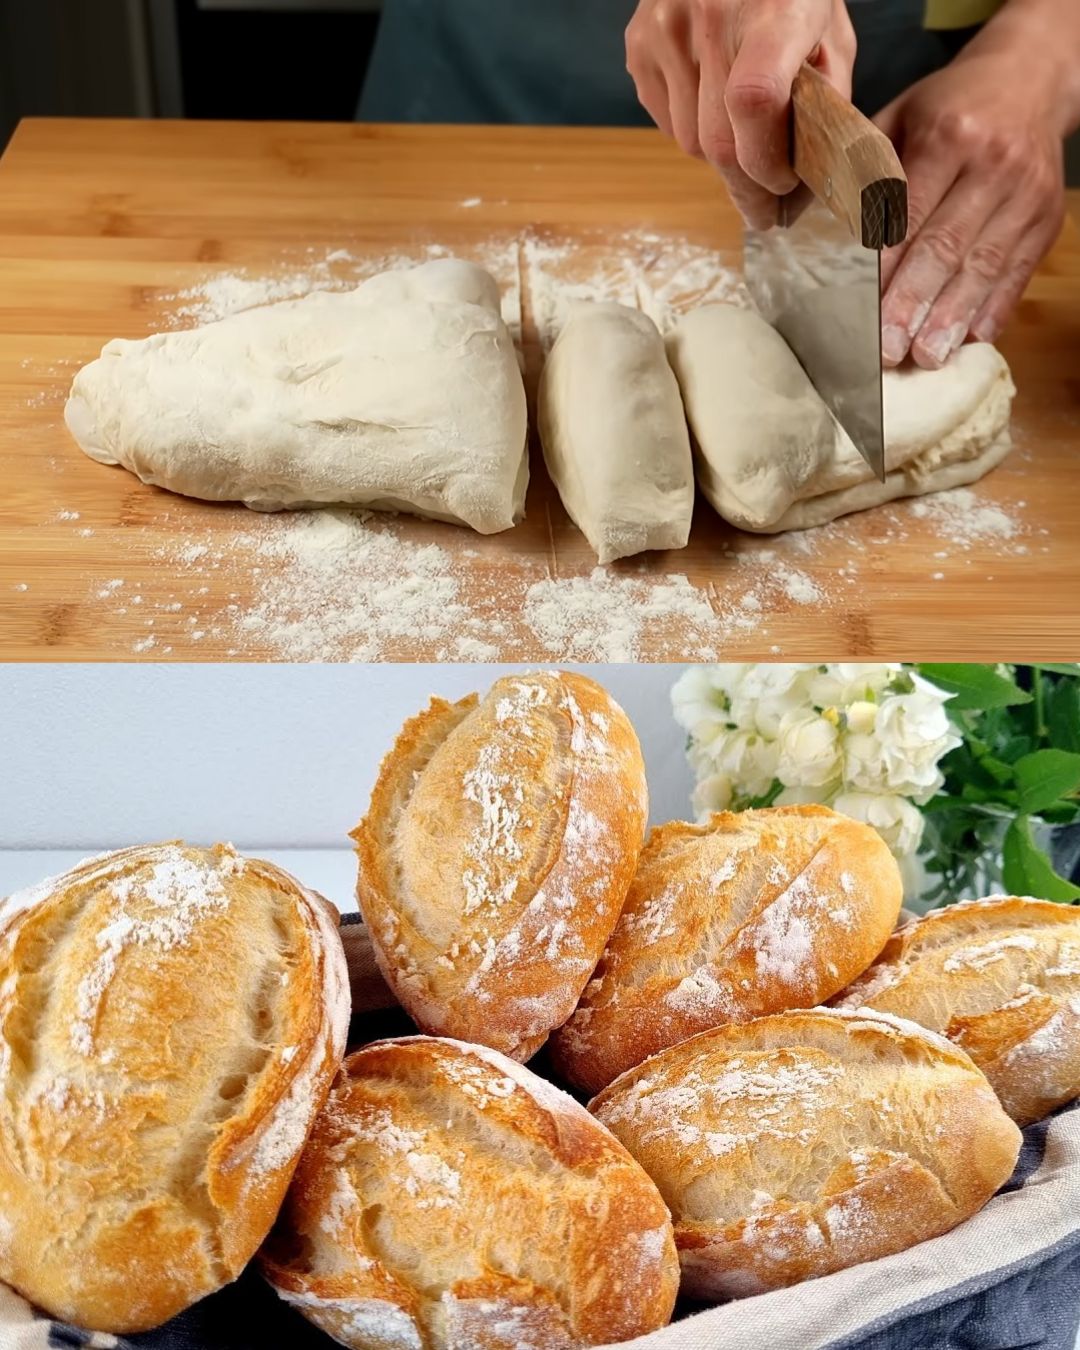
Once the dough has risen, punch it down gently to release any air bubbles. Turn it out onto a floured surface and shape it into a loaf. You can also divide the dough into smaller portions to make dinner rolls if you prefer.
To shape a loaf, flatten the dough into a rectangle and then fold the edges in toward the center. Roll it up tightly, pinching the seams together to seal. Place the shaped dough into a greased loaf pan.
#### 6. **Second Rise**
Cover the loaf with a clean towel and let it rise for another **30 minutes** to an hour, or until it has risen just above the top of the pan. This second rise ensures the bread will be extra fluffy when baked.
#### 7. **Preheat the Oven**
While the dough is rising, preheat your oven to **350°F (175°C)**. If you like, brush the top of the dough with a beaten **egg** for a golden, glossy finish once baked.
#### 8. **Bake the Bread**
Once the dough has finished rising, place the loaf in the oven and bake for **25–30 minutes**, or until the top is golden brown and the bread sounds hollow when tapped on the bottom. If you’re using a thermometer, the internal temperature should be around **190°F (88°C)**.
9. **Cool and Serve**
Remove the bread from the oven and let it cool on a wire rack. It’s tempting to slice right into it while it’s still warm, but allowing it to cool slightly will help set the texture and make slicing easier.
For Complete Cooking STEPS Please Head On Over To Next Page Or Open button (>) and don’t forget to SHARE with your Facebook friends
ADVERTISEMENT
