ADVERTISEMENT
### **Instructions:**
#### 1. **Prep the Area**
Start by cleaning the grout lines as best as you can. If your floor joints are very dirty, use a grout cleaner or a mix of baking soda and vinegar to remove as much grime and stains as possible. Wipe the area with a damp cloth and let it dry completely.
#### 2. **Shake the Grout Pen**
Shake the grout pen well before use. This ensures the formula inside is evenly distributed and will provide smooth coverage when you apply it.
#### 3. **Apply the Grout Pen**
Once the pen is ready, begin applying it to the grout lines in one smooth stroke. Hold the pen at a 45-degree angle and gently press down to release the grout colorant. It’s important to apply the pen to the grout only and avoid spilling over onto the tiles themselves, though you can easily wipe away any excess with a damp cloth if needed.
**Pro Tip**: Work in small sections to ensure the grout pen doesn’t dry out before you have a chance to apply it to the entire joint.
#### 4. **Allow to Dry**
Once you’ve finished applying the grout pen to the grout lines, let the product dry for about 30 minutes. After the drying period, check the joints for any missed spots. If needed, you can apply a second coat to achieve a more even or intense color.
#### 5. **Clean Up**
If you notice any excess product on the tiles, use a damp cloth or paper towel to wipe it away. Be gentle to avoid smearing the grout color onto the tiles.
#### 6. **Admire Your Work**
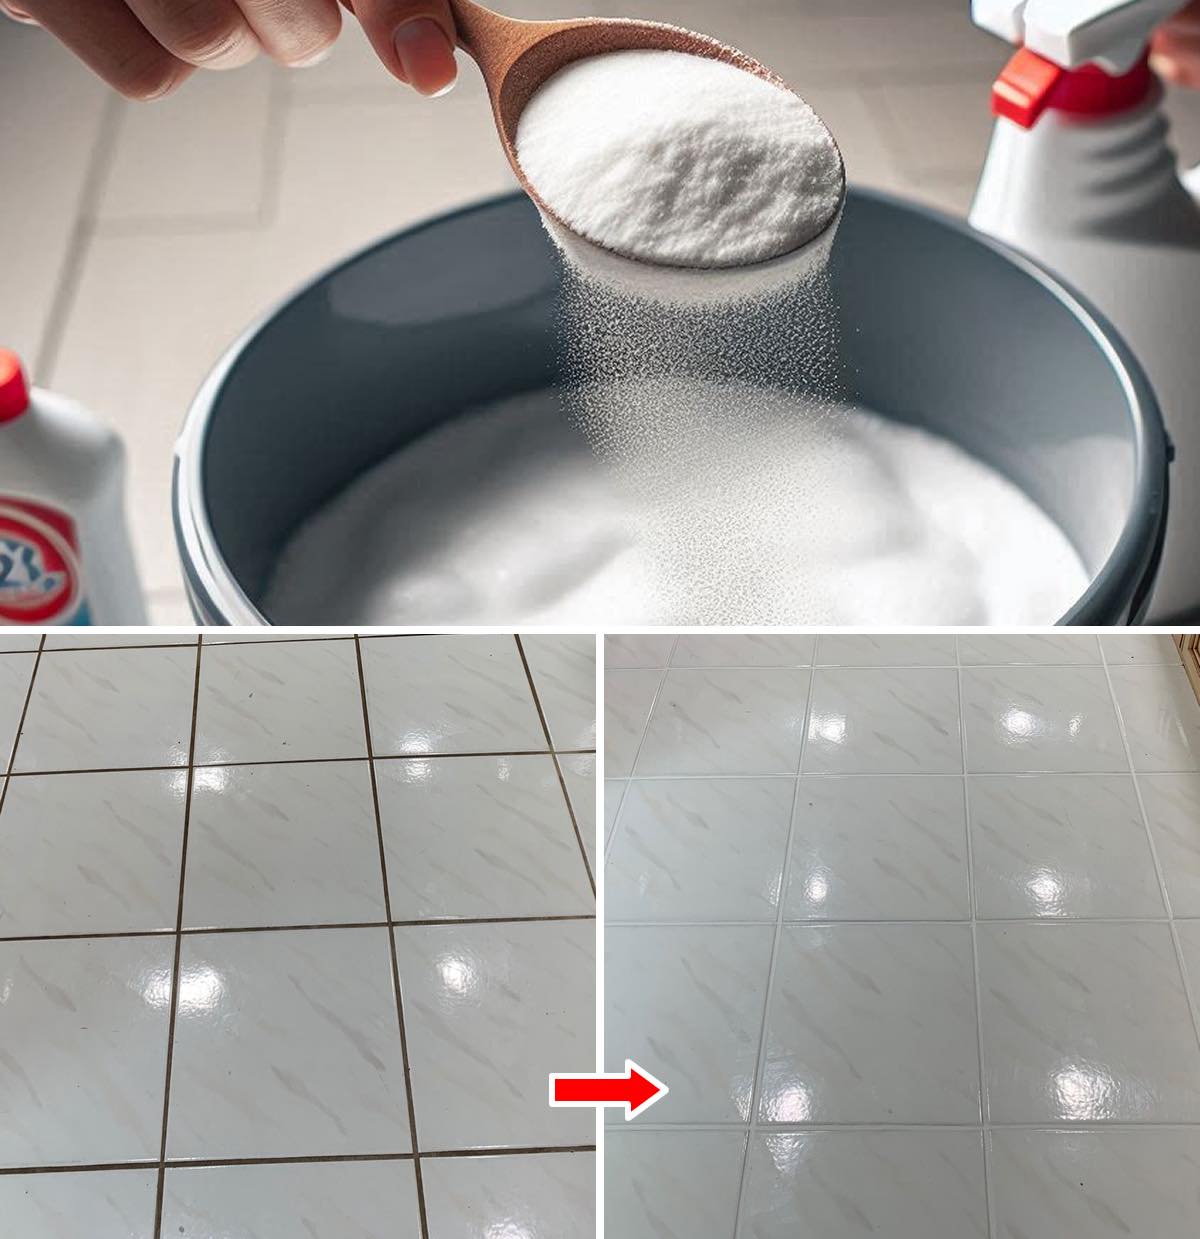
After the grout has dried, you’ll notice an instant transformation. The grout lines will appear brighter and fresher, making your entire floor look cleaner and more vibrant.
—
### **Why This Trick Works So Well**
– **Quick and Easy**: The grout pen is a simple, effective tool that saves time and effort. It’s a quick solution that makes a noticeable difference without requiring any professional help or special tools.
– **Affordable**: Compared to the cost of re-grouting or hiring a professional cleaner, a grout pen is an inexpensive investment that delivers great results. It’s a small price to pay for restoring the look of your floors.
– **Long-Lasting**: Once applied, the grout pen formula creates a durable, water-resistant finish that will last for months. It can help protect against dirt buildup, so your grout stays looking cleaner for longer.
– **Customizable**: With various colors available, you can choose a grout pen that matches or even brightens your existing grout color. This is ideal for giving your floors a fresh, modern look.
—
### **Additional Tips for Maintaining Clean Grout Lines**
– **Regular Cleaning**: Regularly cleaning your floors, especially in high-traffic areas, can help prevent grime and dirt from building up in the first place. Use a mild floor cleaner and mop your floors often to keep them fresh.
– **Seal the Grout**: Consider sealing your grout lines after using a grout pen. Sealing helps protect the grout from future staining and keeps it looking new for a longer time.
– **Use Doormats**: To prevent dirt from entering your home, place doormats at entrances. This will help keep dirt and debris from spreading across your floors.
– **Avoid Harsh Chemicals**: When cleaning grout in the future, avoid harsh chemicals that can break down the grout or cause discoloration. Stick to gentle, grout-safe cleaners.
—
### **Conclusion:**
Lightening floor joints and restoring your grout lines doesn’t have to be a daunting task. With a grout pen, you can easily give your floor joints a fresh, clean look in just a few simple steps. This one-stroke trick is perfect for anyone looking to brighten their tiles and make their floors look like new again without the need for professional services or costly renovations.
So, next time your grout looks dull or discolored, don’t stress—grab a grout pen, and with just a few strokes, you’ll see a dramatic difference. It’s an easy, affordable way to keep your floors looking their best!
ADVERTISEMENT
