ADVERTISEMENT
**Instructions:**
1. **Prepare the crust:**
– In a medium-sized bowl, combine the graham cracker crumbs, sugar, and melted butter. Stir until the mixture is evenly coated and resembles wet sand.
– Press the graham cracker mixture firmly into the bottom of a 9-inch springform pan or pie dish to form an even layer. Use the back of a spoon or the bottom of a glass to pack it down tightly.
– Chill the crust in the refrigerator while you prepare the cheesecake filling to allow it to set.
2. **Make the cheesecake filling:**
– In a large mixing bowl, beat the softened cream cheese with a hand mixer or stand mixer until smooth and creamy.
– Gradually add the powdered sugar and vanilla extract, continuing to beat until the mixture is well combined and fluffy.
– In a separate bowl, whip the heavy cream to stiff peaks. You can use a hand mixer or a stand mixer for this step, but make sure the cream is whipped well enough to hold its shape.
– Gently fold the whipped cream into the cream cheese mixture until fully incorporated. Be careful not to deflate the whipped cream, as it gives the cheesecake a light, airy texture.
– Add in the mashed bananas and mix until smooth. The banana flavor will infuse throughout the cheesecake filling, making it rich and delicious.
3. **Assemble the cheesecake:**
– Pour the banana cheesecake filling into the prepared graham cracker crust, spreading it out evenly with a spatula.
– Smooth the top of the cheesecake with the spatula and return it to the refrigerator to chill for at least 4 hours, or preferably overnight. This will allow the cheesecake to set and firm up.
4. **Prepare the banana pudding topping:**
– In a medium bowl, whisk together the banana pudding mix and milk according to the package instructions, usually for about 2 minutes.
– Let the pudding sit for a few minutes to thicken.
– Spread the banana pudding over the chilled cheesecake layer. If you prefer a fluffy topping, you can fold in whipped cream into the pudding mixture before spreading it on top for added texture and flavor.
5. **Add the finishing touches:**
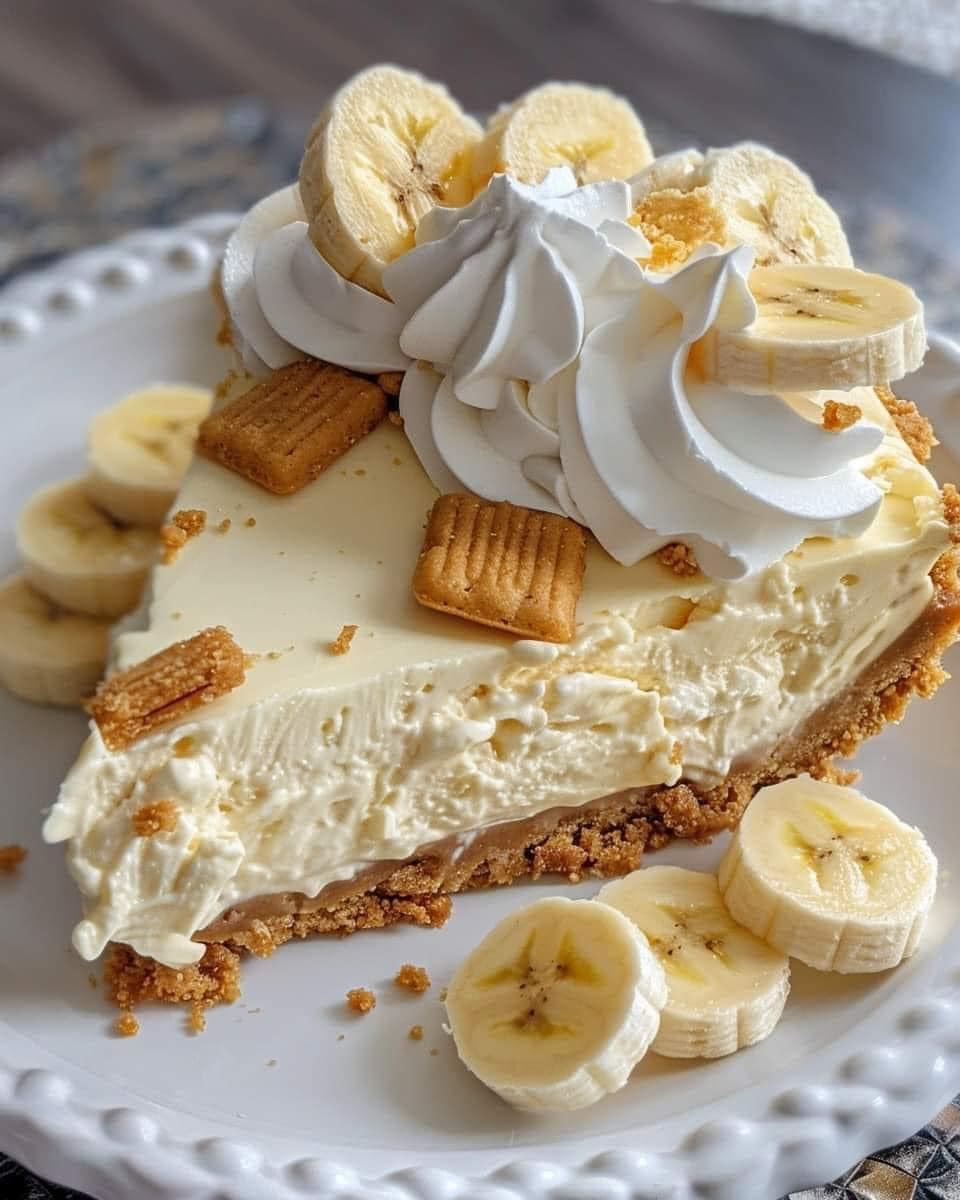
– Slice a fresh banana into thin rounds and place the slices on top of the cheesecake as a garnish.
– For extra crunch and flavor, garnish with Nilla wafers around the edges or crumble them over the top.
6. **Serve and enjoy:**
– Once your cheesecake is fully set, remove it from the fridge and carefully release the springform pan, if using.
– Slice and serve the creamy, no-bake banana pudding cheesecake to your guests, and watch them fall in love with its delightful combination of textures and flavors.
**Tips:**
– For the best banana flavor, use ripe bananas, but make sure they’re not overly ripe to the point of being too mushy.
– If you want a stronger banana taste, you can add extra mashed bananas into the cheesecake filling.
– The cheesecake can be made a day ahead of time, and in fact, it often tastes even better the next day as the flavors meld together.
**Why You’ll Love This Recipe:**
– **No Baking Required**: This recipe takes the classic banana pudding and cheesecake flavors and combines them into one luscious dessert, without the need for a hot oven.
– **Simple Ingredients**: All you need are a few basic ingredients that are easy to find at any grocery store.
– **Perfect for All Occasions**: Whether it’s a summer cookout, holiday gathering, or a simple family dinner, this No-Bake Banana Pudding Cheesecake is sure to be a crowd-pleaser. It’s creamy, decadent, and just the right amount of sweet.
With its smooth, velvety filling and the nostalgic flavors of banana pudding, this no-bake dessert is bound to become a favorite in your dessert rotation. It’s simple to make, and once you taste it, you’ll understand why it’s so irresistible. Enjoy!
ADVERTISEMENT
