ADVERTISEMENT
### **Instructions**
#### **Step 1: Melt the Chocolate Mixture**
1. **Melt the chocolate and butter**: In a medium saucepan over low heat, melt the chocolate chips and butter together, stirring occasionally until smooth. You can also do this in the microwave in 20-second intervals, stirring in between.
2. **Add peanut butter**: Once the chocolate and butter are melted, add the peanut butter to the mixture. Stir until everything is fully combined and smooth. If you want to add a little extra sweetness, you can mix in 1/4 cup of powdered sugar at this point.
#### **Step 2: Combine with Rice Krispies**
1. **Add vanilla extract**: If you’re using vanilla extract, add it to the melted chocolate mixture and stir well.
2. **Mix with Rice Krispies**: In a large bowl, pour the Rice Krispies cereal. Then, pour the melted chocolate mixture over the cereal. Gently fold and stir the cereal into the chocolate until evenly coated. Be careful not to crush the cereal; just make sure every piece gets a nice coat of chocolate.
#### **Step 3: Shape into Balls**
1. **Let the mixture cool slightly**: Allow the chocolate mixture to cool for about 5-10 minutes, so it’s not too hot when you start rolling the balls.
2. **Form the balls**: Once the mixture is cool enough to handle, take small spoonfuls of the chocolatey Rice Krispie mixture and roll them into balls using your hands. You can make them as big or small as you like, but smaller bite-sized balls tend to be easier to eat.
#### **Step 4: Add Toppings (Optional)**
1. **Roll in toppings**: After shaping the balls, you can roll them in various toppings for extra flavor and texture. Try sprinkles, mini chocolate chips, chopped nuts, or shredded coconut. This adds a fun touch and enhances the flavor.
#### **Step 5: Chill to Set**
1. **Refrigerate the balls**: Place the chocolate Rice Krispie balls on a baking sheet lined with parchment paper and refrigerate for at least 30 minutes to allow them to set and firm up.
### **Tips for the Perfect Chocolate Rice Krispie Balls**
– **Chocolate choice**: You can customize the flavor of your Rice Krispie balls by choosing the type of chocolate you prefer. Dark chocolate gives them a rich, slightly bitter flavor, while milk chocolate offers a sweeter, creamier taste.
– **Add-ins**: Feel free to get creative by adding different mix-ins. Chopped nuts, mini marshmallows, or dried fruit (like raisins or cranberries) can all be folded into the Rice Krispie mixture for added flavor and texture.
– **Use a cookie scoop**: If you want your Rice Krispie balls to be uniform in size, use a cookie scoop to portion out the mixture before rolling them into balls.
– **Storage**: These treats can be stored in an airtight container in the refrigerator for up to a week, so you can make them ahead of time and have a quick snack whenever you need it!
### **Why This Recipe Works**
The combination of Rice Krispies and melted chocolate creates the perfect balance of crunch and smoothness. The peanut butter adds a creamy, nutty flavor that complements the chocolate perfectly. And the best part? These balls require no baking, so they come together quickly and are ideal for anyone who doesn’t want to spend too much time in the kitchen.
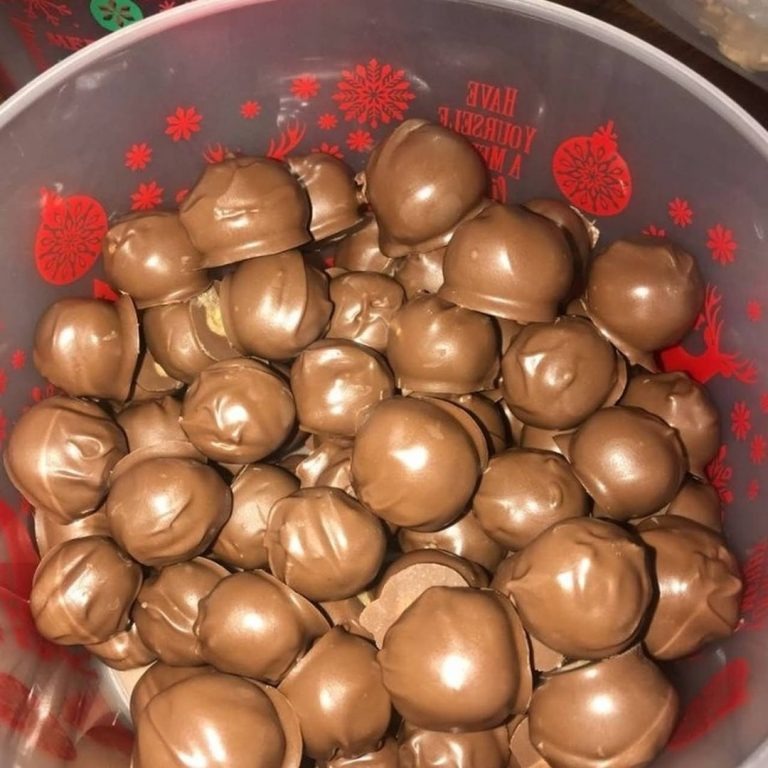
Chocolate Rice Krispie balls are an irresistible snack that satisfies your sweet tooth while being easy to prepare. They’re perfect for parties, holiday treats, or just a fun snack to enjoy with family and friends.
### **Final Thoughts**
Chocolate Rice Krispie Balls are a fun, easy, and delicious dessert that’s perfect for any occasion. With just a few simple ingredients and minimal effort, you can make a batch of these irresistible treats that everyone will love. Whether you prefer milk chocolate or dark chocolate, or you want to customize them with your favorite add-ins, this recipe is sure to become a favorite in your household. So grab your Rice Krispies, melt some chocolate, and get rolling—you won’t regret it!
ADVERTISEMENT
