ADVERTISEMENT
### Instructions: How to Make Cheese in 10 Minutes
Making cheese at home is easier than you might think! Follow these steps for a quick and delicious result:
#### 1. **Heat the Milk**
Pour **4 cups of whole milk** into a saucepan. Place the saucepan over medium heat and bring the milk to a gentle boil, stirring occasionally to prevent it from sticking to the bottom.
#### 2. **Add the Acid (Lemon Juice or Vinegar)**
Once the milk begins to boil, reduce the heat to low. Gradually add the **2 tablespoons of lemon juice** (or vinegar), stirring gently as you do. You should immediately notice the milk beginning to curdle as the acid helps the curds (solid cheese) separate from the whey (liquid). Keep stirring for another 1-2 minutes until the separation is clear.
#### 3. **Let the Curds Form**
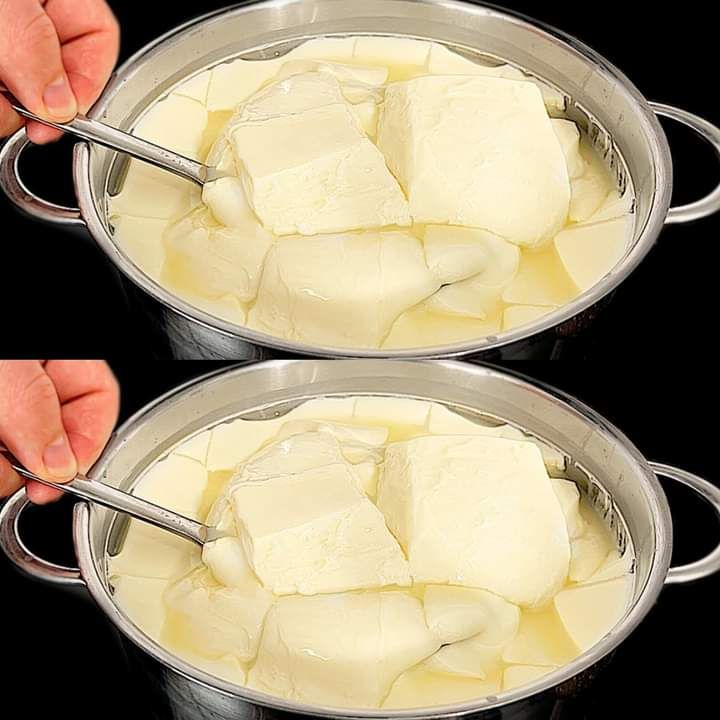
Once the curds have fully separated from the whey, remove the saucepan from the heat. You should see large curds floating in the whey. Let the curds sit for a minute or so to allow them to firm up a bit more.
#### 4. **Strain the Curds**
Now it’s time to strain the curds from the whey. Place a **strainer** or **cheesecloth** over a bowl and carefully pour the curds and whey into it. The whey will drain into the bowl, leaving you with the soft curds of fresh cheese. You can save the whey for other uses, like making smoothies or baking.
#### 5. **Press the Cheese (Optional)**
At this point, you have a soft, crumbly cheese. If you prefer your cheese to be firmer, gather the edges of the cheesecloth or towel, and gently press the cheese to remove excess whey. If you want a more solid block of cheese (like paneer), you can tie the cloth and place something heavy on top to press out more moisture. Let it sit for about 5 minutes.
#### 6. **Add Salt (Optional)**
Once the cheese has drained to your liking, sprinkle a pinch of **salt** if desired and mix it into the cheese. This adds flavor and helps balance the acidity of the lemon juice or vinegar.
#### 7. **Enjoy Your Fresh Cheese**
That’s it! You now have fresh, homemade cheese. You can use it immediately or store it in the fridge. For best results, consume within a few days, though it can last up to a week when refrigerated.
### Creative Ways to Use Your Homemade Cheese
Now that you’ve made your own cheese, you’re probably wondering how to use it. Here are some ideas to get you started:
– **Paneer Tikka**: Cut your homemade cheese into cubes and use it in an Indian-style **paneer tikka** by marinating the cubes with spices, yogurt, and grilling them.
– **Cheese Salads**: Crumble the cheese into salads for a fresh, creamy addition.
– **Sandwiches**: Use it as a sandwich filling, paired with fresh vegetables, herbs, and your favorite bread.
– **Pasta**: Add your cheese to pasta dishes for a creamy texture. It’s a great addition to lasagna, pasta salads, or stuffed shells.
– **Cheese Spread**: Mash the cheese with a bit of olive oil, garlic, and herbs to make a flavorful cheese spread for crackers or bread.
– **Tacos or Burritos**: Crumbled cheese makes a great topping for tacos, burritos, or quesadillas.
### Tips for Making Perfect Cheese Every Time
To ensure that your homemade cheese turns out perfectly every time, here are a few tips:
– **Use Whole Milk**: For the best results, always use **whole milk**. It creates a creamier cheese than skim or low-fat milk.
– **Stir Gently**: When adding the acid, stir gently to avoid breaking the curds too much.
– **Don’t Overheat**: Make sure the milk does not boil too rapidly. Heating it slowly and stirring helps prevent curdling that’s too harsh or uneven.
– **Flavor Variations**: If you want to create different flavors, try adding **herbs**, **spices**, or **garlic** to the cheese as it cools.
– **Keep the Whey**: Don’t throw away the leftover whey! It can be used as a base for soups, smoothies, or even as a substitute for water in baking.
### Benefits of Homemade Cheese
Making cheese at home offers several benefits that store-bought varieties simply can’t match:
– **Control the Ingredients**: By making cheese yourself, you control what goes into it—no preservatives, artificial flavors, or unnecessary additives.
– **Higher Nutritional Value**: Fresh cheese tends to retain more of its nutritional benefits, including higher levels of vitamins, minerals, and protein.
– **Cost-Effective**: Homemade cheese can be much cheaper than buying pre-made cheese at the store, especially if you regularly use cheese in your cooking.
– **No Waste**: Since you’re making just the amount you need, you won’t waste any leftover cheese or have to deal with half-empty cheese packages in the fridge.
### Conclusion
Making cheese at home doesn’t have to be a complicated or time-consuming process. With just a few simple ingredients, you can make fresh, creamy cheese in **under 10 minutes**. Whether you’re craving something creamy to top your pasta, want to make a delicious appetizer, or just want to experiment in the kitchen, homemade cheese is a fun and rewarding way to elevate your meals.
So, say goodbye to store-bought cheese and give this easy homemade cheese recipe a try—you’ll be amazed at how simple it is and how satisfying it is to enjoy cheese made from scratch!
ADVERTISEMENT
