ADVERTISEMENT
—
### **Instructions:**
#### 1. **Heat the Milk**
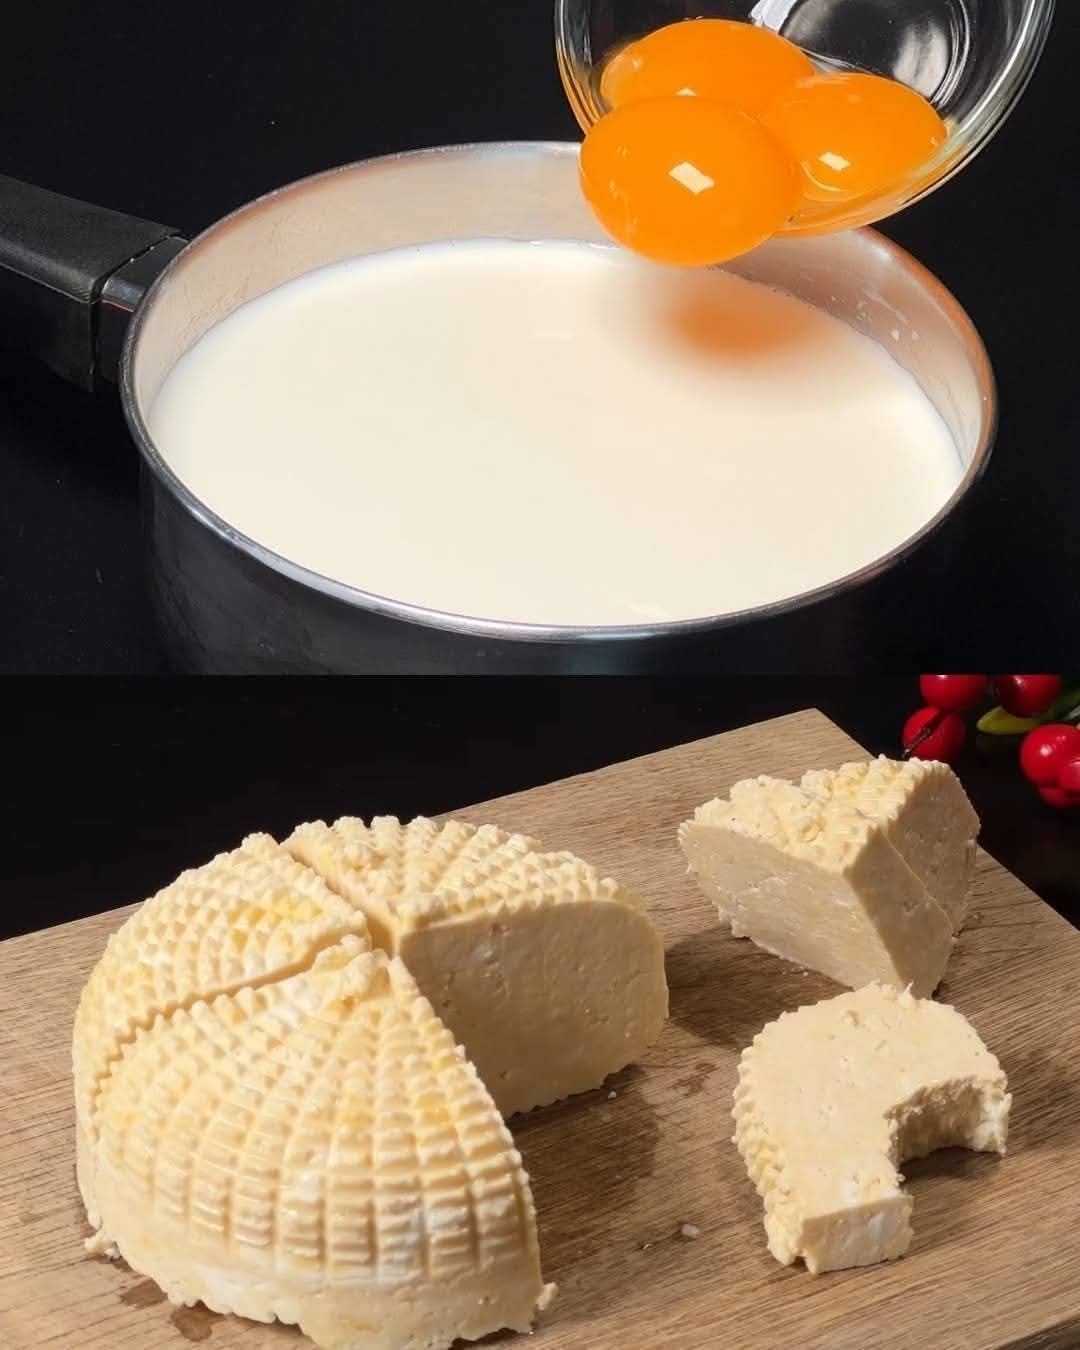
– Begin by pouring the **milk** into a large pot. Heat the milk over medium heat, stirring occasionally to prevent it from scorching. Allow the milk to heat until it reaches about **190°F** (88°C), just before it begins to boil. You’ll notice small bubbles forming around the edges of the pot, but do not let the milk actually boil.
#### 2. **Add the Acid**
– Once the milk has reached the right temperature, add the **lemon juice** or **white vinegar** to the milk. Stir gently for a few seconds, then stop stirring. The milk should begin to curdle as the acid reacts with the milk proteins, separating the curds (solid) from the whey (liquid). If you don’t see curds immediately, you can add a bit more lemon juice or vinegar until curds begin to form.
#### 3. **Let It Sit**
– Allow the milk to sit undisturbed for about **10-15 minutes**. This gives the curds time to fully separate from the whey. You should now have a thick layer of curds floating in a watery, yellowish liquid (the whey).
#### 4. **Strain the Curds**
– Line a **fine-mesh strainer** or **colander** with **cheesecloth** (or use a clean kitchen towel) and place it over a large bowl to catch the whey. Carefully pour the curds and whey into the strainer, allowing the liquid to drain away. You can save the whey for other uses, such as in smoothies, soups, or baking, as it’s full of nutrients.
#### 5. **Press the Curds (Optional)**
– If you’d like a firmer cheese, you can press the curds to remove more liquid. To do this, gather the corners of the cheesecloth and twist them into a pouch. Place the bundle in a bowl and press it gently to release any excess whey. For a firmer texture, you can place a weight on top of the pouch to apply more pressure.
#### 6. **Season and Shape**
– After draining, transfer the curds to a clean bowl and stir in **salt** to taste. This step is optional but adds flavor to your cheese. You can also experiment with adding fresh herbs or spices for a personalized touch.
– If you want to shape your cheese, simply press it into a small bowl or form it into a ball or disc shape.
#### 7. **Chill and Serve**
– Place your homemade cheese in the fridge to firm up. After about an hour or two, your cheese will be ready to enjoy! If you made paneer or a similar cheese, you can slice it and add it to curries, salads, or sandwiches.
—
## Tips for Success
### 1. **Use Fresh Milk**
– The quality of your milk will directly affect the quality of your cheese. If possible, opt for fresh, local, or organic milk that is non-homogenized. This will result in a creamier, richer cheese.
### 2. **Temperature Control is Key**
– It’s important to heat the milk slowly and carefully, monitoring the temperature closely to avoid overheating or burning. Using a kitchen thermometer is very helpful in ensuring the milk reaches the right temperature.
### 3. **Experiment with Flavors**
– Once you’ve mastered the basic cheese-making process, feel free to get creative. Try adding different herbs, spices, or flavorings like garlic, smoked paprika, or peppercorns to infuse your cheese with exciting new tastes.
### 4. **Use Leftover Whey**
– Don’t throw away the whey! It’s packed with nutrients and can be used in smoothies, pancakes, soups, or as a replacement for water in baking. It can even be used to soak beans or grains to enhance their nutritional value.
### 5. **Patience is a Virtue**
– Cheese-making takes a bit of time, so don’t rush the process. Let the curds form naturally, and allow the cheese to rest and chill properly. The result will be worth the wait!
—
## Conclusion
Making your own cheese at home is an incredibly rewarding experience. With just a few simple ingredients and a little bit of time, you can create fresh, flavorful cheese that’s perfect for any occasion. Whether you’re looking for a unique addition to your charcuterie board, a topping for your favorite dishes, or just a delicious snack, homemade cheese is sure to impress.
Once you’ve mastered the basics, you can explore even more complex cheesemaking techniques and recipes. From creamy ricottas to tangy goat cheeses, the world of homemade cheese is full of endless possibilities.
So grab some milk, gather your equipment, and start making your very own cheese today—your taste buds will thank you!
ADVERTISEMENT
