ADVERTISEMENT
#### Step 2: Prepare the Cheesecake Filling
1. **Beat the Cream Cheese**: In a large mixing bowl, beat the **cream cheese** with an electric mixer until smooth and creamy. This will take about 2-3 minutes.
2. **Whip the Heavy Cream**: In a separate bowl, use a hand mixer or stand mixer to whip the **heavy cream** until soft peaks form.
3. **Combine the Ingredients**: Add the **powdered sugar**, **vanilla extract**, **lemon juice** (if using), and **sour cream** (if using) to the cream cheese mixture. Mix until smooth and fully combined. Then, gently fold in the whipped cream until it’s fully incorporated, but don’t overmix.
#### Step 3: Assemble the Cheesecake
1. **Layer the Filling**: Once your crust is set, pour the cheesecake filling over the crust in the loaf pan. Use a spatula to smooth the top and spread the filling evenly.
2. **Chill**: Cover the loaf pan with plastic wrap and refrigerate for at least **4 hours** or overnight. The cheesecake needs time to set and firm up to achieve that perfect creamy texture.
#### Step 4: Serve and Garnish
1. **Remove from the Pan**: Once the cheesecake is chilled and set, carefully lift it out of the loaf pan using the parchment paper, if used. Slice it into individual portions.
2. **Add Toppings**: Top your cheesecake with **fresh berries**, a drizzle of **chocolate ganache**, **caramel sauce**, or even a **fruit compote** for a bit of extra sweetness and color.
3. **Enjoy**: Serve the cheesecake chilled and enjoy the creamy goodness in every bite!
### Tips for Perfect Loaf Pan Cheesecake
– **Soften the Cream Cheese**: Make sure your **cream cheese** is softened to room temperature before mixing. This helps create a smooth and lump-free filling.
– **Customize the Crust**: If you’re not a fan of graham crackers, you can easily swap them for **Oreos**, **digestive biscuits**, or even **pretzels** for a salty-sweet twist.
– **Let It Chill**: The key to a successful no-bake cheesecake is allowing it to chill long enough. If possible, refrigerate it overnight for the best texture and flavor.
– **Serve with Toppings**: While this cheesecake is delightful on its own, adding toppings like **caramelized nuts**, **whipped cream**, or a drizzle of your favorite sauce can elevate it even more.
– **No Loaf Pan? No Problem**: If you don’t have a loaf pan, you can make this recipe in a rectangular or square baking dish. Just adjust the crust and filling amounts based on the size of your pan.
### Why You’ll Love This Loaf Pan Cheesecake
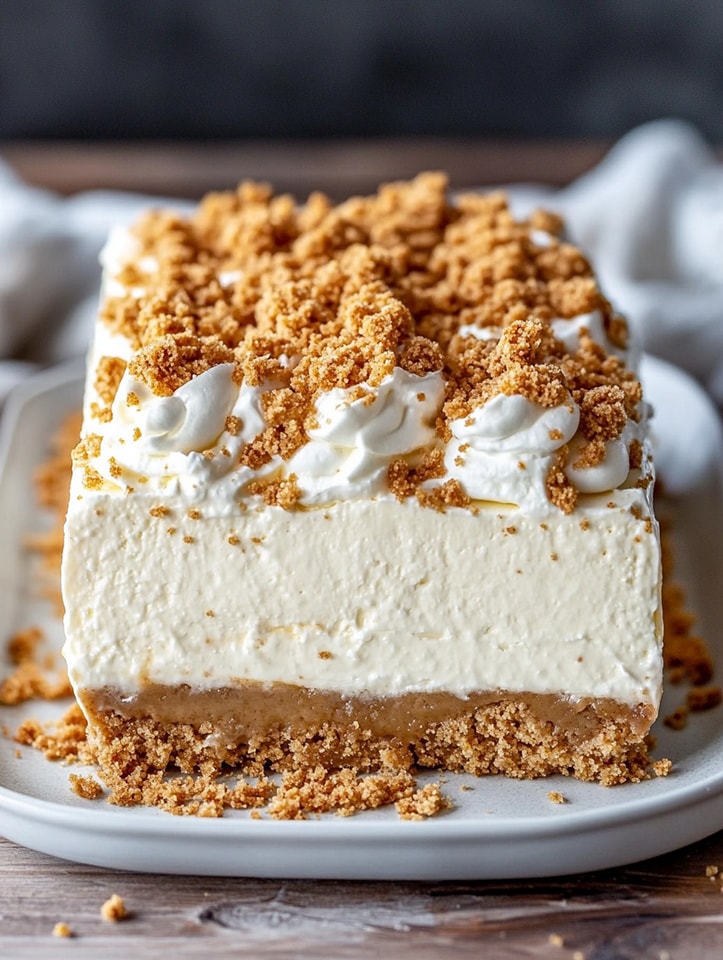
This **Loaf Pan Cheesecake** recipe is the perfect solution for those who want a simple, hassle-free cheesecake that doesn’t require complicated steps or fancy equipment. The creamy, smooth filling is balanced with the crunchy, buttery crust, making each bite a perfect combination of textures and flavors.
The loaf pan makes it easy to slice and serve the cheesecake, which is especially helpful if you’re entertaining or serving a crowd. Plus, it’s a customizable dessert that can be topped with anything from fresh fruit to a decadent drizzle of chocolate. Whether you’re making it for a birthday, a holiday, or just because, this cheesecake is sure to be a hit!
### Final Thoughts
If you’re looking for a no-bake dessert that’s rich, creamy, and sure to please everyone, look no further than this **Loaf Pan Cheesecake** recipe. With its easy-to-make crust, silky-smooth filling, and endless topping possibilities, it’s a dessert everyone will love. It’s perfect for those times when you want a sweet treat but don’t have the time or tools for a traditional cheesecake. Make this recipe your go-to for simple, delicious desserts!
ADVERTISEMENT
