ADVERTISEMENT
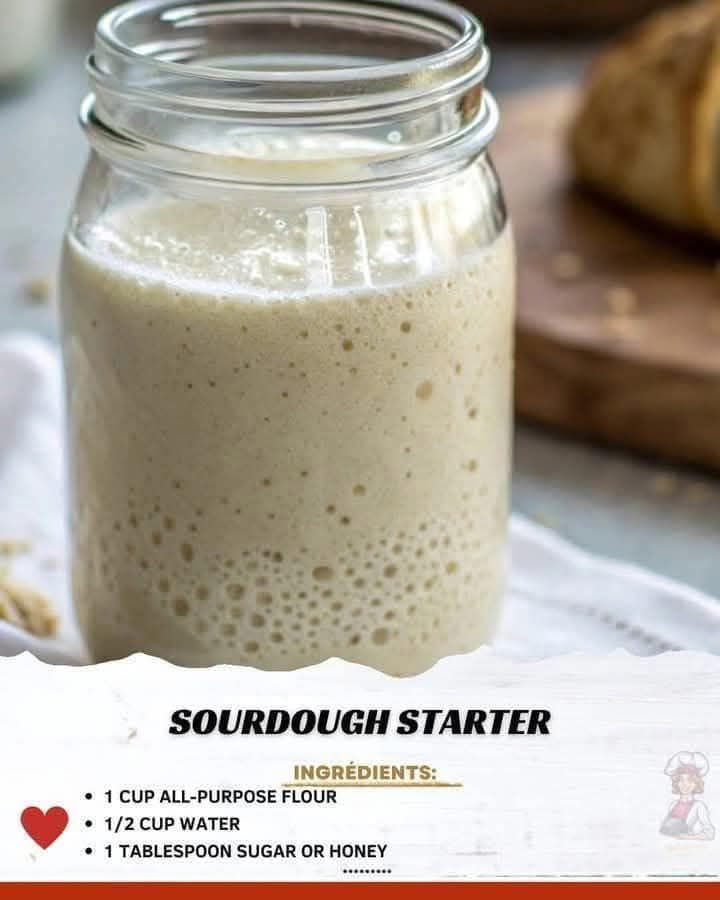
**Sourdough Starter: The Ultimate Guide to Cultivating Your Own Starter at Home**
If you’re a fan of tangy, flavorful bread with a chewy, crusty texture, then you’ve likely heard of sourdough. But what exactly makes sourdough bread so unique? The answer lies in the *sourdough starter*—the magical combination of flour and water that contains naturally occurring wild yeast and bacteria, which work together to ferment the dough and create that signature taste.
Making your own sourdough starter at home might sound intimidating, but it’s actually quite simple and incredibly rewarding. With just a little patience and the right technique, you can create a starter that will provide you with fresh, homemade sourdough bread for months or even years to come.
Here’s everything you need to know about creating, maintaining, and using your own sourdough starter!
### What is a Sourdough Starter?
A sourdough starter is a fermented mixture of flour and water that captures wild yeast and lactic acid bacteria from the environment. These naturally occurring microorganisms feed on the sugars in the flour, producing carbon dioxide (which causes the dough to rise) and organic acids (which contribute to the sour, tangy flavor). Unlike store-bought yeast, which is a single strain of yeast, a sourdough starter contains a diverse community of wild yeasts and bacteria that make it special.
### How to Make a Sourdough Starter
**Ingredients:**
– **Whole wheat flour** (or all-purpose flour, but whole wheat is a good choice to kick-start the process)
– **Water** (filtered or dechlorinated water is ideal; chlorine can inhibit the growth of the starter)
– **A clean glass jar or container** (for mixing and storing the starter)
### Day 1: Start Your Starter
1. **Mix Flour and Water:**
In your glass jar, combine 1/2 cup of whole wheat flour with 1/4 cup of water. Stir it together until you have a thick, but slightly runny paste. The consistency should be similar to pancake batter.
2. **Cover and Wait:**
Cover the jar loosely with a lid or a clean cloth. This allows air to flow in while keeping dust and debris out. Leave the jar in a warm spot (around 70-75°F / 21-24°C is ideal). After 24 hours, you may not see much action yet, but don’t worry, the wild yeast and bacteria are getting to work!
### Day 2: Feed the Starter
1. **Add More Flour and Water:**
After 24 hours, you may see a few bubbles and signs of fermentation. Discard about half of your starter (this helps maintain a manageable size), then feed it with 1/2 cup of all-purpose flour and 1/4 cup of water. Stir it well, cover, and let it sit again for another 24 hours.
### Day 3: Signs of Progress
1. **Bubbles and Growth:**
By now, you should see more bubbles and maybe even some growth in the volume of your starter. The mixture should start to smell sour and yeasty—this is a good sign! Repeat the feeding process: discard half of the starter, then add 1/2 cup of flour and 1/4 cup of water. Stir, cover, and wait another 24 hours.
### Day 4-6: Feed and Observe
1. **Continue Feeding:**
From Day 4 onward, you should begin to see more regular bubbling and rising activity. Continue to feed your starter once every 24 hours, always discarding half before adding 1/2 cup of flour and 1/4 cup of water.
2. **Switch to All-Purpose Flour (Optional):**
If you’ve started with whole wheat flour, you can switch to all-purpose flour from this point on, though you can continue using whole wheat if you prefer. All-purpose flour tends to result in a more neutral-tasting starter.
3. **Smell Test:**
Your starter will begin to develop a more pronounced sour aroma. This is a sign that the natural lactic acid bacteria are doing their job. As you feed it regularly, it will begin to double in size after each feeding.
### Day 7: Ready to Use!
By Day 7, your starter should be bubbly, tangy-smelling, and rising reliably within a few hours of each feeding. If it hasn’t quite reached this point, don’t panic—some starters take longer to develop, especially in cooler environments. If your starter is rising and falling predictably and has a pleasant sour smell, you’re ready to bake!
### Maintaining Your Sourdough Starter
Once your starter is established, it’s time to keep it alive and healthy.
1. **Daily Feeding (If Stored at Room Temperature):**
If you plan to bake regularly (several times a week), you can keep your starter at room temperature. Feed it every 24 hours, discarding half before adding fresh flour and water.
2. **Weekly Feeding (If Stored in the Refrigerator):**
If you bake less often, you can store your starter in the refrigerator. It will slow down the fermentation process. To maintain it, simply feed it once a week by removing it from the fridge, discarding half, and feeding it with fresh flour and water. Let it sit at room temperature for a few hours before putting it back in the fridge.
For Complete Cooking STEPS Please Head On Over To Next Page Or Open button (>) and don’t forget to SHARE with your Facebook friends
ADVERTISEMENT
