ADVERTISEMENT
### **Instructions:**
#### 1. **Prepare the Coffee Mixture:**
In a small bowl, dissolve the instant coffee granules into about 2 tablespoons of hot water. Stir until the coffee is fully dissolved and has a smooth consistency. Set aside to cool slightly.
#### 2. **Whip the Cream:**
In a large mixing bowl, pour the heavy whipping cream. Using an electric mixer or a stand mixer, whip the cream on medium-high speed until stiff peaks form. This should take about 3-4 minutes. Be careful not to overwhip, as the cream could turn into butter!
#### 3. **Combine the Ingredients:**
Gently fold in the sweetened condensed milk and the vanilla extract into the whipped cream. Mix gently until combined. Then, pour in the dissolved coffee mixture and fold it in, making sure the coffee is evenly distributed throughout the cream mixture.
#### 4. **Optional Add-ins:**
If you like a little extra texture in your ice cream, you can fold in chocolate chips, crushed coffee beans, or even a swirl of chocolate syrup at this stage. Be sure to mix it in gently so it doesn’t deflate the whipped cream.
#### 5. **Freeze the Ice Cream:**
Transfer the coffee ice cream mixture into a loaf pan or any airtight container. Smooth the top with a spatula, then cover with plastic wrap or a lid. Freeze for at least 4 hours, or preferably overnight, to allow the ice cream to fully set and firm up.
#### 6. **Serve and Enjoy:**
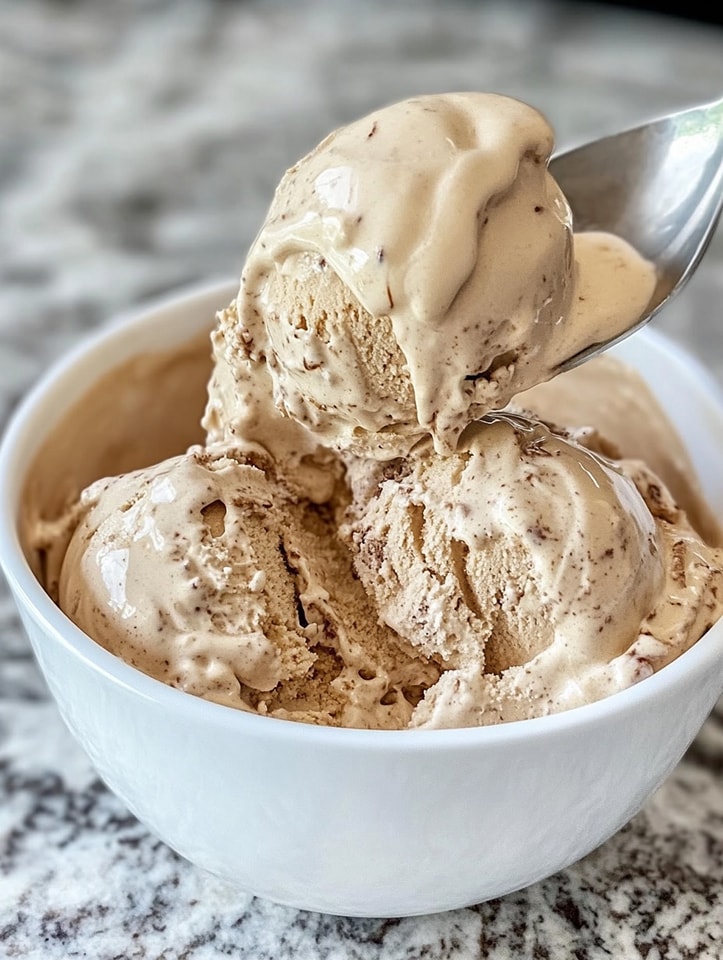
After freezing, scoop out the creamy, coffee-flavored goodness and serve it in bowls or cones. You can garnish with chocolate shavings, a sprinkle of cocoa powder, or even a drizzle of caramel sauce for an extra indulgent touch!
### **Tips:**
– **Adjust the Coffee Strength:** Depending on how strong you want the coffee flavor to be, you can adjust the amount of instant coffee. Start with 2 tablespoons for a medium-strength coffee flavor, or increase it for a more intense taste.
– **Use Cold Ingredients:** Make sure the whipping cream is cold when you whip it. This helps it whip up faster and better, creating that light and fluffy texture you want in your ice cream.
– **Store the Ice Cream:** If you have leftovers, store the ice cream in an airtight container in the freezer for up to 2 weeks. Just make sure to let it sit at room temperature for a few minutes before scooping if it becomes too hard.
### **Why You’ll Love This Recipe:**
– **No Machine Needed:** This ice cream is super simple to make, and you don’t need an ice cream maker or churner. It’s the perfect recipe for beginners or anyone who wants to enjoy homemade ice cream without the hassle.
– **Quick and Easy:** From start to finish, this coffee ice cream only takes about 5 minutes of prep time. After that, you just need to wait for it to freeze, making it a perfect last-minute dessert.
– **Creamy and Flavorful:** The combination of heavy cream, sweetened condensed milk, and coffee creates a rich, velvety texture that’s hard to resist. It’s like having a scoop of your favorite coffee drink in ice cream form!
### **Conclusion:**
This **5-Minute Coffee Ice Cream** is a game-changer for coffee lovers and dessert enthusiasts alike. With minimal ingredients and no need for an ice cream maker, you can create a creamy, flavorful treat in just a few simple steps. Whether you enjoy it on its own or topped with your favorite additions, this homemade ice cream is sure to satisfy your cravings for something sweet and indulgent. Try it today, and treat yourself to a delicious, easy-to-make dessert that will wow everyone!
ADVERTISEMENT
