ADVERTISEMENT
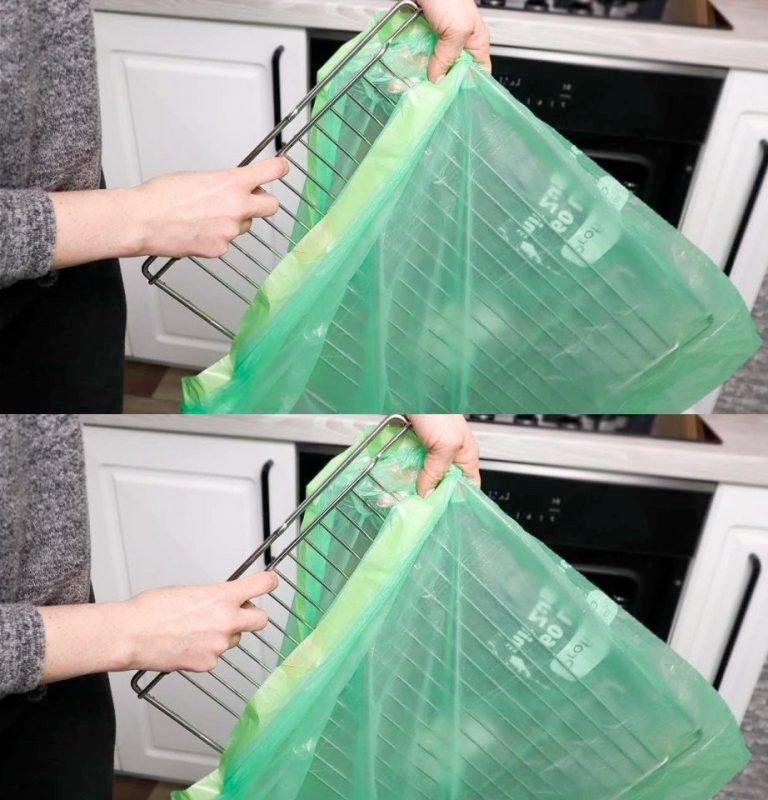
4. **Seal the Bag**: Once the ammonia is in the bag, seal it tightly. Make sure that the bag is completely closed to prevent the fumes from escaping. You want the ammonia vapors to be trapped inside, as this is what will work to loosen the grease.
5. **Let It Sit**: Now, the most important step is to let the bag sit undisturbed for at least 12 to 24 hours. The ammonia will work its magic by breaking down the stubborn grease, oils, and food residue, making it much easier to wipe away later.
6. **Remove and Wipe Down**: After the waiting period, carefully remove the grate from the bag. You’ll want to wear rubber gloves during this process, as ammonia can be harsh on the skin. Open the bag carefully in a well-ventilated area to avoid inhaling the fumes.
7. **Wipe the Grate**: Using a paper towel, newspaper, or a clean cloth, wipe down the grate. You’ll notice that the grease and grime will come off easily, without the need for heavy scrubbing. If there are any stubborn spots, you can wipe them away with a little bit more ammonia or warm water.
8. **Rinse and Dry**: Once the grate is clean, rinse it off with warm water to remove any remaining ammonia residue. Dry it thoroughly with a clean cloth before returning it to your stove, oven, or grill.
### **Why This Method Works So Well**
The combination of ammonia and a sealed plastic bag creates an environment that allows the ammonia to break down grease and grime. The vapors work to loosen stubborn food particles, oils, and burnt-on residues, making them far easier to wipe away. The plastic bag keeps everything contained and ensures that the ammonia vapors are concentrated around the grate for maximum cleaning power.
Unlike traditional scrubbing methods, this technique doesn’t require you to exert any physical effort. Instead, you let the solution do the work while you go about your day, making it a low-maintenance and time-saving option.
### **Additional Tips for Cleaning with Ammonia:**
– **Ventilation is Key**: Ammonia has a strong smell, so always clean in a well-ventilated area. If possible, clean your grates outdoors or in a garage with an open window.
– **Don’t Overdo the Ammonia**: A small amount of ammonia goes a long way. Too much ammonia can be overpowering and might cause irritation. Stick to the recommended amount for optimal results.
– **Use in Moderation**: This method works best for occasional deep cleans. For regular maintenance, you may want to clean your grates with a milder solution (such as baking soda and water) to avoid overusing ammonia.
### **Alternative Cleaning Solutions**
If you don’t have ammonia on hand, or if you’re looking for an alternative, there are other effective methods for cleaning grates:
– **Baking Soda and Vinegar**: Create a paste using baking soda and water, apply it to your grates, and let it sit for 15-30 minutes. Spray vinegar on top to create a fizzing reaction, and then wipe away the grime.
– **Dish Soap and Warm Water**: For a gentler solution, mix dish soap with warm water and soak the grates. This method won’t be as effective for heavy grease build-up, but it works well for light cleaning.
### **Final Thoughts**
Cleaning grates and grill racks doesn’t have to be a dreaded task. With the simple trick of soaking your grates in a plastic bag with ammonia, you can eliminate grease and grime without the need for scrubbing. This method saves you time, effort, and frustration, leaving your grates looking as good as new with minimal work.
So, the next time you face a greasy grate, don’t reach for the scrub brush—grab a plastic bag and some ammonia, and let the solution do the hard work for you. Whether it’s your oven rack, stovetop grate, or grill grate, this method is a game-changer for anyone who wants a fast, effective, and eco-friendly cleaning solution. Happy cleaning!
ADVERTISEMENT
