ADVERTISEMENT
### **Instructions:**
#### **Step 1: Prepare the Pie Crust**
1. **Make the Dough:** In a medium bowl, whisk together the flour and salt. Cut in the cold butter using a pastry cutter or your fingers until the mixture resembles coarse crumbs. Gradually add ice water, 1 tablespoon at a time, stirring gently until the dough comes together. Be careful not to overwork the dough.
2. **Chill the Dough:** Shape the dough into a disk, wrap it in plastic wrap, and refrigerate for at least 30 minutes. This helps to firm up the butter, resulting in a flaky crust.
3. **Roll Out the Dough:** Once chilled, remove the dough from the fridge and roll it out on a lightly floured surface. Roll it to about 1/8-inch thickness, then transfer it to a 9-inch pie pan. Press the dough gently into the bottom and sides of the pan.
4. **Blind Bake (Optional):** To ensure a crisp, non-soggy bottom crust, you can blind bake the crust. To do this, line the crust with parchment paper or aluminum foil, fill it with pie weights or dried beans, and bake at 375°F (190°C) for about 15 minutes. After 15 minutes, remove the weights and paper, and bake for an additional 5-7 minutes until golden. If you prefer a no-bake crust, skip this step and proceed directly to filling.
#### **Step 2: Make the Chocolate Filling**
1. **Combine Dry Ingredients:** In a medium saucepan, whisk together the sugar, cocoa powder, cornstarch, and salt. This ensures that the dry ingredients are evenly distributed and helps prevent lumps in your pie filling.
2. **Add Milk and Heat:** Gradually whisk in the milk, making sure to dissolve the dry ingredients fully into the liquid. Place the saucepan over medium heat and cook, stirring constantly, until the mixture begins to thicken—about 8-10 minutes.
3. **Temper the Egg Yolks:** Once the mixture thickens, take a small amount of the hot mixture and slowly pour it into the beaten egg yolks while whisking constantly. This step, called tempering, helps to prevent the eggs from curdling when added to the hot filling.
4. **Cook the Filling:** Slowly pour the tempered egg yolks back into the saucepan with the rest of the chocolate mixture, continuing to whisk. Keep stirring over medium heat until the filling thickens further and comes to a gentle boil (about 2-3 minutes). The filling should be creamy and smooth.
5. **Finish the Filling:** Remove the saucepan from the heat and stir in the butter and vanilla extract. The butter will make the filling extra smooth and glossy. Let the filling cool for about 5 minutes before pouring it into the prepared pie crust.
#### **Step 3: Assemble and Chill the Pie**
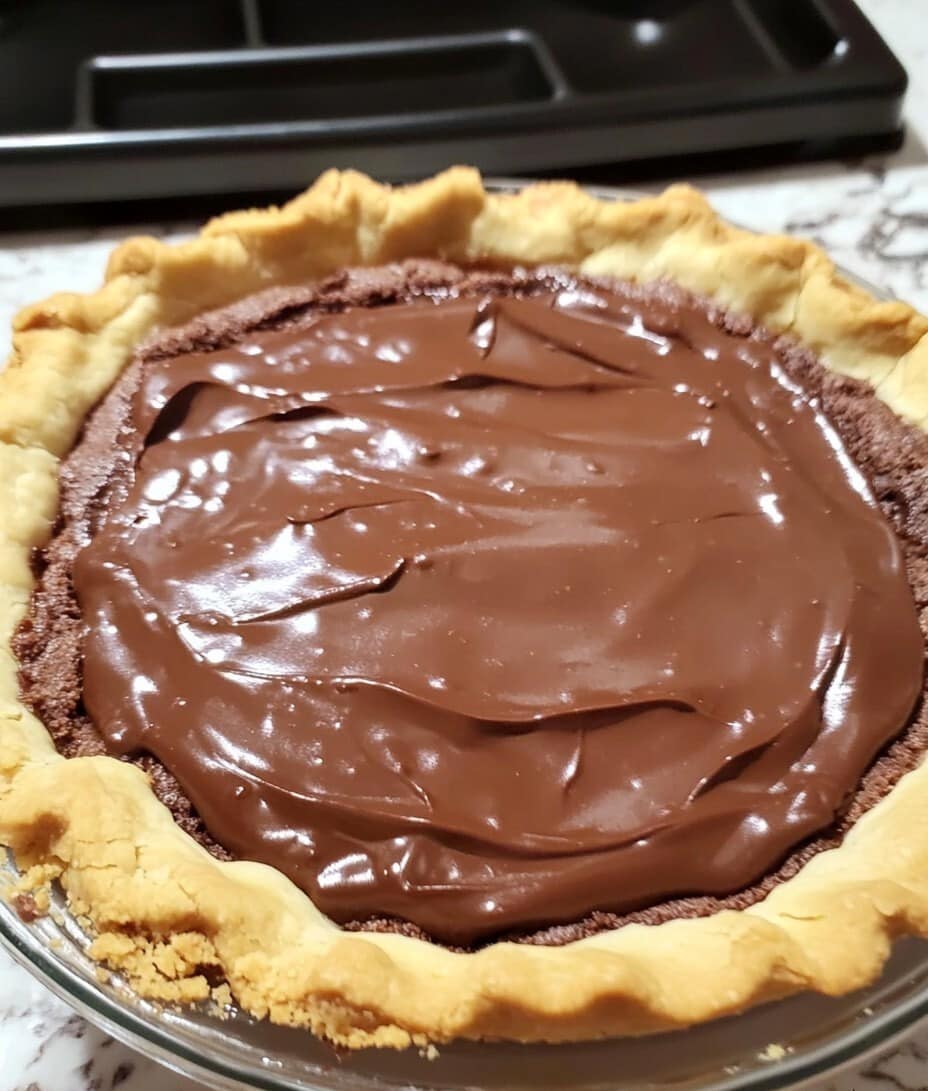
1. **Pour the Filling into the Crust:** Once the filling has slightly cooled, pour it into the pre-baked or unbaked pie crust. Use a spatula to smooth the top.
2. **Chill the Pie:** Let the pie cool at room temperature for about 30 minutes before transferring it to the fridge. Chill for at least 2-3 hours (or overnight) to allow the filling to set.
#### **Step 4: Serve and Enjoy**
Once your Old Fashioned Chocolate Pie is set and ready, slice it up and serve! For an extra indulgent touch, top each slice with a dollop of freshly whipped cream or even a sprinkle of shaved chocolate. The creamy, rich chocolate filling combined with the crisp crust will make this dessert a hit with everyone at the table.
### **Why This Recipe Works**
What makes this chocolate pie so irresistible is the balance of **smooth chocolate filling** and **flaky pie crust**. The filling is made from simple ingredients that come together to create a rich, creamy texture that’s not too sweet, just perfectly chocolatey. And the **buttery homemade crust** adds the perfect crunch to each bite, providing a satisfying contrast to the smooth filling. This recipe is a nod to tradition, bringing back the comforting tastes of homemade desserts.
### **Tips for the Perfect Chocolate Pie:**
– **Use Whole Milk:** For the creamiest texture, it’s best to use whole milk in the filling. Skim or low-fat milk may result in a less rich filling.
– **Don’t Rush the Cooling Process:** Allow the pie to fully cool and set in the fridge before serving. This helps the filling firm up, making it easier to slice and serve neatly.
– **Whipped Cream Topping:** While the pie is decadent on its own, a light and airy whipped cream topping adds a lovely balance and a touch of elegance. You can also sprinkle shaved chocolate or cocoa powder for a professional-looking finish.
– **Blind Baking the Crust:** If you prefer an extra-crispy pie crust, consider blind baking the crust. This helps to avoid a soggy bottom, especially when dealing with a custard-style filling like this one.
### **Conclusion: A Timeless Classic**
This **Old Fashioned Chocolate Pie** recipe is more than just a dessert—it’s a piece of nostalgia and a taste of tradition. With its creamy filling, flaky crust, and rich chocolate flavor, it’s no wonder this pie has been a favorite for generations. Whether you’re serving it for a special occasion or just because you want something sweet, this pie is sure to be a crowd-pleaser.
So, next time you’re in the mood for a homemade dessert, skip the store-bought options and whip up this easy, timeless recipe. With each bite, you’ll be savoring a taste of the past, all while creating new memories with those you love. Enjoy!
ADVERTISEMENT
