ADVERTISEMENT
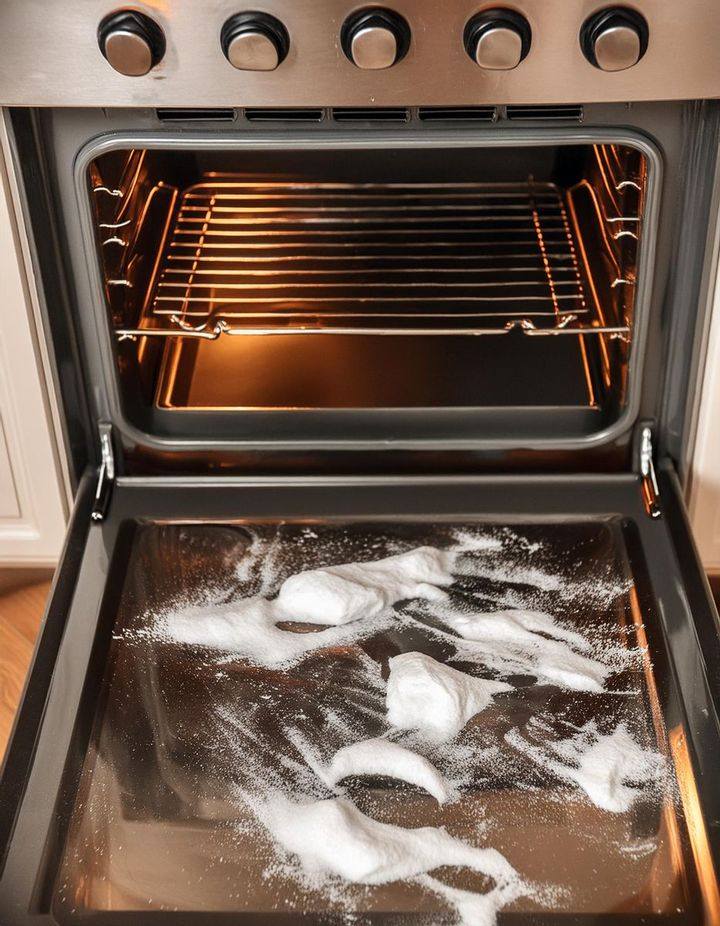
3. **Apply the Paste**: Once the paste is ready, use a spatula or your hands to spread it over the interior surfaces of your oven. Focus on areas with heavy buildup, such as the bottom of the oven or around the door. Make sure to cover every greasy spot for the best results.
4. **Let It Sit**: Allow the paste to sit for at least 15 minutes (or up to 30 minutes for tougher stains). The baking soda will work to loosen the grease and grime, making it easier to scrub away.
5. **Spray the Vinegar**: After waiting, lightly spritz the paste with the vinegar from the spray bottle. The vinegar will react with the baking soda, causing a fizzing action. This reaction helps to lift and dissolve stubborn stains, making it much easier to clean the oven.
6. **Scrub Away**: Use a scrub brush or sponge to gently scrub away the paste and grime. For tougher spots, you may need to apply a little more pressure, but avoid using anything too abrasive that could scratch the oven’s surface.
7. **Wipe It Down**: After scrubbing, use a damp microfiber cloth or paper towel to wipe away any remaining paste and vinegar residue. If there’s any leftover buildup, repeat the process until the oven is completely clean.
8. **Buff for Shine**: For an extra shine, use a dry microfiber cloth to buff the surface. This will remove any remaining moisture and leave your oven looking sparkling clean.
### **Tips for Best Results:**
– **For Stubborn Grease**: If you’re dealing with particularly stubborn grease, let the paste sit for up to an hour before scrubbing. The longer you allow the mixture to work, the easier it will be to remove tough stains.
– **Use a Resealable Bag for the Oven Racks**: For extra convenience, place your oven racks in a resealable plastic bag, add some of the baking soda paste, and seal the bag. Let them sit for a few hours or overnight, then scrub them clean with a sponge.
– **Regular Maintenance**: To keep your oven cleaner for longer, wipe it down after each use, especially if there’s any splattering or spills. This will prevent grease from building up, making deep cleaning much easier in the long run.
### **Why This DIY Oven Cleaner Works Wonders**
– **Non-Toxic**: All the ingredients used in this cleaner are non-toxic and safe for your family. There’s no need to worry about harsh fumes or chemicals lingering in your kitchen.
– **Cost-Effective**: Baking soda, vinegar, and dish soap are affordable and can be used for many other cleaning tasks around the house.
– **Natural Degreaser**: Baking soda’s mild abrasiveness and vinegar’s acidity make a perfect combo for breaking down tough grease and grime without harming your oven.
– **Fresh Scent**: Unlike commercial cleaners, which often leave behind a chemical smell, this DIY cleaner leaves your kitchen smelling fresh and clean with no overpowering odors.
### **Conclusion: Clean Your Oven the Natural Way**
Cleaning your oven doesn’t have to involve harsh chemicals or expensive products. This simple, all-natural DIY oven cleaner is effective, safe, and easy to make. With just a few ingredients, you can remove built-up grease, grime, and stains, leaving your oven spotless and shiny. Best of all, you’ll never have to buy another commercial oven cleaner again!
Give this method a try, and you’ll quickly see why this DIY solution is a total game-changer for your kitchen cleaning routine. Happy cleaning!
ADVERTISEMENT
