ADVERTISEMENT
#### 3. **Bake the Cake**
Pour the batter evenly into two **greased and floured round cake pans** (9-inch pans work perfectly). Spread the batter out evenly with a spatula. Bake in the preheated oven for **25-30 minutes**, or until a toothpick inserted into the center of the cakes comes out clean.
Allow the cakes to cool in the pans for about 10 minutes, then turn them out onto a wire rack to cool completely.
#### 4. **Prepare the Cream Filling**
While the cakes are cooling, whip the **heavy cream** with the **powdered sugar** and **vanilla extract** in a chilled bowl until soft peaks form. Be careful not to over-whip, as the cream can turn into butter if beaten too long. Once it’s whipped to perfection, set it aside.
#### 5. **Assemble the Cake**
Once the cakes have completely cooled, place one cake layer on your serving plate or cake stand. Spread a generous layer of whipped cream over the top of the cake, making sure it’s evenly distributed.
Place the second cake layer on top and press down gently to secure it. Then, cover the entire cake with the remaining whipped cream, smoothing it out with a spatula to create a beautiful, even layer.
#### 6. **Add the Toasted Coconut**
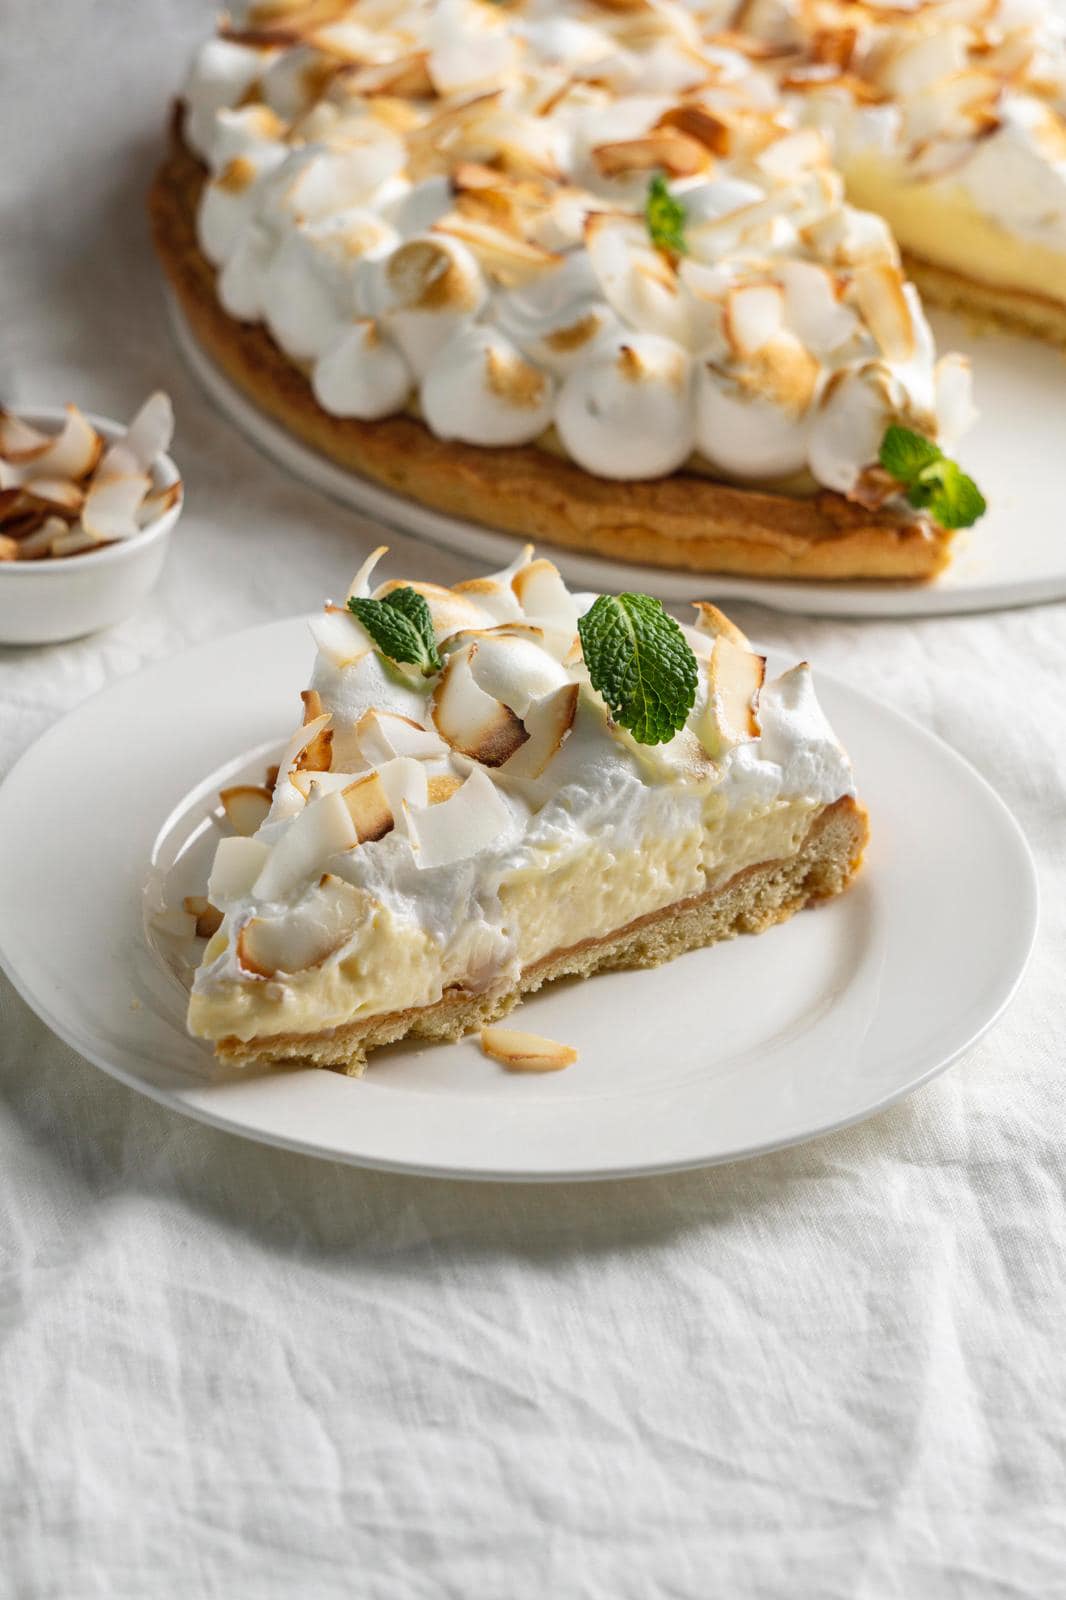
Generously sprinkle the **toasted coconut** all over the top and sides of the cake. Be sure to cover it thoroughly to give each slice a delicious coconut crunch. For an extra touch, you can add a few extra toasted coconut flakes on the top of the cake for decoration.
#### 7. **Optional Garnishes**
If you’d like, you can add **fresh berries** like raspberries, blueberries, or strawberries on top of the cake for a pop of color and an added layer of flavor. This is optional but makes the cake look even more stunning!
#### 8. **Chill and Serve**
For the best flavor and texture, let the cake chill in the fridge for about an hour before serving. This allows the cream to set and the flavors to meld together. Slice, serve, and enjoy the delicious, creamy, and coconutty goodness!
—
### Tips for Making the Best Cream Cake with Toasted Coconut
– **Use Full-Fat Ingredients**: For the richest flavor and best texture, opt for full-fat **sour cream** and **heavy cream**. They help create a smoother, creamier cake and filling.
– **Don’t Overbake**: Make sure you’re keeping an eye on your cake while it’s in the oven. Overbaking can lead to dry cake, and you want this to be as light and fluffy as possible.
– **Make It in Advance**: This cake can be made the day before your event. Just store it covered in the fridge to keep it fresh. The cream will set beautifully overnight, making the texture even better.
– **Coconut Variations**: If you prefer a slightly different flavor, you can experiment with **unsweetened shredded coconut** for a less sweet taste or even toast some **coconut flakes** for a larger texture and crunch.
—
### Why This Cream Cake with Toasted Coconut Is a Winner
This cake is a perfect balance of light and creamy, with the coconut adding a satisfying crunch and depth of flavor that makes it stand out from other cream cakes. The fluffy cake layers melt in your mouth, while the whipped cream filling is perfectly smooth and airy. The toasted coconut brings everything together, making each slice feel like a tropical getaway.
Whether you’re serving it at a party, bringing it to a potluck, or simply enjoying it at home with family, this **Delicious Cream Cake with Toasted Coconut** is sure to become your go-to dessert. It’s beautiful, flavorful, and totally irresistible!
—
### Final Thoughts
If you’re looking for a dessert that will impress your guests and satisfy your sweet tooth, look no further than this **Delicious Cream Cake with Toasted Coconut**. With its soft, fluffy layers, rich cream filling, and crunchy toasted coconut, it’s a treat that’s as easy to make as it is to enjoy.
So, gather your ingredients, fire up your oven, and prepare for a slice of pure bliss!
ADVERTISEMENT
