ADVERTISEMENT
#### Step 1: Turn Off the Water Supply
Before you begin any repairs, it’s important to turn off the water supply to the toilet. Locate the shut-off valve, which is typically found behind the toilet near the wall, and turn it clockwise to close it. This will prevent any water from flowing while you’re working.
#### Step 2: Inspect the Flapper Valve
The most common culprit for a running toilet is a faulty flapper valve. Over time, flappers can become worn, cracked, or covered in mineral deposits, preventing them from forming a proper seal.
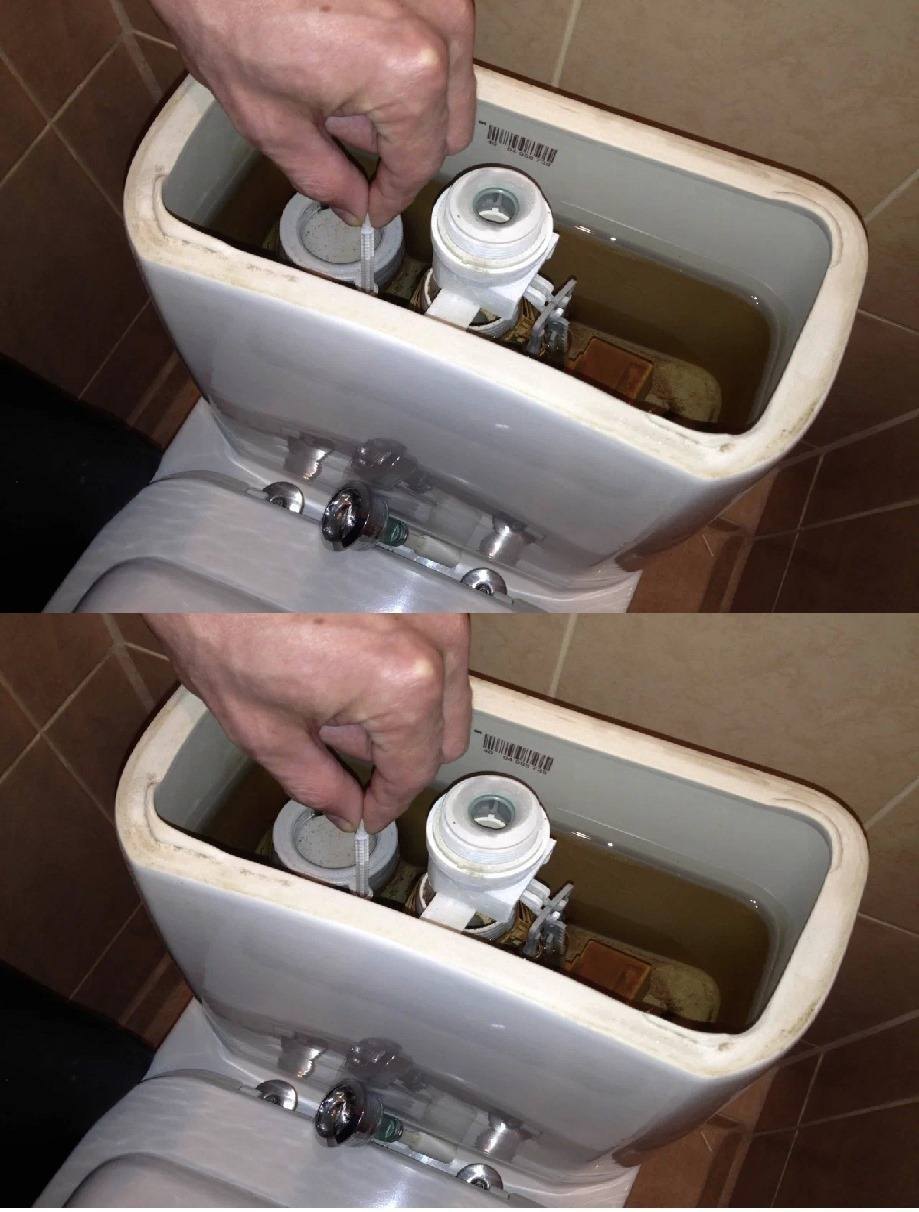
– **Check the Flapper:** Lift the lid off the toilet tank and inspect the flapper, which is usually a rubber or plastic piece that sits over the opening at the bottom of the tank. If it’s worn, cracked, or covered in buildup, it needs to be replaced.
– **Test the Seal:** Gently press down on the flapper to see if it properly seals the opening. If water stops flowing when you press it down, it’s likely that the flapper is the issue.
#### Step 3: Replace the Flapper (if necessary)
If the flapper is damaged, it’s time to replace it. Flappers are inexpensive and easy to find at most hardware stores.
– **Remove the Old Flapper:** Disconnect the chain from the flapper, and unhook it from the pegs that hold it in place. Remove the old flapper from the tank.
– **Install the New Flapper:** Place the new flapper in the tank and attach it to the pegs. Reconnect the chain to the flush handle arm, ensuring there’s enough slack for the flapper to close properly. Make sure the flapper is securely in place and aligned with the tank opening.
#### Step 4: Adjust the Chain Length
The chain connected to the flapper can sometimes cause problems if it’s too tight or too loose. If the chain is too tight, it may prevent the flapper from closing properly, causing water to continuously flow. If it’s too loose, the flapper may not open fully when you flush.
– **Adjust the Chain:** If the chain is too tight, loosen it slightly. If it’s too loose, tighten it a bit. The chain should have a little slack when the flapper is closed, but not so much that it prevents the flapper from sealing properly.
#### Step 5: Check the Fill Valve (if necessary)
If your toilet continues to run after replacing the flapper, the issue may be with the fill valve. A malfunctioning fill valve can cause the tank to overfill, leading to a constant running sound.
– **Inspect the Fill Valve:** Look at the fill valve (the long vertical tube inside the tank) to see if it’s corroded or damaged. If the fill valve appears to be the problem, it’s best to replace it.
– **Adjust the Fill Valve:** If the fill valve seems fine but the tank is overfilling, it may need to be adjusted. Most fill valves have a height adjustment screw or clip that can be used to change the water level in the tank. Adjust the screw to lower the water level slightly, which should prevent it from running into the overflow tube.
#### Step 6: Turn the Water Supply Back On
Once you’ve replaced the flapper and adjusted the chain and fill valve, it’s time to turn the water supply back on. Slowly turn the shut-off valve counterclockwise to allow the tank to fill. Wait a few moments and check for any leaks or issues.
#### Step 7: Test the Toilet
Flush the toilet a few times to make sure everything is working properly. The flapper should close securely, and the water level should stop rising once the tank is full. If the problem persists, you may need to adjust the fill valve further or replace additional parts.
### Additional Tips
– **Clean the Tank:** While you’re working on your toilet, take a few minutes to clean the inside of the tank. Mineral buildup or grime can affect the functionality of the components.
– **Check for Leaks:** After completing the repair, check the area around the tank for any signs of leaks. If you notice any, make sure all connections are tight, and consider replacing any damaged seals or washers.
– **Consider Professional Help:** If you’ve followed these steps and the toilet is still running, it may be time to call a plumber. Some plumbing issues, such as a problem with the toilet’s float mechanism or more extensive damage to the tank, may require professional attention.
### Conclusion
A running toilet doesn’t have to be a persistent issue. With this simple method from an experienced plumber, you can solve the problem once and for all. By replacing the faulty flapper, adjusting the chain and fill valve, and ensuring everything is properly aligned, your toilet will run smoothly without wasting water or causing frustration.
Next time you hear that annoying sound of water running in your toilet, you’ll know exactly what to do. Fixing a running toilet is a quick and easy DIY project that will save you both time and money, and help restore peace and quiet to your bathroom!
ADVERTISEMENT
ADVERTISEMENT
