ADVERTISEMENT
### **How to Make No-Time Bread**
Now that you have your ingredients, let’s get started! Making no-time bread is incredibly simple and quick—perfect for a busy weekday or when you’re craving something fresh and homemade.
#### **1. Preheat Your Oven**
Start by preheating your oven to **375°F (190°C)**. This ensures that it’s nice and hot when your bread goes in, allowing the dough to rise quickly and evenly.
#### **2. Mix the Dry Ingredients**
In a large mixing bowl, combine the **flour**, **baking powder**, **salt**, and **sugar**. Stir these ingredients together to ensure they are evenly distributed. This will give your bread a consistent texture and flavor.
#### **3. Add the Wet Ingredients**
Pour the **milk** and **melted butter** into the dry ingredients. Stir everything together until the mixture forms a thick, sticky dough. Don’t worry if it feels a bit lumpy—no kneading is required, and that’s the beauty of this quick bread.
#### **4. Prepare Your Pan**
Grease a loaf pan with a little butter or cooking spray to prevent the bread from sticking. You can also line the pan with parchment paper for easier removal.
#### **5. Transfer the Dough**
Transfer the dough to your prepared loaf pan. Use a spatula or spoon to spread the dough evenly in the pan. You don’t need to shape it or worry about perfection—just get it in the pan and smooth out the top as best as you can.
#### **6. Bake the Bread**
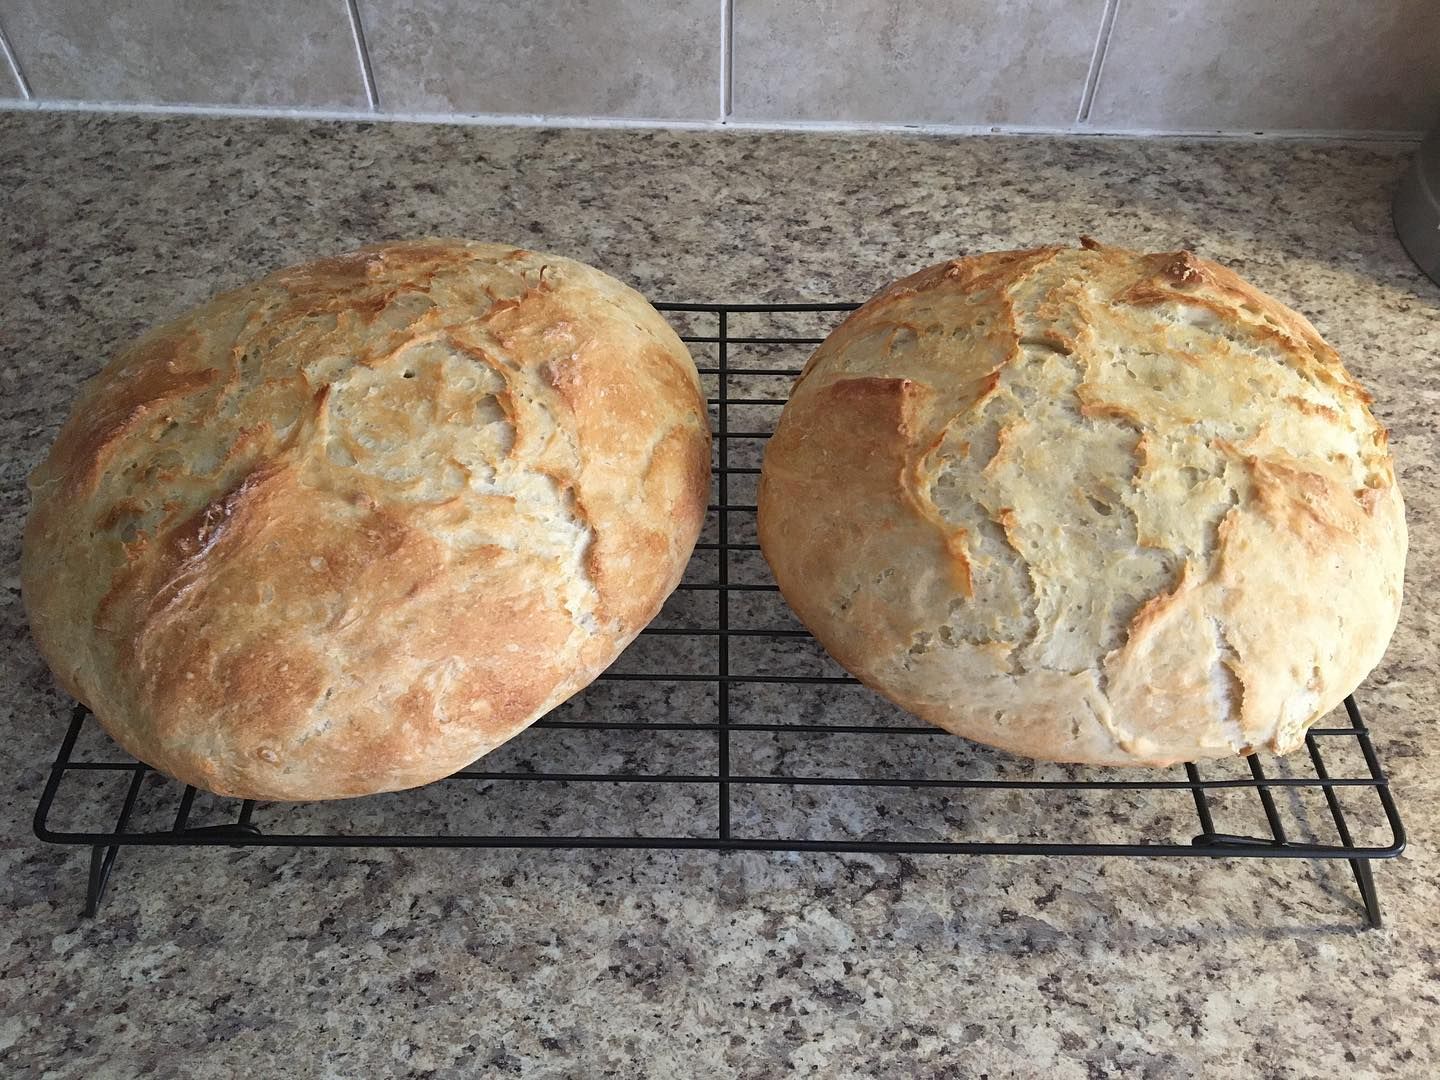
Place the loaf pan in the preheated oven and bake for **30-35 minutes**. You’ll know the bread is done when it turns golden brown on top and a toothpick inserted into the center comes out clean. The top should also spring back when lightly pressed.
#### **7. Cool and Serve**
Once the bread is done baking, remove it from the oven and let it cool in the pan for about 10 minutes. Then, transfer it to a wire rack to cool completely. Slice and enjoy while it’s still warm!
### **Customizing Your No-Time Bread**
While the basic no-time bread recipe is delicious on its own, there are plenty of ways to customize it to suit your taste preferences. Here are a few ideas:
– **Add Herbs**: Add 1-2 tablespoons of dried herbs (such as rosemary, thyme, or oregano) to the dry ingredients for a savory flavor. Fresh herbs can also be added, but make sure to finely chop them.
– **Cheese and Garlic**: Mix in 1 cup of shredded cheese (cheddar, mozzarella, or Parmesan) and 1-2 cloves of minced garlic for a flavorful, cheesy loaf. This works great for pairing with pasta or soups.
– **Add-ins**: Stir in some **chopped nuts**, **raisins**, or **seeds** for added texture and flavor. Walnuts, sunflower seeds, or even dried cranberries can make a lovely addition.
– **Sweeten It**: If you prefer a slightly sweet bread, add a bit more sugar (1/4 cup) or try adding **vanilla extract** for a richer taste. You can also stir in a handful of **chocolate chips** or **cinnamon** for a cozy, sweet twist.
– **Glaze or Toppings**: For a delicious finishing touch, brush the top of the bread with a little **melted butter** as it comes out of the oven. You can also sprinkle some coarse salt on top for a savory finish.
### **Tips for Perfect No-Time Bread**
– **Don’t Overmix**: When combining the wet and dry ingredients, be careful not to overmix the dough. Overmixing can lead to a denser loaf. Stir just until combined.
– **Check for Doneness**: If you’re unsure if the bread is fully baked, use the toothpick test. Insert a toothpick into the center of the bread—if it comes out clean or with just a few crumbs, your bread is done.
– **Use Room Temperature Ingredients**: Using room temperature milk and melted butter will help the ingredients combine more smoothly and ensure a lighter texture.
– **Storage**: Store leftover no-time bread in an airtight container at room temperature for up to 3 days. If you want to keep it longer, you can freeze slices for up to a month. Just toast or warm them up when you’re ready to eat!
### **Why You’ll Love No-Time Bread**
– **Speedy**: No-time bread is incredibly quick to make, perfect for those moments when you want fresh bread but don’t have time for the usual bread-making process.
– **Minimal Effort**: With no kneading, rising, or yeast required, this bread requires very little hands-on time, making it ideal for beginner bakers or those short on time.
– **Customizable**: From savory to sweet, you can adapt this recipe to suit your tastes and the occasion, whether it’s a cozy dinner, a picnic, or a snack.
– **Fresh and Delicious**: Despite its simplicity, this bread is soft, flavorful, and satisfying. It’s perfect for any meal and is sure to impress anyone who gets to enjoy it.
### **Final Thoughts**
No-time bread is a game-changer for anyone who loves fresh, homemade bread but doesn’t want to spend hours in the kitchen. It’s simple, quick, and easy to make, and it produces a soft, delicious loaf every time. Whether you enjoy it with a hearty soup, as a side for dinner, or as a snack with butter, you’ll be amazed at how such a simple recipe can deliver such delicious results.
So, the next time you’re craving fresh bread, try making no-time bread. It’s the easiest way to bring the comforting, satisfying taste of homemade bread to your table in no time at all!
ADVERTISEMENT
