ADVERTISEMENT
#### 4. **Humidity: Orchids Love Moisture**
Being tropical plants, orchids love a humid environment. Florists make sure their orchids have plenty of humidity to promote strong growth and vibrant blooms.
**Increasing humidity for your orchids**:
– **Humidity Trays**: Place a shallow tray filled with water and pebbles underneath the orchid pot. As the water evaporates, it will raise the humidity level around the plant.
– **Misting**: Light misting can help increase humidity around the orchid, but be careful not to overdo it, as this can encourage mold growth. A few spritzes once or twice a day should suffice.
– **Room Humidity**: Keep your orchids in rooms with higher humidity, such as bathrooms or kitchens, or use a humidifier in the room where you keep your plants.
#### 5. **Fertilizing: Feeding for Maximum Blooming**
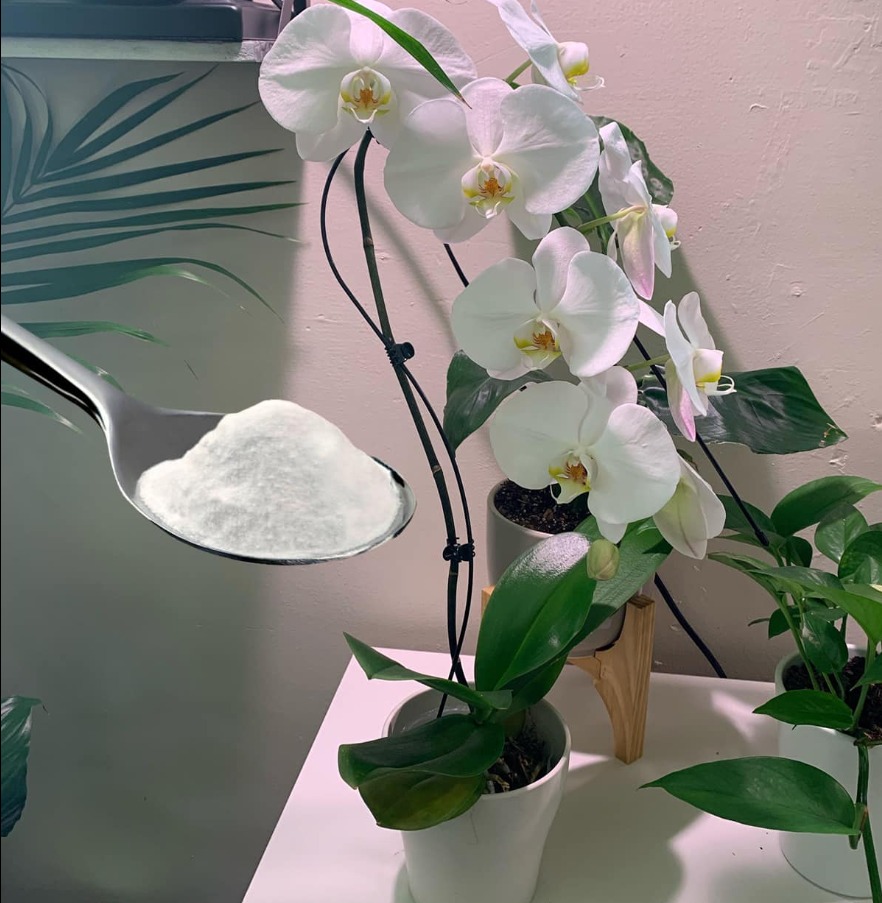
Florists know that a healthy orchid needs a good diet to produce those stunning flowers. Orchids require a balanced fertilizer to promote growth and flowering, but it’s important not to over-fertilize, which can damage the plant.
**How to fertilize your orchid**:
– **Use Orchid-Specific Fertilizer**: Choose a fertilizer specially formulated for orchids, ideally with a balanced ratio of nitrogen, phosphorus, and potassium (such as 30-10-10).
– **Fertilizing Schedule**: During the growing season (spring and summer), feed your orchid every two weeks. In the fall and winter, reduce fertilizing to once a month since the orchid’s growth slows down.
– **Dilute the Fertilizer**: Always dilute the fertilizer to half-strength to prevent overfeeding, which can harm the roots and leaves.
#### 6. **Repotting: Providing Fresh Soil**
Orchids need fresh, well-draining soil to thrive. Florists repot orchids every 1-2 years to ensure the roots have enough space to grow and that the plant gets the nutrients it needs.
**Repotting Tips**:
– **When to Repot**: Repot your orchid when you notice the roots outgrowing the pot or if the potting mix seems degraded.
– **Repotting Method**: Gently remove the orchid from its old pot, trim any dead or rotting roots, and place it into a new pot with fresh orchid-specific potting mix, which typically includes bark, sphagnum moss, and perlite. Make sure the orchid is sitting at the right depth—just below the rim of the pot.
#### 7. **Pruning and Aftercare: Encouraging Reblooms**
Once your orchid has finished blooming, florists know it’s essential to properly prune the flower spike to encourage reblooming. If the flower spike is cut too early, the plant may not have enough energy to produce new flowers.
**How to prune for reblooming**:
– **Cut the Flower Spike**: After the orchid finishes blooming, cut the flower spike about an inch above the node (the small bumps on the spike). If the spike turns yellow or brown, it’s best to cut it back entirely.
– **Allow Rest Time**: Orchids need a rest period after blooming, so don’t rush to prune or repot. Let the plant rest for several months, and it will bloom again in its own time.
#### Conclusion: The Florist’s Secret to Orchids That Bloom Beautifully
By understanding and applying these secrets, you can replicate the florist’s success and have orchids that are not only healthy but also continuously bloom with stunning flowers. With the right balance of light, temperature, humidity, watering, fertilizing, and occasional repotting, your orchids will thrive for years to come, delighting you with their breathtaking beauty.
Remember, patience and consistent care are key. Orchids may require a little more attention than other houseplants, but the rewards—those vibrant flowers—are well worth the effort! Happy gardening!
ADVERTISEMENT
