ADVERTISEMENT
### **Instructions**
#### **1. Prepare the Chicken**
– Preheat your oven to 425°F (220°C). Line a baking sheet with parchment paper or aluminum foil for easy cleanup and lightly grease it with cooking spray or olive oil.
– Pat the chicken pieces dry with paper towels. This helps the skin crisp up during baking.
#### **2. Make the Coating**
– In a shallow bowl, combine the flour, paprika, garlic powder, onion powder, thyme, salt, pepper, and cayenne pepper (if using). Mix well.
– In another shallow bowl, pour the buttermilk (or regular milk). Dip each piece of chicken into the buttermilk, coating it evenly.
– Next, dredge the chicken in the seasoned flour mixture, pressing gently to ensure an even coating. Shake off any excess flour.
#### **3. Bake the Chicken**
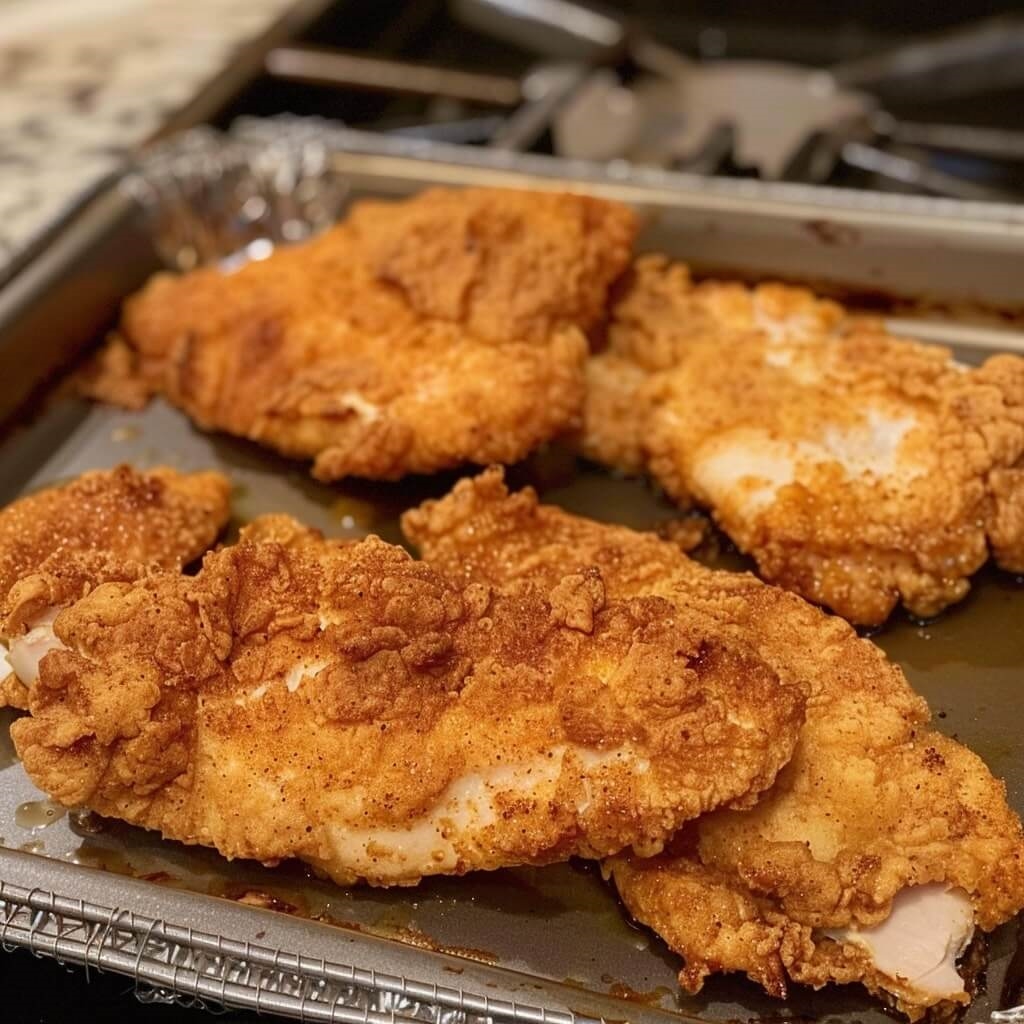
– Place the coated chicken pieces on the prepared baking sheet. Brush the top of each piece with melted butter to help the crust get crispy and golden.
– Bake the chicken for 35-45 minutes, depending on the size of the pieces, flipping the chicken halfway through for even crispiness. The chicken is done when the internal temperature reaches 165°F (74°C) and the crust is golden and crispy.
#### **4. Serve and Enjoy**
– Once the chicken is cooked to perfection, remove it from the oven and let it rest for a few minutes before serving.
– For extra flavor, serve with your favorite dipping sauce, like ranch dressing or honey mustard.
—
### **Why You’ll Love Baked Fried Chicken**
1. **Healthier Alternative**: Unlike traditional fried chicken, this recipe uses the oven to bake the chicken, reducing the amount of oil and fat without sacrificing flavor or texture.
2. **Crispy Texture**: The coating gets wonderfully crispy thanks to the flour mixture and melted butter, giving you that satisfying crunch that you expect from fried chicken.
3. **Juicy Meat**: The bone-in, skin-on chicken ensures that the meat stays juicy and tender during baking, while the skin crisps up to perfection.
4. **Easy Cleanup**: Since you’re baking the chicken, there’s no need to deal with messy frying oil. Plus, the parchment paper or foil on the baking sheet makes cleanup a breeze.
5. **Versatile**: This recipe works for any cut of chicken you prefer—drumsticks, thighs, or even wings. You can customize it to suit your family’s tastes.
—
### **Tips for Perfect Baked Fried Chicken**
– **Don’t Skimp on the Coating**: Make sure to coat the chicken thoroughly in the flour mixture to get that signature crispy crust. Press down gently as you coat the chicken to ensure it sticks well.
– **Use a Wire Rack**: If you have a wire rack, place it on top of the baking sheet and arrange the chicken on it. This helps the heat circulate around the chicken, resulting in an even crispier exterior.
– **Rest the Chicken**: Allow the chicken to rest for a few minutes after baking. This helps the juices redistribute, ensuring the meat stays moist and tender.
– **Flavor Variations**: Feel free to experiment with the seasoning! You can add herbs like rosemary, oregano, or even a bit of lemon zest to the flour mixture for extra flavor.
– **Air Fryer Option**: If you have an air fryer, you can also make this recipe in it for an even crispier result. Just follow the same breading process and cook the chicken in batches at 375°F (190°C) for 20-25 minutes, flipping halfway through.
—
### **Conclusion**
Baked Fried Chicken is the perfect dish for anyone who loves the flavor and crunch of fried chicken but prefers a healthier alternative. It’s easy to make, full of flavor, and will leave your family or guests asking for more. Serve it with a side of mashed potatoes, coleslaw, or cornbread for the ultimate comfort meal. Whether it’s for a weeknight dinner or a weekend gathering, this recipe will quickly become a family favorite that you’ll make again and again.
So, preheat that oven, coat the chicken, and let the magic happen. The crispy, golden, and juicy goodness of Baked Fried Chicken awaits!
ADVERTISEMENT
