ADVERTISEMENT
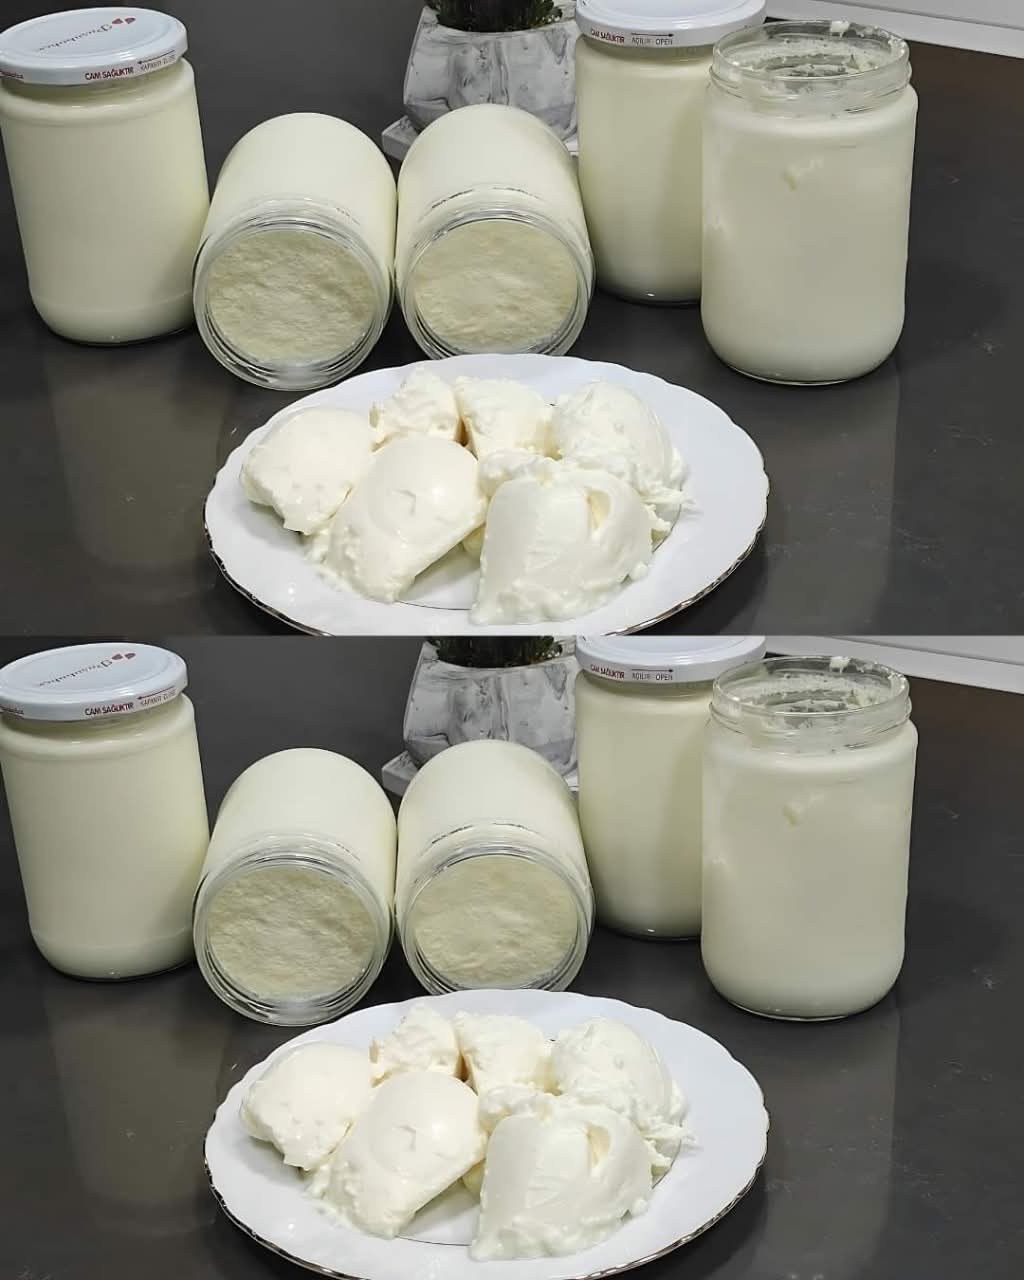
### **The Secret to Delicious Homemade Yogurt That Lasts for Months Without Spoiling**
Making homemade yogurt is not only rewarding but also incredibly satisfying. The rich, creamy texture and tangy flavor of fresh yogurt made from scratch can be far superior to store-bought varieties. However, what if you could make yogurt that lasts for months without spoiling? The secret lies in the preparation process, the right ingredients, and proper storage. Let’s dive into how to make homemade yogurt that stays fresh and delicious for a long time!
—
### **Why Homemade Yogurt?**
Before we get into the secrets, you might wonder: why bother making yogurt at home?
– **Customization**: You can control the flavor, sweetness, and thickness of the yogurt to your personal liking.
– **Healthier**: Homemade yogurt doesn’t contain any artificial preservatives or additives that store-bought yogurt often does.
– **Cost-Effective**: Making yogurt at home is much cheaper than buying it regularly from the store.
– **Probiotic Benefits**: Homemade yogurt is full of probiotics, which are beneficial for gut health, digestion, and boosting immunity.
Now that we know why it’s worth making yogurt at home, let’s get into the steps to ensure it lasts for months without going bad.
—
### **Ingredients You’ll Need**
– **4 cups whole milk** (preferably organic and fresh)
– **2 tablespoons plain yogurt with live cultures** (store-bought or a previous batch of homemade yogurt)
– **1/4 cup powdered milk** (optional, for creamier texture)
– **1 tablespoon sweetener (optional)**: honey, sugar, or maple syrup (for a touch of sweetness)
—
### **Step-by-Step Process to Make Homemade Yogurt**
#### **Step 1: Heat the Milk**
Begin by pouring the milk into a large saucepan. Heat the milk over medium heat, stirring occasionally, until it reaches about 180°F (82°C). This is the ideal temperature for killing any unwanted bacteria and ensuring a smooth texture in your yogurt. If you’re using powdered milk for creaminess, add it now and stir until it dissolves completely.
#### **Step 2: Cool the Milk**
Once the milk reaches 180°F, remove the saucepan from the heat and allow the milk to cool down to about 110°F (43°C). This is the ideal temperature for adding your yogurt culture. It’s important not to add the yogurt starter when the milk is too hot, as it could kill the beneficial bacteria.
#### **Step 3: Add the Yogurt Culture**
In a small bowl, take 2 tablespoons of plain yogurt (store-bought or homemade) and mix it with a little bit of the cooled milk (about 1/2 cup). This helps to dissolve the yogurt and create a smooth mixture. Once it’s well-blended, pour the mixture back into the rest of the cooled milk. Stir gently to combine.
#### **Step 4: Incubate the Yogurt**
Now, you need to maintain a consistent warm temperature to allow the bacteria to work their magic. There are several ways to do this:
– **Yogurt Maker**: If you have a yogurt maker, follow the instructions for incubation, typically 6-8 hours.
– **Oven Method**: Preheat your oven to 100°F (38°C) and turn it off. Place the bowl of milk in the oven, leaving the door closed to maintain the warmth.
– **Thermal Cooker or Slow Cooker**: If you have a thermal cooker or slow cooker with a yogurt setting, use it to keep the milk warm for the incubation period.
During this time, the bacteria will ferment the milk, thickening it into yogurt. The longer you leave it, the thicker and tangier it will be. Once it reaches your desired consistency and flavor (usually 6-8 hours), remove the yogurt from the heat source.
**Step 5: Chill the Yogurt**
Once the yogurt has set, transfer it to the refrigerator and let it chill for at least 4-6 hours. Chilling helps the yogurt to firm up even more and improves its flavor.
For Complete Cooking STEPS Please Head On Over To Next Page Or Open button (>) and don’t forget to SHARE with your Facebook friends
ADVERTISEMENT
