ADVERTISEMENT
### **How to Make Homemade Samoas Cookies**
#### **Step 1: Prepare the Shortbread Base**
1. Preheat your oven to 350°F (175°C). Line two baking sheets with parchment paper.
2. In a large bowl, beat the softened butter and sugar together until light and fluffy. Mix in the vanilla extract.
3. Gradually add the flour and salt, mixing until the dough comes together.
4. Roll out the dough on a floured surface to about 1/4-inch thickness. Using a round cookie cutter (about 2 1/2 inches in diameter), cut out circles. Then, use a smaller round cutter or the end of a piping tip to cut out the center, creating a donut shape.
5. Place the cookies on the prepared baking sheets and bake for 10-12 minutes, or until the edges are lightly golden. Let them cool completely on a wire rack.
—
#### **Step 2: Toast the Coconut**
1. Spread the shredded coconut evenly on a baking sheet.
2. Toast it in the oven at 350°F (175°C) for 5-8 minutes, stirring occasionally to ensure even browning. Keep a close eye on it to avoid burning.
3. Once toasted, set aside to cool.
—
#### **Step 3: Make the Caramel-Coconut Mixture**
1. In a microwave-safe bowl, combine the unwrapped caramels and milk (or heavy cream). Microwave in 30-second intervals, stirring in between, until the caramels are fully melted and smooth.
2. Stir the toasted coconut into the melted caramel until fully combined.
—
#### **Step 4: Assemble the Cookies**
1. Spoon a generous amount of the caramel-coconut mixture onto each shortbread cookie, spreading it evenly over the top. Use your hands or a spatula to gently press the mixture down so it adheres to the cookie base.
2. Let the cookies set for 10-15 minutes to allow the caramel to firm up slightly.
—
#### **Step 5: Add the Chocolate Drizzle**
1. Dip the bottom of each cookie into the melted chocolate, then place the cookies on a sheet of parchment paper to set.
2. Use a spoon or piping bag to drizzle melted chocolate over the top of the cookies in a zigzag pattern for that signature Samoas look.
3. Allow the chocolate to fully set at room temperature or in the refrigerator.
—
### **Why You’ll Love Homemade Samoas**
1. **Fresher Ingredients:** By making them at home, you control the quality of the ingredients, ensuring a fresher and tastier result.
2. **Customizable:** Prefer dark chocolate over milk chocolate? Want a thicker caramel layer? You can tweak the recipe to your taste.
3. **Fun to Make:** Crafting these cookies is a fun activity to enjoy with family or friends.
4. **Available Year-Round:** No need to wait for Girl Scout cookie season! You can satisfy your Samoas cravings anytime.
—
### **Tips for Perfect Homemade Samoas**
– **Chill the Dough:** If the shortbread dough is too soft to work with, refrigerate it for 15-20 minutes before rolling it out.
– **Use a Double Boiler for Chocolate:** Melting the chocolate in a double boiler prevents it from scorching.
– **Keep Your Workspace Cool:** If your kitchen is warm, the caramel or chocolate might become too soft to handle. Work in a cool environment, or pop the cookies in the fridge as needed.
– **Store Properly:** Store your Samoas in an airtight container at room temperature for up to a week or in the refrigerator for up to two weeks.
—
### **Serving Suggestions**
– Pair your homemade Samoas with a hot cup of coffee or tea for a delightful afternoon treat.
– Crumble them over vanilla ice cream for a decadent dessert.
– Package them in a decorative tin or box as a thoughtful homemade gift for friends and family.
—
### **Conclusion**
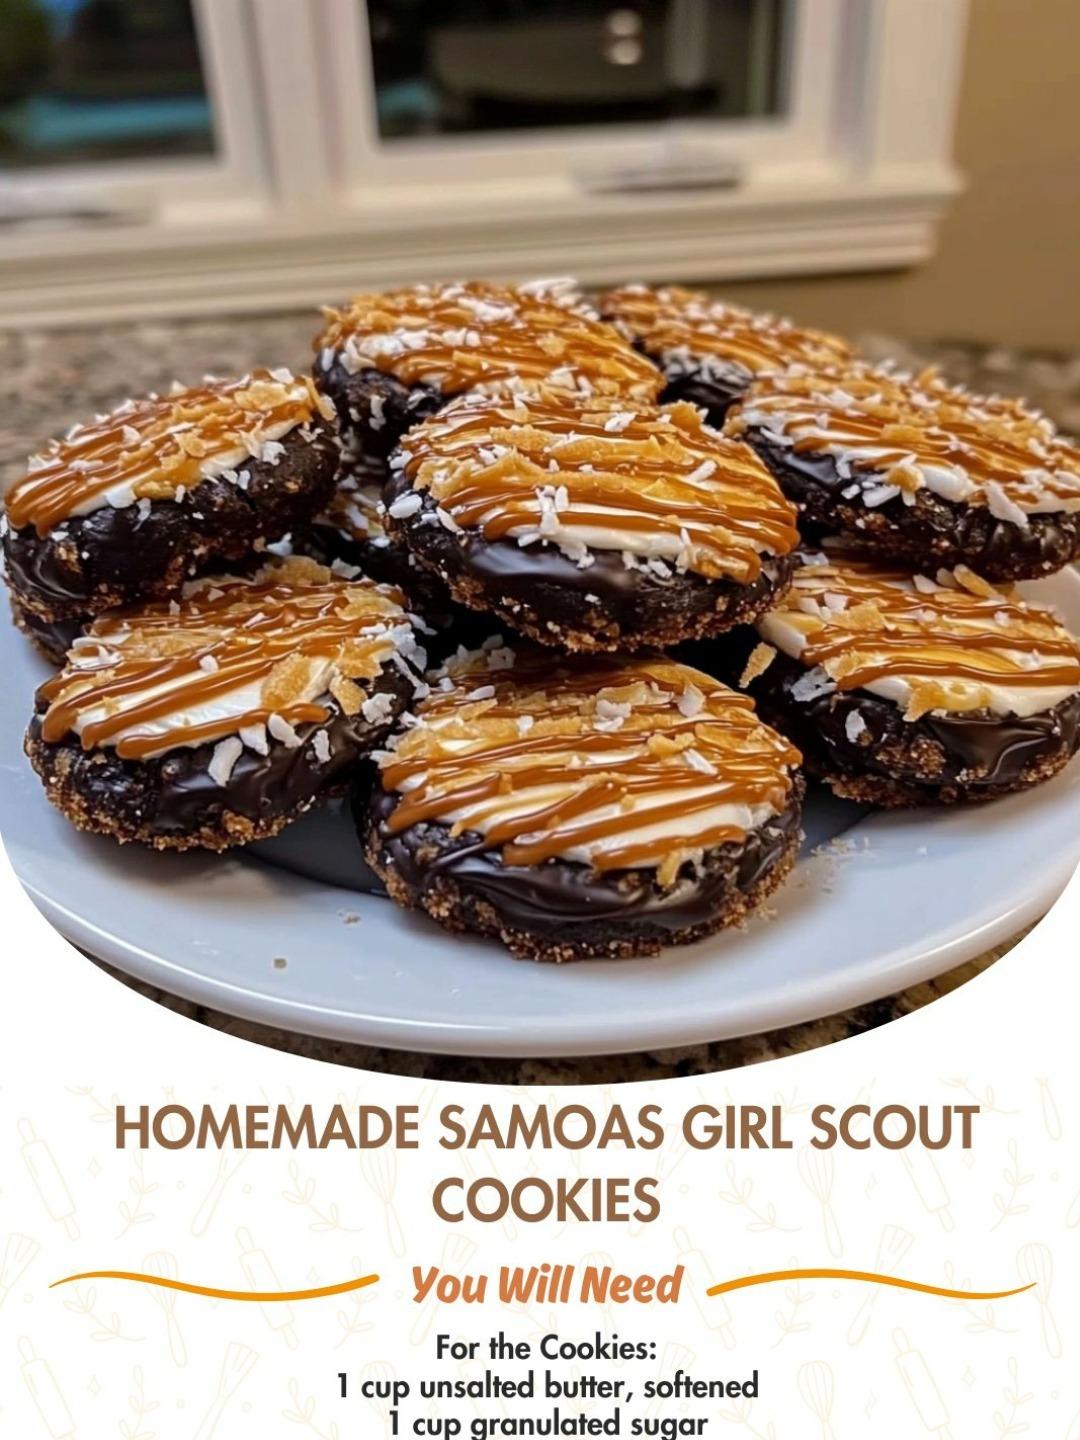
Homemade Samoas Girl Scout Cookies are the perfect way to bring the magic of this classic treat into your kitchen. With their buttery shortbread, caramel-coconut topping, and chocolate drizzle, these cookies are sure to impress anyone who takes a bite. Whether you’re baking them for yourself, sharing them with loved ones, or gifting them for a special occasion, these DIY Samoas are guaranteed to become a favorite.
So, roll up your sleeves, gather your ingredients, and enjoy the rewarding process of creating these delicious cookies from scratch!
ADVERTISEMENT
