ADVERTISEMENT
### Step-by-Step Instructions
#### 1. Preheat and Prepare the Oven
– Preheat your oven to **400°F (200°C)**.
– Line a baking sheet with parchment paper or lightly grease it with cooking spray to prevent the chicken from sticking.
#### 2. Prepare the Chicken
– Pat the chicken pieces dry with paper towels to remove any excess moisture. This step is key to getting that crispy skin.
– In a small bowl, whisk together the **flour**, **garlic powder**, **onion powder**, **paprika**, **salt**, **pepper**, and **cayenne pepper** (if using).
#### 3. Dredge the Chicken
– In a shallow dish, pour the **buttermilk** and whisk in the **Dijon mustard** (if using).
– Dip each piece of chicken into the buttermilk mixture, allowing the excess to drip off.
– Next, coat the chicken in the seasoned flour mixture, pressing lightly to ensure the flour sticks to the chicken.
#### 4. Add Oil for Crispiness
– Drizzle the **olive oil** or **melted butter** over the breaded chicken pieces or lightly brush them with a pastry brush. This helps the coating crisp up beautifully in the oven.
#### 5. Bake the Chicken
– Arrange the breaded chicken pieces on the prepared baking sheet, leaving space between each piece for even cooking.
– Bake in the preheated oven for **35-45 minutes**, turning the chicken halfway through, until the skin is golden brown and the internal temperature reaches **165°F (74°C)**. The chicken should be crispy on the outside and tender on the inside.
#### 6. Serve and Enjoy
– Once baked to perfection, remove the chicken from the oven and let it rest for a few minutes before serving.
– Serve alongside your favorite sides like mashed potatoes, coleslaw, or cornbread for a hearty and satisfying meal.
—
### Tips for Success
1. **Crispier Skin**: For even crispier chicken, place a wire rack on the baking sheet and set the chicken on top of it. This allows hot air to circulate all around the chicken, crisping up every side.
2. **Marinate Overnight**: For an even more flavorful chicken, marinate the chicken in buttermilk and spices overnight. The buttermilk helps tenderize the chicken and adds extra moisture.
3. **Use a Meat Thermometer**: To ensure your chicken is fully cooked without drying out, use a meat thermometer to check that the internal temperature reaches 165°F (74°C).
4. **Flavor Variations**: Feel free to experiment with seasonings. Add dried herbs like thyme or rosemary for a savory twist, or sprinkle in some parmesan cheese for extra flavor.
—
### Pairing Suggestions
– **Sides**: Pair with classic sides like mashed potatoes, roasted vegetables, or a fresh green salad to complement the crispy chicken.
– **Sauces**: Serve with a variety of dipping sauces such as ranch dressing, honey mustard, or barbecue sauce.
– **Drink**: A cold glass of iced tea or lemonade pairs perfectly with the savory and crunchy chicken.
—
### Storing and Reheating
– **Storage**: Store leftover baked fried chicken in an airtight container in the refrigerator for up to **3 days**.
– **Reheating**: To maintain the crispiness, reheat the chicken in a 375°F (190°C) oven for about 10-15 minutes, or until heated through. Avoid microwaving as it can make the coating soggy.
—
### Why This Dish Stands Out
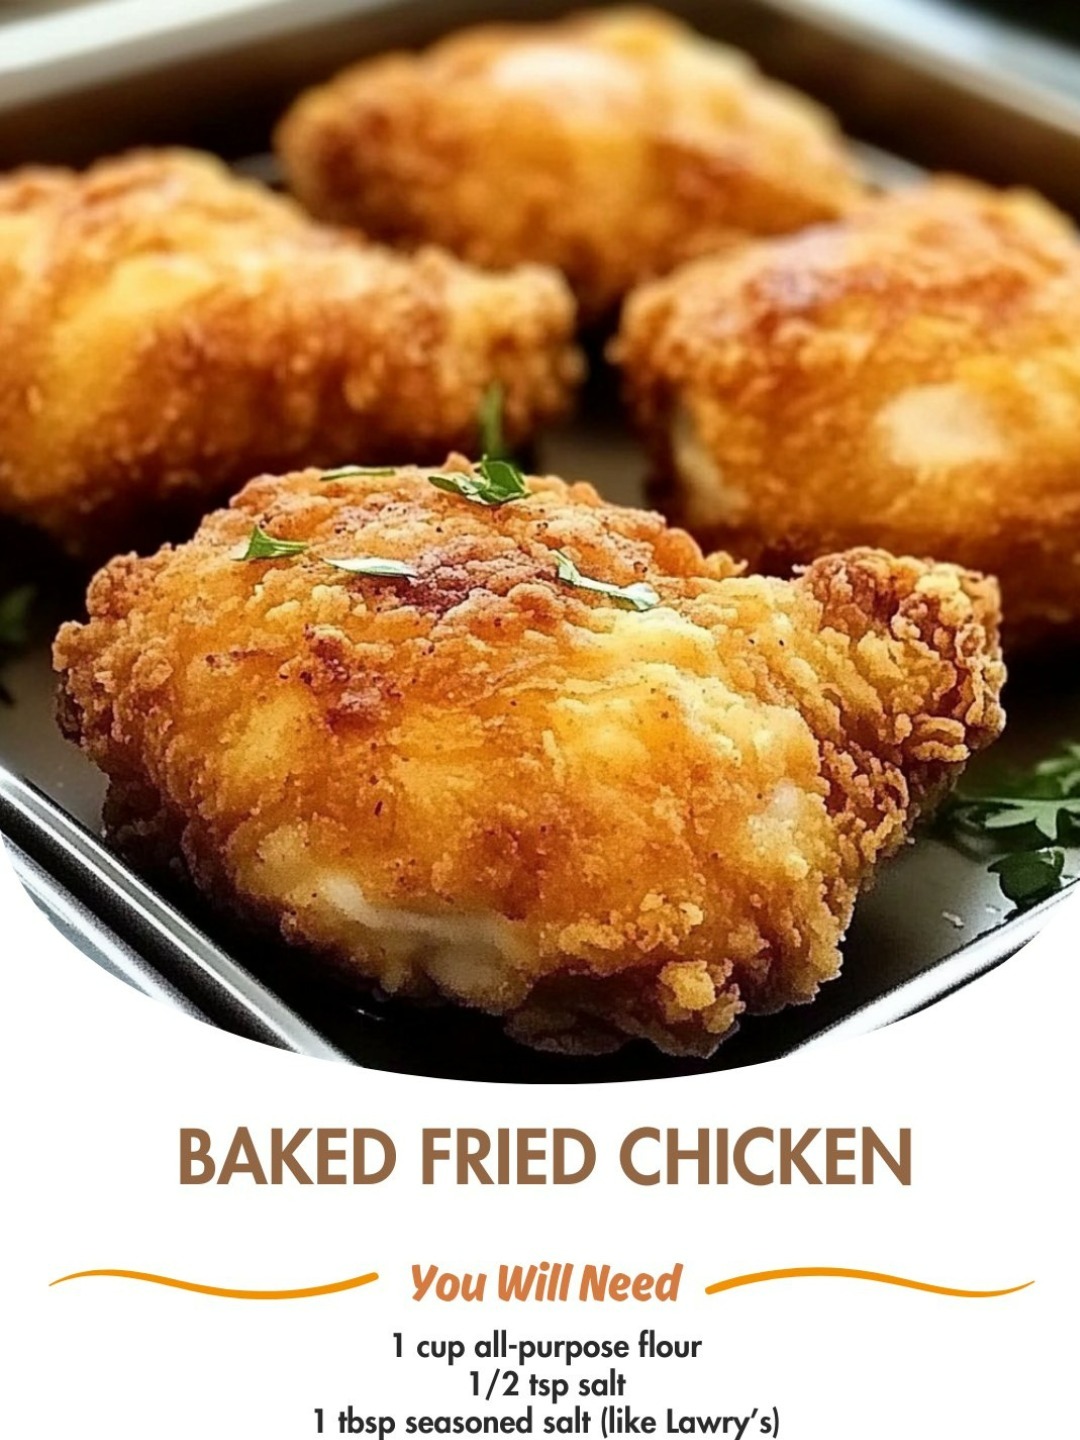
**Baked Fried Chicken** is a fantastic alternative to the deep-fried version, giving you the same satisfying crunch and tender meat, but without the heavy oil. The use of buttermilk and seasoned flour creates a perfectly crispy, flavorful coating, while baking ensures that you don’t lose any of the juiciness. It’s a healthier, easier way to enjoy fried chicken without sacrificing taste.
—
### Conclusion
For a crispy, flavorful dish that’s both healthier and easier than traditional fried chicken, **Baked Fried Chicken** is the way to go. It’s a dish that the whole family will enjoy, whether you’re making it for a weeknight dinner or a weekend gathering. With its golden-brown coating and tender meat, you’ll have everyone coming back for seconds—without the need for a deep fryer!
ADVERTISEMENT
