ADVERTISEMENT
—
### **Instructions:**
#### **Step 1: Prepare the Rice**
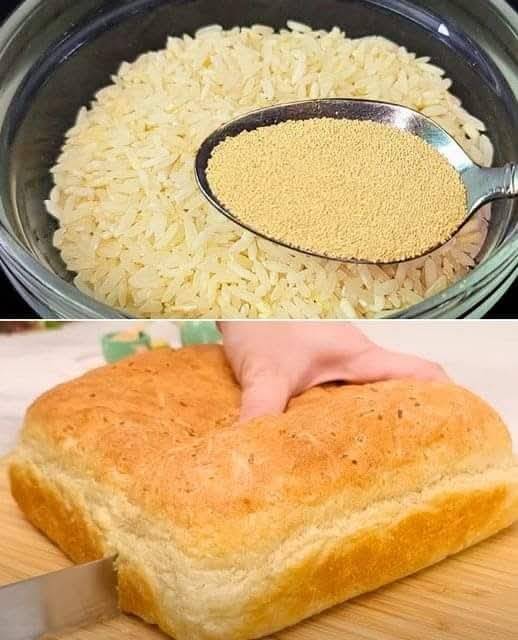
Begin by cooking the rice. You can use any type of rice, but short-grain or medium-grain rice is ideal for its stickier, chewier texture. Once cooked, set the rice aside to cool. If you’re using leftover rice, this recipe is a perfect way to repurpose it.
#### **Step 2: Activate the Yeast**
In a small bowl, combine the warm water with the sugar. Sprinkle the yeast over the top and stir gently to combine. Let the mixture sit for about 5-10 minutes, or until the yeast becomes frothy. This is important because it ensures the yeast is active and ready to work its magic in your dough.
#### **Step 3: Mix the Dough**
In a large bowl, combine the flour and salt. Make a well in the center and pour in the activated yeast mixture and olive oil. Add the cooled rice to the bowl and start mixing with your hands or a spatula. The dough will be a little sticky due to the rice, but that’s normal.
As you mix, you may need to add more flour to achieve a smooth, elastic dough that is just slightly tacky to the touch. Once the dough has come together, turn it out onto a floured surface.
#### **Step 4: Knead the Dough**
Knead the dough for about 5-7 minutes, or until it’s smooth and elastic. You should be able to stretch the dough without it tearing. This process helps to develop the gluten, which gives the bread its structure and soft, airy texture.
#### **Step 5: First Rise**
Place the kneaded dough in a lightly oiled bowl and cover it with a damp cloth or plastic wrap. Allow the dough to rise in a warm, draft-free area for about 1-2 hours, or until it has doubled in size.
#### **Step 6: Shape the Dough**
Once the dough has risen, punch it down to release the air bubbles. Turn the dough out onto a floured surface and shape it into a loaf. You can also divide it into two smaller loaves if you prefer. Place the shaped dough into a greased loaf pan, ensuring it fits comfortably.
#### **Step 7: Second Rise**
Cover the dough again and let it rise for another 30 minutes, or until it puffs up slightly above the top of the pan. This second rise is essential for developing the texture and lightness of the bread.
#### **Step 8: Bake the Bread**
Preheat your oven to 375°F (190°C). Once the dough has finished its second rise, place it in the preheated oven. Bake for 25-30 minutes, or until the top is golden brown, and the bread sounds hollow when tapped on the bottom.
#### **Step 9: Optional Butter Brush**
For a finishing touch, you can brush the top of the bread with melted butter as soon as it comes out of the oven. This will give the crust a beautiful sheen and a buttery flavor.
#### **Step 10: Cool and Serve**
Allow the bread to cool for at least 15 minutes before slicing. This will help the bread set and ensure it doesn’t become too crumbly when you cut into it. Slice it into thick, hearty pieces and serve with your favorite butter, jam, or savory toppings.
—
### **Tips for Success:**
– **Use freshly cooked rice**: Freshly cooked rice provides the best texture for the bread. If you use cold rice, make sure it’s broken up well so it doesn’t clump together in the dough.
– **Don’t skip the second rise**: The second rise is crucial for achieving a light and fluffy loaf. Don’t rush through this step for the best results.
– **Customize your bread**: Feel free to experiment with adding herbs, garlic, or cheese to the dough for an extra flavor boost. Adding roasted garlic or fresh rosemary would pair wonderfully with this rice bread.
—
### **Why You’ll Love This Bread**
This yeast and rice bread is soft, flavorful, and surprisingly easy to make. The addition of rice gives it a subtle nuttiness and a delightfully chewy texture, which sets it apart from your average loaf. Whether you’re enjoying it fresh out of the oven with a little butter, or using it for sandwiches or toast, this bread is sure to become a new favorite in your baking repertoire.
Give it a try, and you might just find yourself making it again and again. It’s the perfect bread to serve with soups, stews, or as a side to your favorite meals. Happy baking!
ADVERTISEMENT
