ADVERTISEMENT
### **Step-by-Step Instructions**
#### **1. Prepare the Pie Crust:**
– If using a pre-made pie crust, follow the instructions on the packaging to bake it, usually at 375°F (190°C) for about 10-15 minutes until golden and crisp.
– If making a homemade crust, roll it out and fit it into a pie dish. Bake it according to the recipe instructions, then set it aside to cool.
– Once the crust is baked and cooled, you can brush the bottom with melted butter to prevent sogginess from the filling, if desired.
#### **2. Make the Chocolate Filling:**
– In a medium saucepan, combine the milk, sugar, cocoa powder, cornstarch, and salt. Whisk together until smooth and free of lumps.
– Place the saucepan over medium heat and bring the mixture to a simmer, stirring constantly to prevent it from burning.
– Once it starts to thicken (around 5-7 minutes), gradually whisk about 1/2 cup of the hot mixture into the beaten egg yolks to temper them.
– Slowly pour the egg mixture back into the saucepan, continuing to stir. Let the mixture come to a gentle simmer again, and cook for another 2-3 minutes until it’s thick and creamy.
– Remove the saucepan from the heat and stir in the butter and vanilla extract, mixing until smooth and glossy.
#### **3. Pour the Filling into the Crust:**
– Carefully pour the warm chocolate filling into the prepared pie crust. Use a spatula to smooth the top and evenly distribute the filling.
– Allow the pie to cool at room temperature for about 30 minutes, then transfer it to the refrigerator to chill for at least 3 hours (or overnight) to set properly.
#### **4. Make the Whipped Cream (Optional):**
– In a chilled mixing bowl, whip the heavy cream, powdered sugar, and vanilla extract together until soft peaks form.
– Once the pie has fully chilled and set, top each slice with a dollop of whipped cream for an extra layer of indulgence.
#### **5. Serve and Enjoy:**
– Slice the pie and serve chilled, optionally garnishing with more whipped cream or a sprinkle of chocolate shavings for an extra touch of elegance.
—
### **Tips for Success**
1. **Temper the Eggs Carefully:** Be sure to temper the eggs by gradually adding the hot mixture to prevent them from scrambling. This will ensure the smooth texture of the filling.
2. **Use Full-Fat Milk:** For the creamiest, richest filling, opt for whole milk instead of low-fat or skim.
3. **Chill the Pie Well:** Allow the pie to fully set in the refrigerator before serving. This step is crucial for the filling to firm up properly.
4. **Customize the Toppings:** Feel free to add chocolate shavings, crushed nuts, or even a drizzle of chocolate sauce for a personalized twist.
5. **Crust Variations:** You can use a graham cracker crust for a different texture or even a chocolate cookie crust for extra chocolatey goodness.
—
### **Why This Recipe Works**
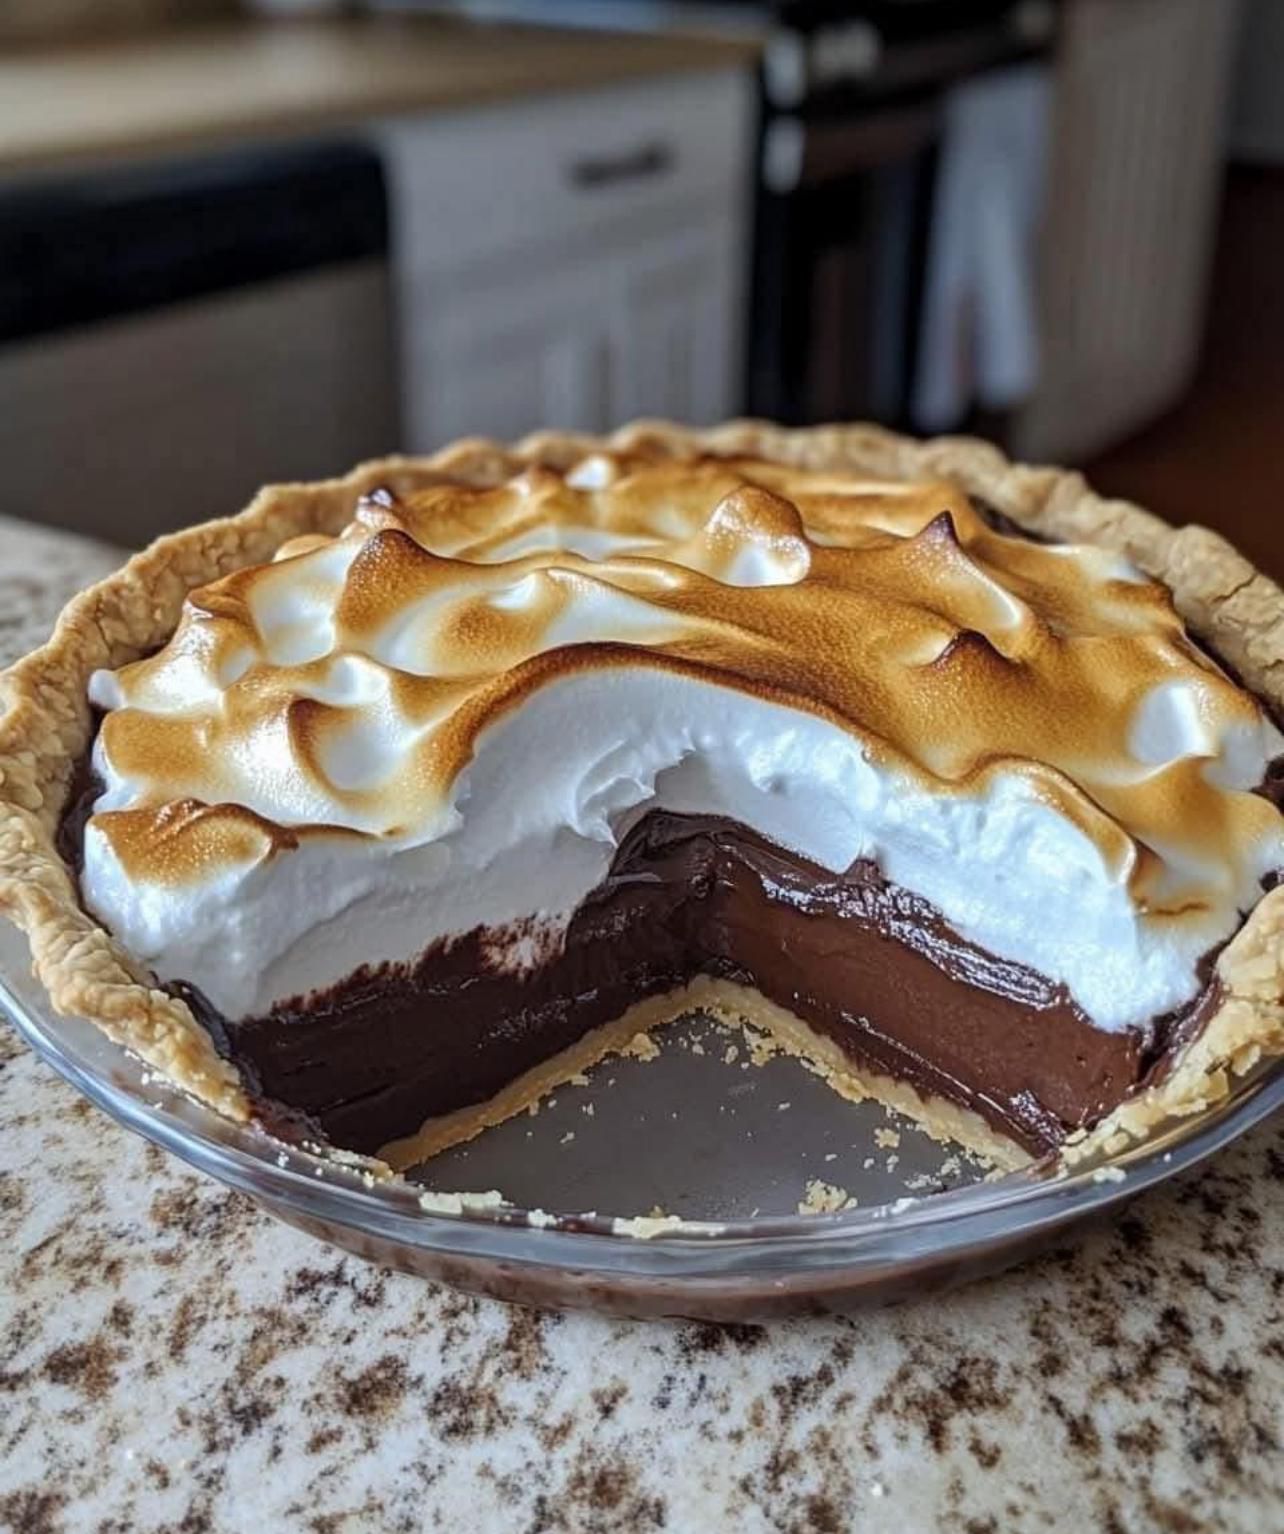
The charm of **Old-Fashioned Chocolate Pie** lies in its simple ingredients and rich, comforting flavors. The creamy chocolate filling is balanced by the buttery, flaky crust, creating a perfect harmony of textures. The addition of vanilla and butter enhances the chocolate flavor, making each bite melt in your mouth. Topped with whipped cream, this pie is the ultimate indulgence.
—
### **Conclusion**
**Old-Fashioned Chocolate Pie** is the epitome of comfort food, bringing the nostalgia of classic desserts into modern kitchens. This pie is a crowd-pleaser at any occasion, whether you’re celebrating a special event or simply indulging in a sweet treat. Easy to make with simple ingredients, this dessert offers big flavor and lasting memories.
Bake this pie for your next gathering or treat yourself and your family to a slice of sweet nostalgia—you’ll be glad you did!
ADVERTISEMENT
