ADVERTISEMENT
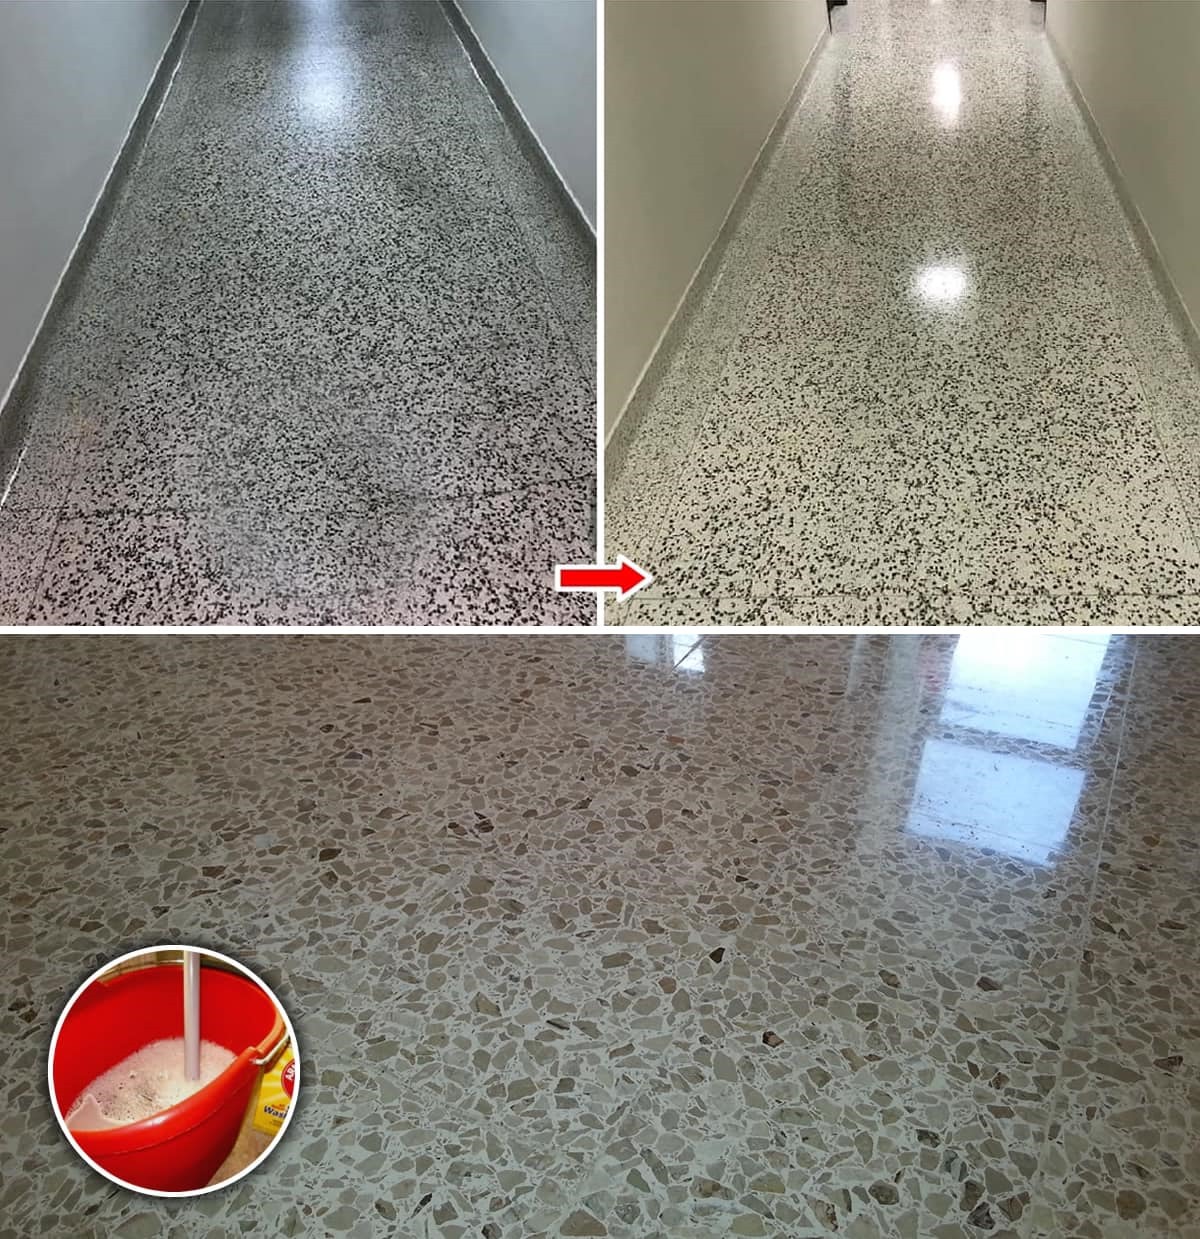
**How to Polish Marble Chips: A Step-by-Step Guide for a Brilliant Finish**
Marble is a luxurious, timeless material that adds elegance and beauty to any space. Whether you’re working with marble countertops, floors, or chips from a larger slab, it’s essential to know how to care for and polish them to maintain their natural shine. Over time, marble can lose its luster, develop scratches, or accumulate stains, but with the right techniques and a little elbow grease, you can restore its beauty.
If you have marble chips that need polishing, whether they’re remnants from a larger marble project or small pieces you want to repurpose, follow this simple guide to achieve a stunning, polished finish. This process will help enhance the natural veining, restore a glossy shine, and make your marble chips look as good as new.
—
### **Why Polish Marble Chips?**
Polishing marble chips not only enhances their appearance but also helps to preserve the integrity of the stone. Here are a few reasons to polish marble chips:
1. **Restore Shine**: Over time, marble can lose its glossy finish. Polishing brings back its natural shine and depth, giving it a radiant, glossy look.
2. **Smooth Out Scratches**: Small chips or scratches can occur on marble surfaces. Polishing helps smooth out these imperfections, making the surface look flawless again.
3. **Maintain Durability**: Polishing marble strengthens its surface, making it less likely to stain or be damaged by wear and tear.
4. **Enhance Veining**: The natural patterns and veins in marble are one of its most beautiful features. Polishing highlights these intricate details, making your marble look more vibrant.
—
### **Tools and Materials Needed**
Before you begin, gather the following supplies:
– **Marble polishing compound** (available at hardware or home improvement stores)
– **Fine-grit sandpaper** or a **diamond polishing pad** (for more stubborn marks)
– **Polishing cloths** (preferably microfiber cloths to avoid scratching)
– **Water** (for rinsing)
– **Masking tape** (if working with delicate areas)
– **Buffing wheel** (optional, for larger projects or a higher-gloss finish)
– **Gloves** (for protection)
– **Safety goggles** (if using a buffing wheel or power tools)
—
### **Step-by-Step Process for Polishing Marble Chips**
**Step 1: Clean the Marble Chips**
Before starting the polishing process, it’s crucial to clean the marble thoroughly. Dust, dirt, or debris can cause scratches during polishing. Use a damp microfiber cloth to wipe away any grime or debris from the marble chips. If there are stains or residues, use a gentle pH-neutral cleaner designed for marble surfaces. Let the chips dry completely before proceeding.
**Step 2: Assess the Surface for Damage**
Take a moment to inspect the marble chips. If there are any deep scratches or gouges, you may need to smooth them out before polishing. Use fine-grit sandpaper or a diamond polishing pad to gently sand the surface. Focus on the damaged areas and be sure to keep the sanding even across the surface to avoid uneven results.
**Step 3: Apply a Marble Polishing Compound**
Once the surface is clean and smooth, apply a marble polishing compound to the chip’s surface. Follow the instructions on the product’s packaging, as some compounds may need to be mixed with water. Use a small amount of the compound and gently rub it in a circular motion over the marble’s surface.
– **Tip**: Start with a small, inconspicuous area to test the compound and ensure it doesn’t damage the marble.
**Step 4: Buff and Polish the Surface**
Once the polishing compound is applied, use a microfiber cloth or a buffing wheel (for larger areas) to buff the surface. Gently rub in circular motions to spread the compound and bring out the shine. If you’re using a buffing wheel, be sure to keep it moving to avoid overheating the marble and causing damage.
For Complete Cooking STEPS Please Head On Over To Next Page Or Open button (>) and don’t forget to SHARE with your Facebook friends
ADVERTISEMENT
