ADVERTISEMENT
—
### **Instructions:**
#### **Step 1: Prepare the Dough**
1. **Activate the yeast**: In a small bowl, combine the warm water, sugar, and yeast. Stir gently and let it sit for about 5 minutes, or until the mixture becomes foamy. If the mixture doesn’t foam, the yeast might be expired, and you’ll need to try again with fresh yeast.
2. **Mix the dough**: In a large mixing bowl, combine the flour and salt. Add the yeast mixture and olive oil (if using). Stir the ingredients until a dough forms. The dough should be slightly sticky but manageable.
3. **Knead the dough**: Turn the dough onto a lightly floured surface and knead for about 5–7 minutes until it becomes smooth and elastic. If the dough is too sticky, add a little more flour, but avoid adding too much to keep the bread soft.
#### **Step 2: Let the Dough Rise**
1. Shape the dough into a ball or loaf shape, then place it in a lightly greased bowl. Cover the bowl with a damp cloth or plastic wrap.
2. Let the dough rise in a warm place for about 1 hour, or until it doubles in size. If you’re in a hurry, you can also let it rise for 30 minutes in a warm, turned-off oven with the light on.
#### **Step 3: Preheat the Air Fryer**
1. Preheat your air fryer to **350°F (175°C)** for 3–5 minutes. This step ensures that the air fryer is hot and ready to bake the bread evenly.
#### **Step 4: Shape the Bread**
1. Once the dough has risen, punch it down gently to release any air bubbles. Shape it into a round or oval loaf that fits comfortably in your air fryer basket or on your air fryer tray.
2. If your air fryer has a non-stick surface, you may not need to grease the basket, but you can lightly oil it to prevent sticking.
#### **Step 5: Bake the Bread**
1. Place the dough into the air fryer basket or tray, making sure there’s enough space for the bread to expand.
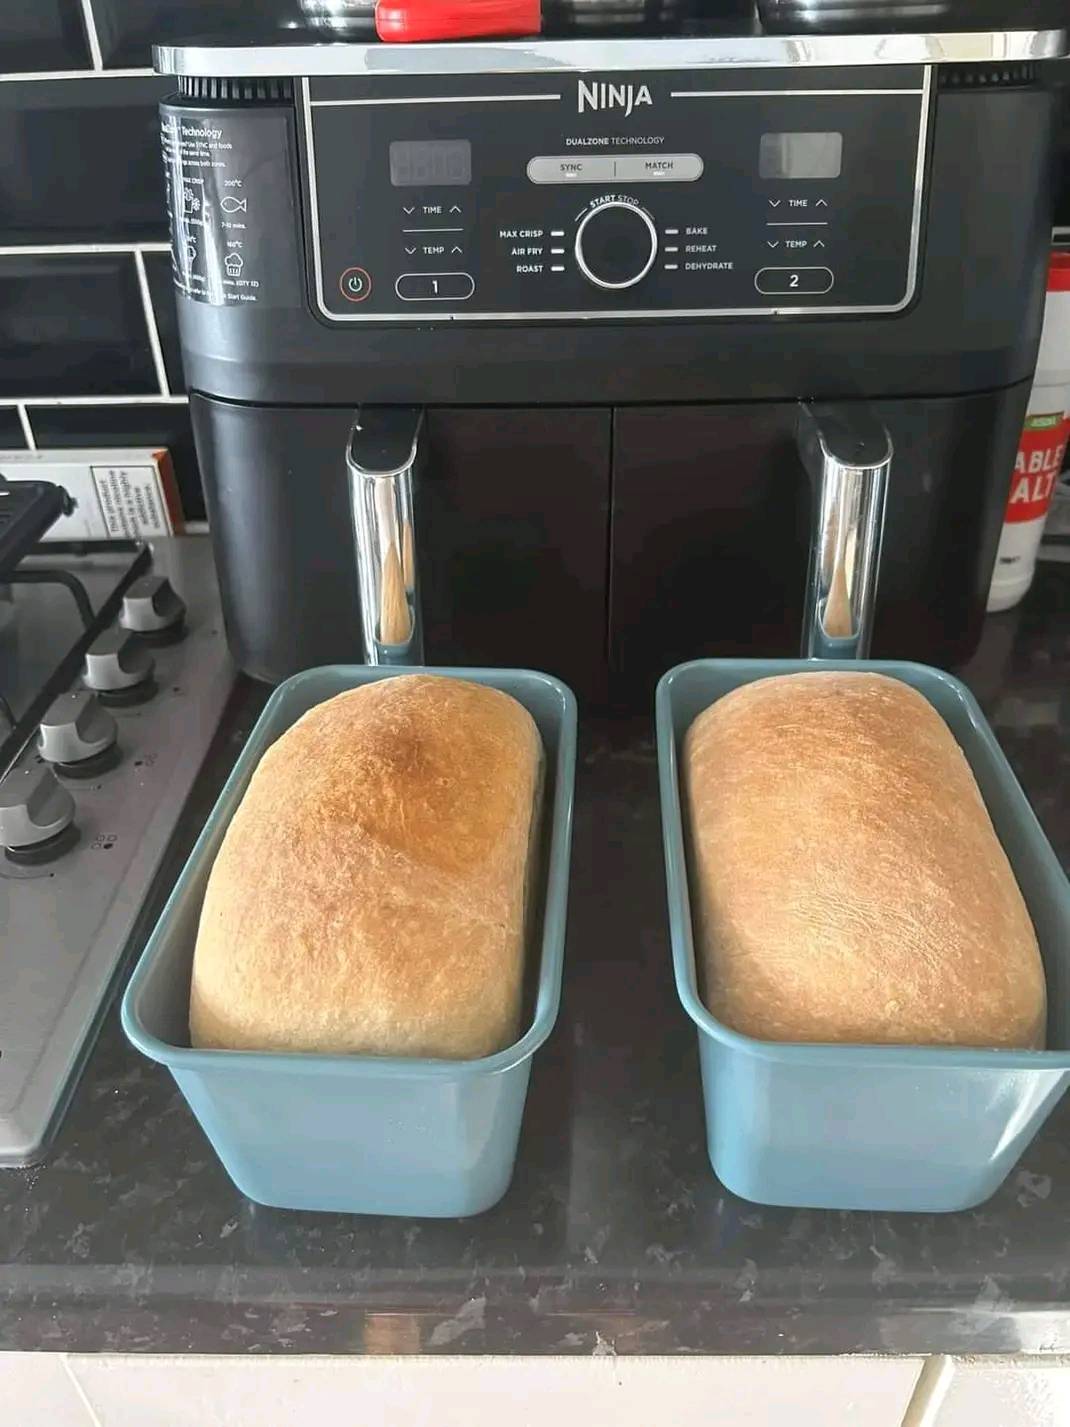
2. Bake the bread at **350°F (175°C)** for about 20-25 minutes, or until the top is golden brown and the bread sounds hollow when tapped on the bottom.
3. If you want a softer crust, you can cover the bread with aluminum foil for the first 15 minutes of baking, then remove the foil to allow the crust to crisp up for the remaining time.
#### **Step 6: Cool and Serve**
1. Once the bread is done, carefully remove it from the air fryer and let it cool on a wire rack for at least 10 minutes before slicing.
2. Slice and enjoy your homemade air fryer bread with butter, jam, or any of your favorite toppings!
—
### **Tips for Success**
– **Flour Choice**: All-purpose flour works best for this recipe, but you can experiment with whole wheat flour or bread flour for a different texture.
– **Dough Rising**: If you’re in a colder environment, let the dough rise in a warm spot. You can place it near a heater or in the oven with the light on to help it rise more quickly.
– **Bread Size**: Make sure to shape the dough to fit your air fryer basket or tray, as different air fryers have different sizes.
– **Add Flavor**: Feel free to add herbs, garlic powder, or cheese to the dough for a flavorful twist.
—
### **Why You’ll Love Homemade Bread in the Air Fryer**
– **Quick and Easy**: This recipe cuts down on traditional baking time, allowing you to enjoy freshly baked bread in under an hour.
– **Crispy and Soft**: The air fryer creates a crispy crust while keeping the inside soft and airy.
– **Versatile**: Whether you enjoy it plain, with butter, or as a sandwich, this homemade bread is perfect for any occasion.
– **No Oven Needed**: Ideal for those without an oven or those looking for an alternative to traditional baking.
—
### **Conclusion**
Baking homemade bread in the air fryer is a game-changer for those who want to enjoy fresh, warm bread without waiting for the oven to heat up. With its crispy crust, soft interior, and minimal effort, this recipe is perfect for beginners and experienced bakers alike. So, if you’re craving freshly baked bread but don’t want to deal with the hassle of using a conventional oven, give this **Homemade Bread in the Air Fryer** recipe a try. It’s sure to become your go-to bread-making method!
ADVERTISEMENT
