ADVERTISEMENT
### **DIY Pedicure Steps Using Baking Soda**
#### **What You’ll Need**:
– **Baking soda** (2-3 tablespoons)
– **Warm water** (enough to soak your feet)
– **Essential oils** (optional for a soothing scent, such as lavender or peppermint)
– **A foot scrub brush** or pumice stone
– **A towel** for drying
– **Moisturizing lotion** (or coconut oil)
#### **Step 1: Prepare a Foot Soak**
Fill a basin or tub with warm water, enough to submerge your feet comfortably. Add 2-3 tablespoons of baking soda to the water. You can also add a few drops of your favorite essential oil, like lavender or peppermint, for an extra relaxing touch.
#### **Step 2: Soak Your Feet**
Place your feet in the warm water and let them soak for about 15-20 minutes. This softens your skin, making it easier to remove dead skin cells and calluses. The warm water combined with baking soda will also help relieve tired feet and make them feel rejuvenated.
#### **Step 3: Exfoliate with Baking Soda**
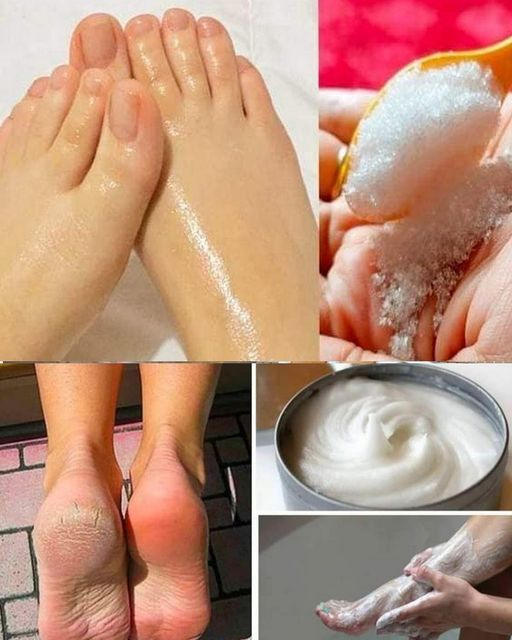
After soaking, take a handful of baking soda and gently scrub your feet, focusing on the heels, balls of the feet, and any rough patches. Use your hands, a foot scrub brush, or a pumice stone to exfoliate. The baking soda works as a natural scrub, helping to remove dead skin and calluses, leaving your feet smooth and soft.
#### **Step 4: Scrub Your Toes and Nails**
Use a nail brush to scrub around your toenails, getting rid of any dirt or buildup. Baking soda will also help whiten the area around your nails and remove yellowing.
#### **Step 5: Rinse and Dry**
Once you’ve exfoliated and scrubbed your feet, rinse them with clean, warm water to wash off the baking soda. Pat your feet dry with a soft towel, ensuring that you gently dry in between your toes to prevent moisture buildup, which can lead to fungal infections.
#### **Step 6: Moisturize**
Now that your feet are exfoliated and fresh, it’s time to moisturize. Apply a rich foot cream, coconut oil, or a thick moisturizer to your feet, focusing on the heels and other dry areas. Massage the lotion into your feet to lock in moisture and keep them soft.
#### **Step 7: Optional – Apply Nail Polish**
If you’d like to finish your pedicure with a pop of color, now is the time to apply your favorite nail polish. Start with a base coat to protect your nails, followed by two coats of polish, and finish with a top coat to seal in the color and prevent chipping.
—
### **Additional Tips for the Perfect At-Home Pedicure**
– **Use a Foot File or Pumice Stone**: If you have particularly tough calluses, using a pumice stone or foot file after soaking your feet can help remove the dead skin more effectively.
– **Regular Maintenance**: For long-lasting smooth feet, perform this pedicure routine once a week. Regular exfoliation will help keep your feet soft and callus-free.
– **Hydrate**: Drink plenty of water throughout the day to keep your skin hydrated from the inside out.
—
### **Conclusion**
A **baking soda pedicure** is an easy and affordable way to give your feet some TLC, leaving them feeling soft, smooth, and refreshed. With just a few simple ingredients, you can achieve salon-quality results in the comfort of your home. Whether you’re prepping for summer sandals or simply treating yourself to some relaxation, this DIY pedicure routine will leave your feet pampered and rejuvenated. Try it out today and enjoy the benefits of smooth, healthy feet without the hefty price tag!
ADVERTISEMENT
