ADVERTISEMENT
—
### Step-by-Step Instructions
#### 1. **Preheat the Oven and Prepare the Pans**
Start by preheating your oven to 350°F (175°C). Grease and flour two 9-inch round cake pans or line them with parchment paper for easy removal of the cake after baking.
#### 2. **Mix the Dry Ingredients**
In a large mixing bowl, sift together the flour, sugar, cocoa powder, baking powder, baking soda, and salt. Sifting helps to eliminate any lumps in the cocoa powder, creating a smoother batter and a fluffier cake.
#### 3. **Combine the Wet Ingredients**
In another bowl, whisk together the eggs, milk, vegetable oil, and vanilla extract. Make sure to beat the mixture well to ensure the eggs are fully incorporated and the mixture is smooth.
#### 4. **Combine the Wet and Dry Ingredients**
Gradually add the wet ingredients to the dry ingredients, mixing continuously. You can use a hand mixer or a whisk. Once combined, the batter will be thick and smooth.
#### 5. **Add the Boiling Water**
Slowly pour the boiling water into the batter. This will make the batter thin, but don’t worry—this step is crucial for making the cake extra moist. Stir until fully combined.
#### 6. **Bake the Cake**
Pour the batter evenly into the prepared cake pans. Tap the pans gently on the counter to remove any air bubbles. Bake for 30 to 35 minutes, or until a toothpick inserted into the center comes out clean.
#### 7. **Cool the Cakes**
Allow the cakes to cool in the pans for about 10 minutes, then transfer them to a wire rack to cool completely. This step is important to prevent the frosting from melting when applied to the warm cake.
#### 8. **Prepare the Chocolate Frosting (Optional)**
While the cakes are cooling, you can make the frosting. In a medium bowl, beat together the softened butter and cocoa powder until smooth and well combined. Gradually add powdered sugar, milk, vanilla, and a pinch of salt. Continue to mix until the frosting is creamy and spreadable. If the frosting is too thick, add more milk one tablespoon at a time until it reaches your desired consistency.
#### 9. **Frost the Cake**
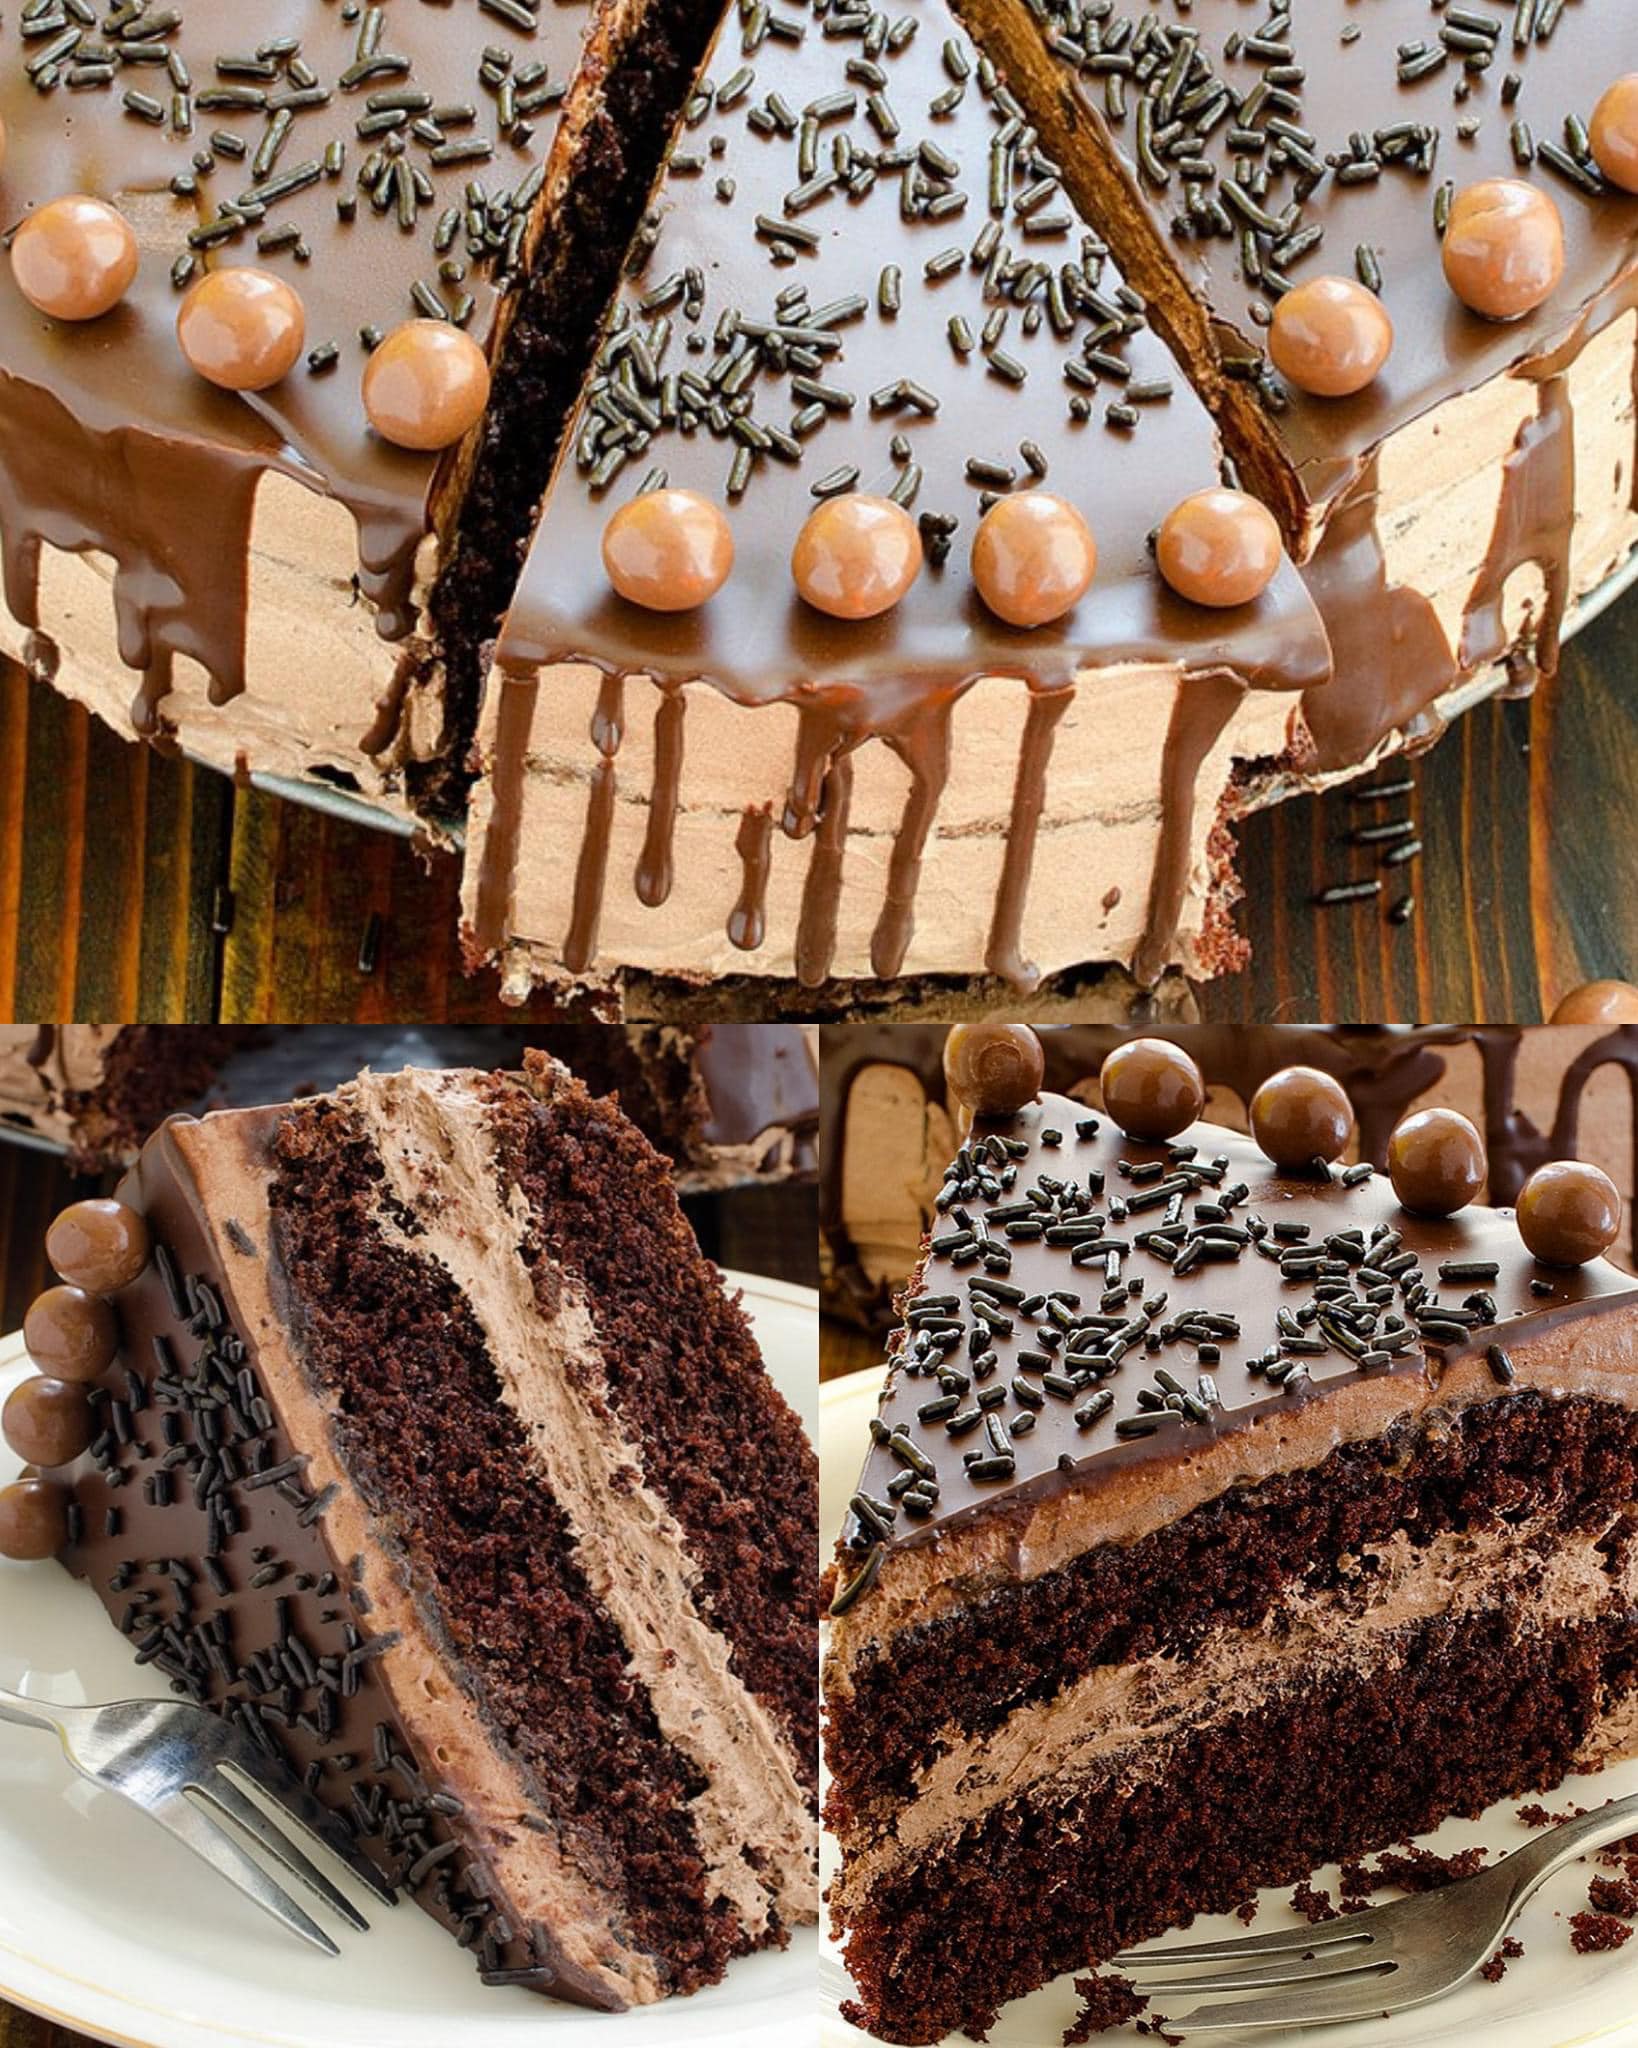
Once the cakes are fully cooled, place one cake layer on a serving platter. Spread a generous amount of frosting over the top of the first layer. Place the second layer on top, and continue frosting the top and sides of the cake.
—
### Tips for the Perfect Homemade Chocolate Cake
– **Use Quality Cocoa**: The flavor of your cake is only as good as the cocoa you use. Invest in a high-quality unsweetened cocoa powder for the richest flavor.
– **Don’t Overmix**: When combining the wet and dry ingredients, mix just until they’re incorporated. Overmixing can result in a dense cake.
– **Add a Touch of Coffee**: For an extra depth of flavor, consider adding a teaspoon of instant coffee to the batter. It enhances the chocolate taste without making the cake taste like coffee.
– **Moisture Matters**: The key to a moist cake is the addition of boiling water, so don’t skip this step!
– **Let the Cake Cool Completely**: Frosting a warm cake can result in melting frosting. Be patient and allow your cakes to cool completely before applying frosting.
—
### Variations and Additions
1. **Chocolate Chip Cake**: Add a cup of chocolate chips to the batter for an extra burst of chocolate in every bite.
2. **Filled Cake**: Add a layer of fruit jam or a cream filling between the two layers of cake for an exciting surprise.
3. **Add a Flavor Twist**: Experiment with different extracts like almond, hazelnut, or orange to change up the flavor profile of the cake.
4. **Frosting Variations**: Try different frostings such as whipped cream, cream cheese frosting, or a rich ganache for an even more decadent cake.
—
### Why This Homemade Chocolate Cake Is a Must-Try
This homemade chocolate cake is not only easy to make, but it also delivers a rich, moist, and chocolatey experience that store-bought cakes can’t match. The combination of a perfectly tender crumb and creamy chocolate frosting will make every bite a delightful treat. Whether you’re celebrating a special occasion or simply treating yourself to something sweet, this cake is sure to become a go-to recipe in your baking repertoire.
Don’t wait for a special occasion to enjoy this indulgent dessert—bake it just because you deserve a little sweetness in your life!
ADVERTISEMENT
