ADVERTISEMENT
—
### **Instructions**
#### **Step 1: Prepare the Pan**
1. Line an 8×8-inch baking pan with parchment paper or lightly grease it with butter. This will make it easy to lift the fudge out once it’s set.
#### **Step 2: Make the Fudge Base**
2. In a medium-sized saucepan, combine the sugar, milk, and butter. Place it over medium heat, stirring constantly until the sugar dissolves and the butter is melted.
3. Bring the mixture to a gentle boil, stirring frequently. Let it boil for about 5 minutes without stirring, allowing the mixture to thicken slightly. You want it to reach about 234°F (112°C) on a candy thermometer (soft ball stage). If you don’t have a thermometer, you can test by dropping a small amount of the mixture into a glass of cold water—it should form a soft, sticky ball.
#### **Step 3: Add the Chocolate and Flavorings**
4. Remove the saucepan from the heat. Immediately stir in the chocolate chips (or chopped chocolate) until they are completely melted and the mixture is smooth.
5. Add the vanilla extract and a pinch of salt, then fold in mini marshmallows and nuts if using. The marshmallows will melt into the fudge, giving it a smooth, creamy texture.
#### **Step 4: Pour and Set**
6. Pour the fudge mixture into the prepared baking pan, spreading it out evenly with a spatula.
7. Let the fudge cool to room temperature for about 30 minutes. Then, place it in the refrigerator for at least 2 hours or until it is completely set and firm.
#### **Step 5: Slice and Serve**
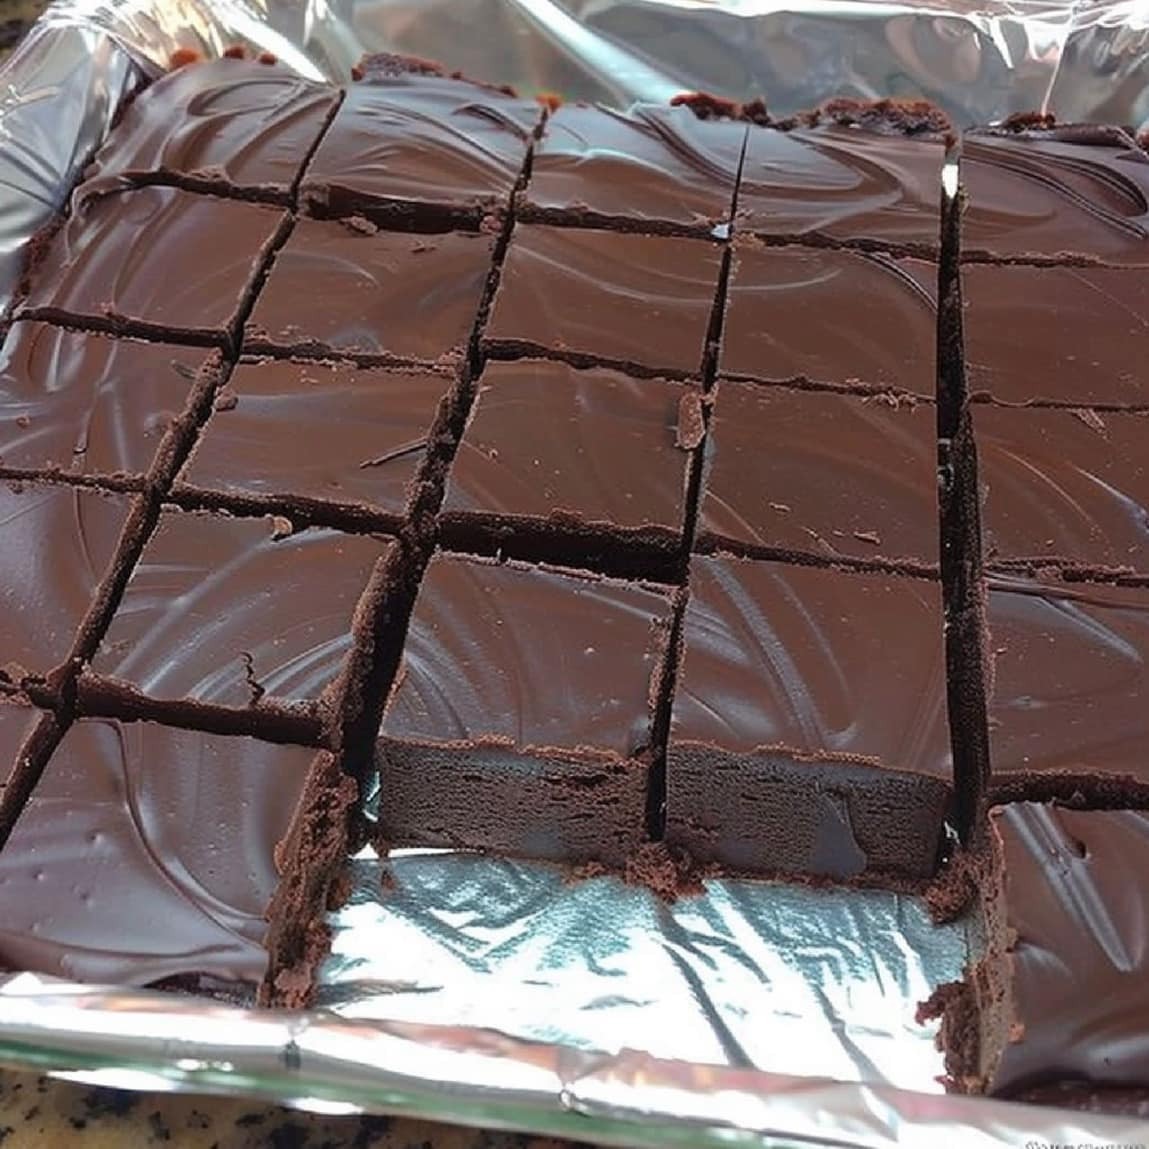
8. Once the fudge is set, lift it out of the pan using the parchment paper and cut it into small squares.
9. Enjoy the smooth, creamy texture and rich chocolate flavor!
—
### **Tips for Perfect Old-Fashioned Fudge**
1. **Watch the Temperature:** The key to achieving the right texture for your fudge is cooking it to the soft ball stage (234°F/112°C). Too high and it can become too hard, too low and it might not set properly.
2. **Stir Constantly:** When making the sugar and milk base, stir constantly to prevent it from burning at the bottom of the pan.
3. **Be Patient:** Let the fudge cool and set undisturbed. Don’t rush the process by putting it in the freezer; slow cooling helps achieve a smooth texture.
4. **Add-ins:** Customize your fudge with different mix-ins, like crushed candy canes, peanut butter swirls, or caramel pieces. Make it your own!
5. **Cutting the Fudge:** For clean, even slices, use a warm knife. Run the knife under hot water, wipe it dry, and then slice the fudge.
—
### **Serving Suggestions**
– **Gifting:** Package the fudge in pretty boxes or mason jars for a homemade gift that’s perfect for the holidays, birthdays, or just because.
– **With Coffee or Hot Chocolate:** Pair it with a warm drink for an extra indulgent treat.
– **As a Dessert:** Serve it after dinner with a scoop of vanilla ice cream for a delightful dessert.
—
### **Storage and Shelf Life**
– **Room Temperature:** Store the fudge in an airtight container at room temperature for up to 1 week.
– **Refrigeration:** For longer shelf life, you can store the fudge in the refrigerator for up to 3 weeks. Bring it to room temperature before serving for the best texture.
– **Freezing:** You can freeze fudge for up to 2 months. Wrap it tightly in plastic wrap and foil before freezing. Thaw it in the refrigerator when you’re ready to enjoy it.
—
### **Why This Recipe Works**
This **Old-Fashioned Fudge** recipe strikes the perfect balance of smooth chocolate and buttery richness. By cooking the sugar and milk mixture to the ideal temperature and adding the chocolate and marshmallows, you create a creamy, melt-in-your-mouth fudge that’s both simple to make and delicious. The nuts provide a nice texture contrast and add extra flavor, but they’re entirely optional.
—
### **The Bottom Line**
**Old-Fashioned Fudge** is a timeless treat that never disappoints. With just a few ingredients and simple steps, you can create a batch of creamy, melt-in-your-mouth fudge that will have everyone asking for seconds. Whether you’re making it as a treat for yourself or gifting it to others, this classic dessert is sure to become a staple in your kitchen.
So grab your saucepan, get your ingredients ready, and enjoy the sweet nostalgia of homemade **Old-Fashioned Fudge**!
ADVERTISEMENT
