ADVERTISEMENT
## Instructions for Making Homemade Butter
### Step 1: Whip the Heavy Cream
Pour the heavy cream into the bowl of your stand mixer or a large mixing bowl if you’re using a hand mixer. Begin mixing at a low speed and gradually increase to medium-high. It’s best to start slow to prevent the cream from splashing out of the bowl.
As you mix, the cream will go through a few stages:
1. **Whipped cream** – At first, the cream will turn into soft peaks, similar to whipped cream.
2. **Butter separation** – Continue mixing until the cream breaks and you see the butter separate from the liquid. The liquid is the buttermilk, which you can save for baking or other recipes.
### Step 2: Drain the Buttermilk
Once the butter has formed, it’s time to separate the buttermilk from the butter. Pour the contents of the bowl into a fine-mesh strainer or cheesecloth over a bowl to catch the buttermilk. Make sure to squeeze or press gently to extract any remaining buttermilk.
You can save the buttermilk for use in pancakes, biscuits, or cakes. It’s packed with flavor and can add moisture to recipes.
### Step 3: Rinse the Butter
To help the butter last longer and prevent it from tasting sour, rinse it under cold water. Place the butter in a bowl and gently pour cold water over it. Use a spatula or your hands to knead the butter under the water. This helps remove any remaining buttermilk, which can cause the butter to spoil more quickly.
Continue rinsing and kneading the butter until the water runs clear.
### Step 4: Add Salt (Optional)
If you prefer salted butter, now is the time to add the salt. Add the salt to your butter and mix it in evenly. Taste it and adjust the salt if needed.
### Step 5: Shape and Store
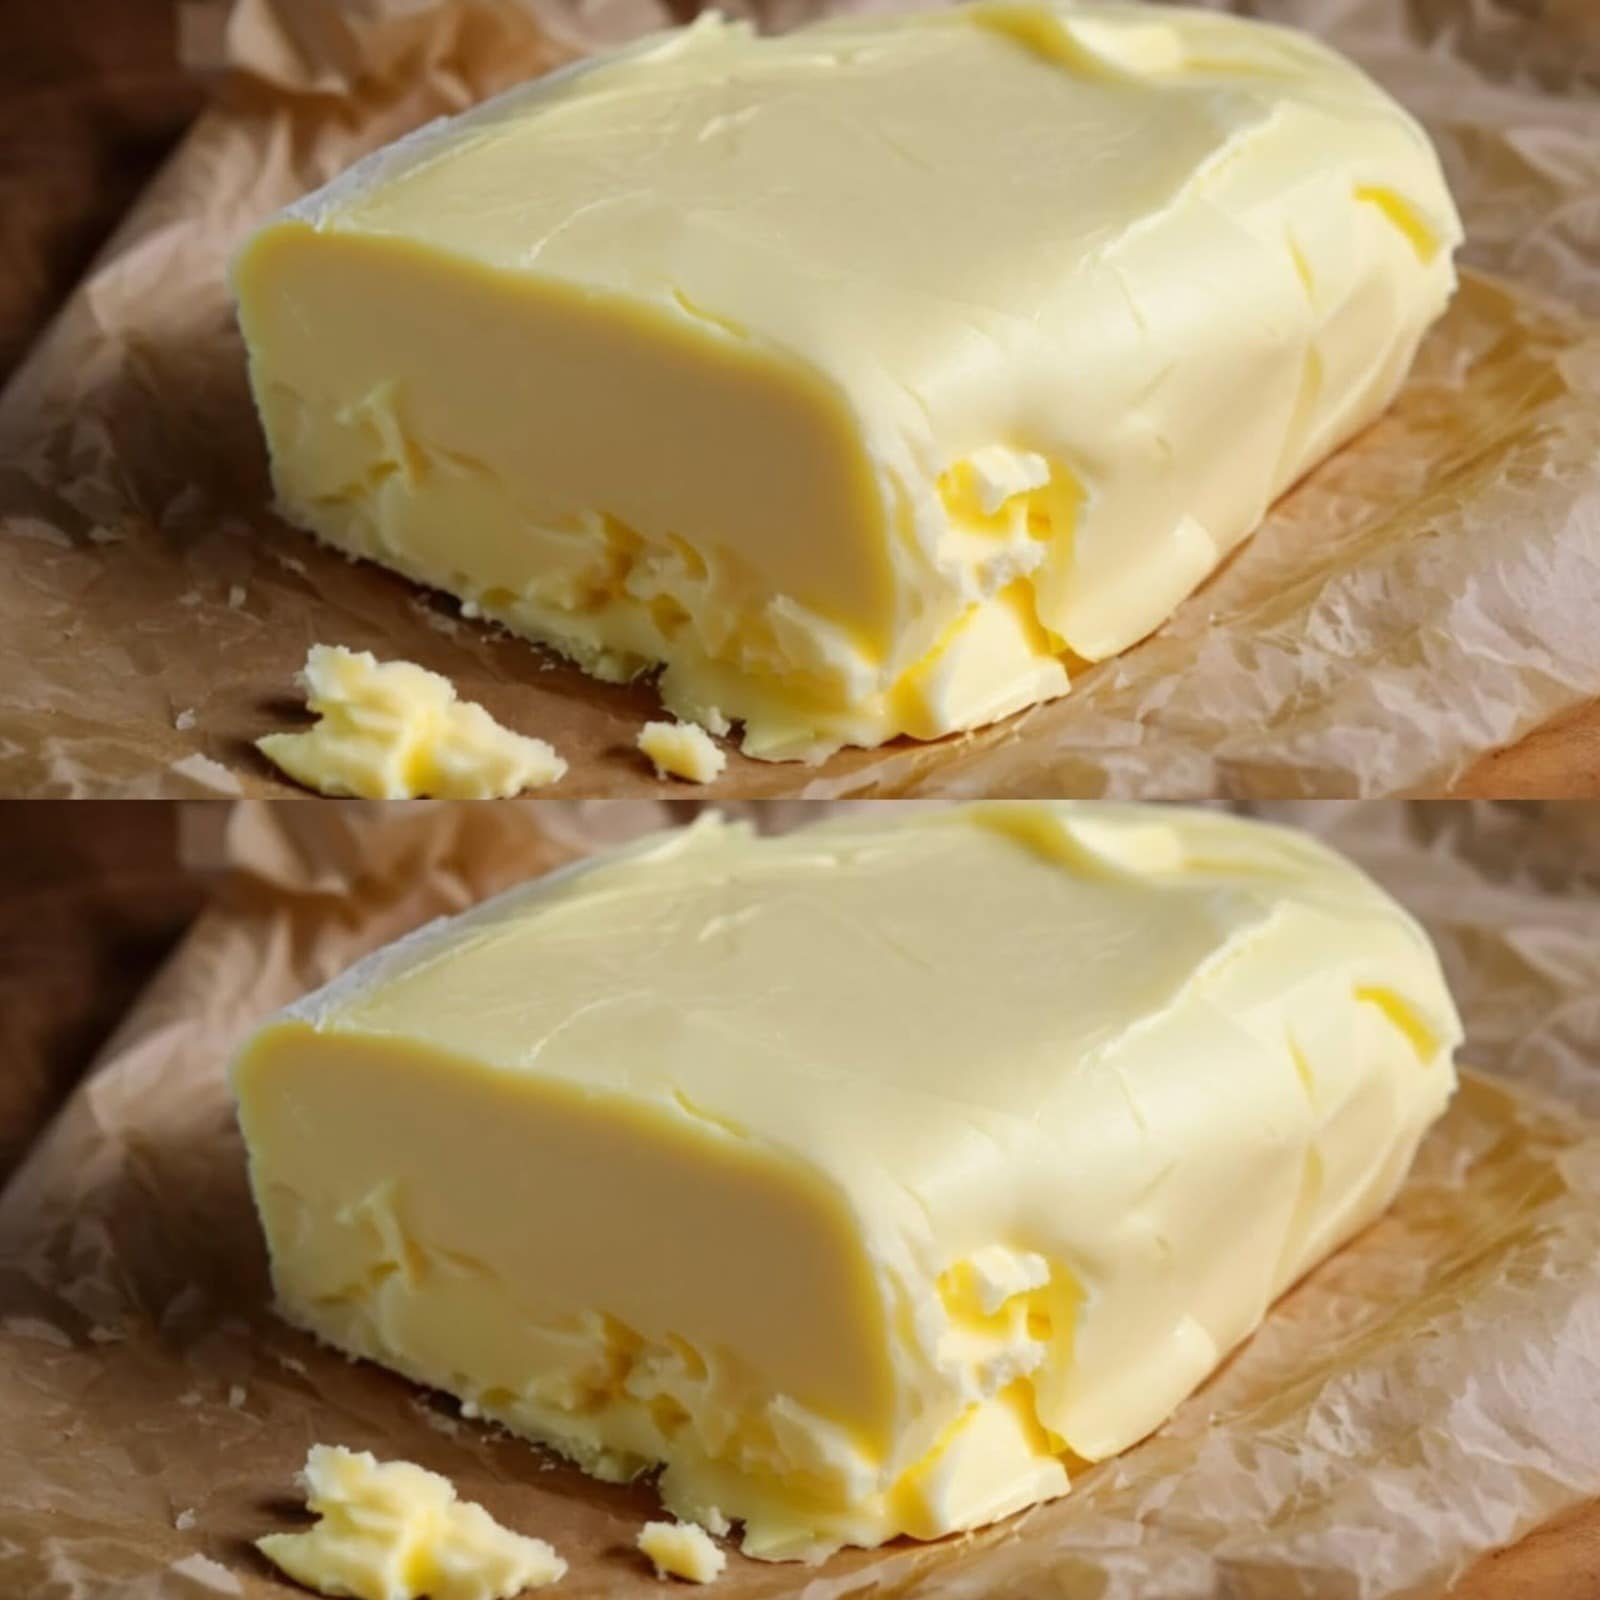
Once you’ve finished rinsing and salting your butter, you can shape it however you like. You can form it into a log or simply scoop it into a container. For a more rustic look, you can also use wax paper to shape it into a block.
Transfer your homemade butter to an airtight container and refrigerate. Homemade butter will typically last for about 1-2 weeks in the refrigerator. You can also freeze the butter for longer storage.
## Tips for Perfect Homemade Butter
– **Use fresh, high-fat cream** – The richer the cream, the creamier and tastier your butter will be. If you can, use cream with a fat content of 36% or higher.
– **Don’t over-mix** – Keep an eye on the cream while mixing. If you mix too long, the butter can become too hard, or you might lose too much buttermilk. Once you see the butter separating from the buttermilk, stop mixing.
– **Add flavor variations** – Get creative with your butter by infusing it with herbs, garlic, or honey. You can stir in fresh thyme, rosemary, minced garlic, or even a touch of cinnamon for a sweet twist. For garlic butter, simply add minced garlic and a pinch of salt for a delicious spread.
– **Make sure to rinse thoroughly** – Rinsing your butter well is crucial to removing the buttermilk and ensuring your butter lasts longer without turning sour.
## Uses for Homemade Butter
Homemade butter is perfect for spreading on warm bread, muffins, and rolls. It can also be used in baking recipes, cooking, or even as a finishing touch on dishes like steak, vegetables, or pasta.
If you love baking, try substituting homemade butter in recipes that call for butter—cookies, cakes, pies, and pastries will all benefit from the rich, fresh flavor.
## Conclusion
Making homemade butter is an incredibly rewarding experience. It’s simple, affordable, and results in a product that’s fresher and more flavorful than what you’d buy at the store. Whether you prefer it salted or unsalted, plain or infused with herbs and spices, homemade butter adds a touch of homemade goodness to every meal. So, grab some heavy cream and start churning your way to better butter today!
ADVERTISEMENT
