ADVERTISEMENT
#### **Step 4: Mold the Mixture**
Scoop the mixture into a silicone mold or ice cube tray, pressing it firmly into each compartment. Smooth the tops with the back of a spoon for a clean finish.
#### **Step 5: Let Them Dry**
Allow the toilet balls to dry and harden for at least 4-6 hours, or overnight for best results. Once they’re solid, remove them from the mold and store them in an airtight container.
—
### **How to Use Your Toilet Cleaning Balls**
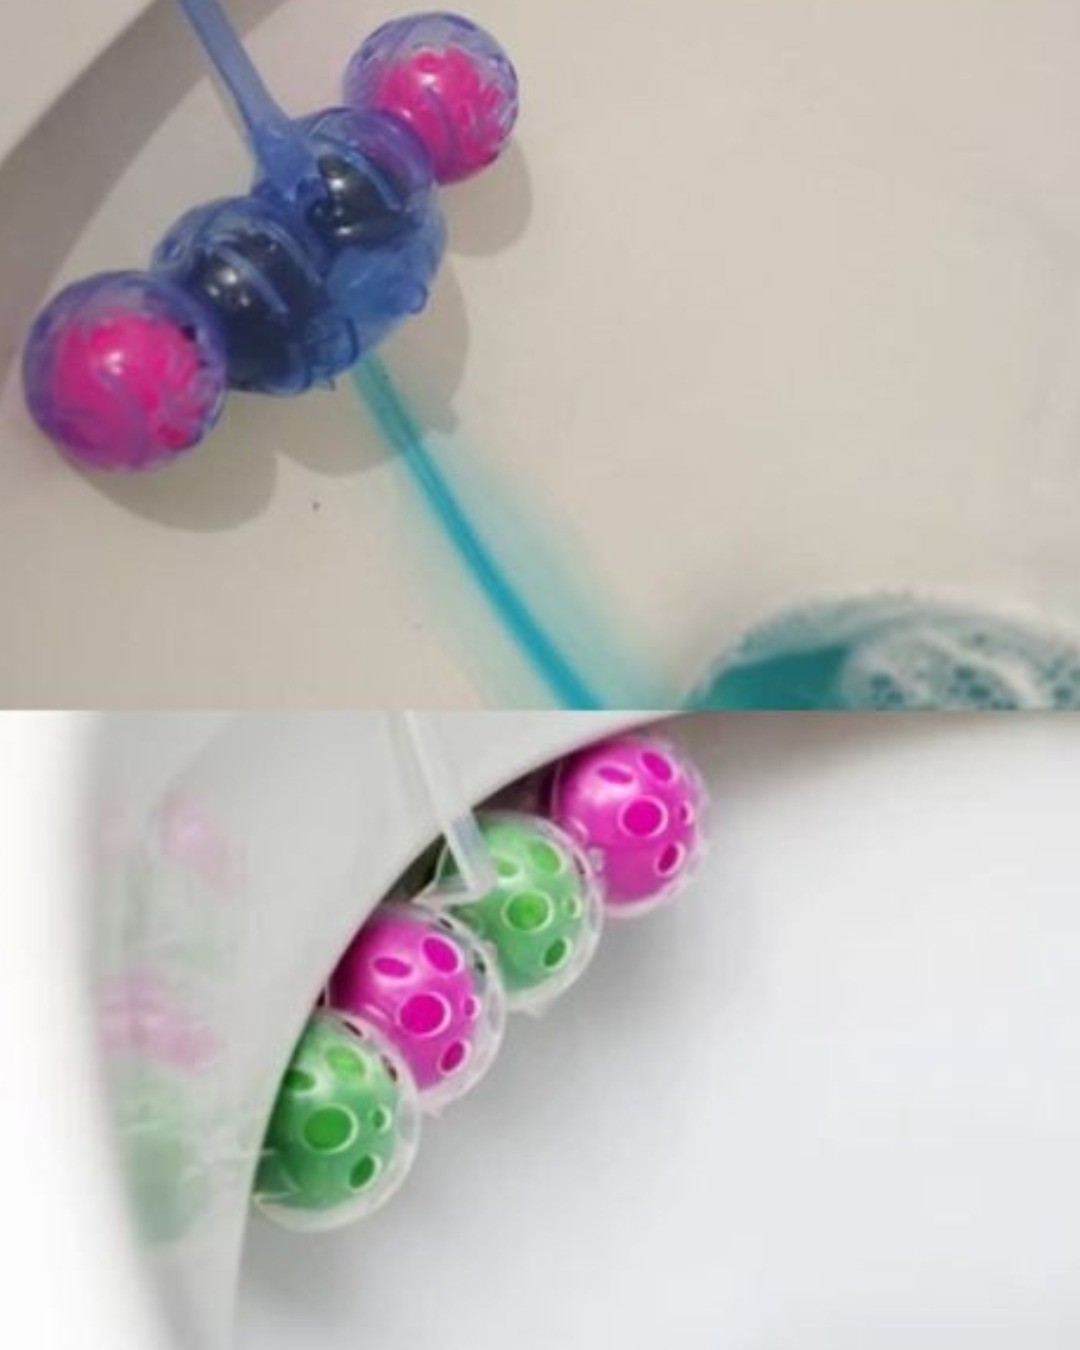
Simply drop one ball into your toilet bowl and watch it fizz as it works to clean and deodorize. Use a toilet brush to scrub away stains and flush for a sparkling clean finish.
—
### **Custom Tips for DIY Toilet Balls**
– **Boost Cleaning Power**: Add 1/4 cup of borax for extra stain-fighting strength.
– **Double the Freshness**: Mix two complementary essential oils, such as lemon and eucalyptus.
– **Keep Them Dry**: Store the balls in a cool, dry place to maintain their effectiveness.
—
### **The Benefits You’ll Notice**
– **Savings**: A batch of these homemade toilet balls costs pennies compared to store-bought alternatives.
– **Fresh Scents**: Your bathroom will always smell fresh with customizable aromas.
– **Eco-Conscious Cleaning**: Feel good about reducing your carbon footprint with this sustainable solution.
—
Making your own toilet cleaning balls is a quick, easy, and satisfying project that delivers results. Say goodbye to pricey, chemical-laden store-bought cleaners and hello to a cost-effective, eco-friendly alternative that keeps your toilet fresh and sparkling clean.
Give it a try—you’ll wonder why you didn’t start sooner!
ADVERTISEMENT
