ADVERTISEMENT
—
### **Step-by-Step Instructions**
#### **Step 1: Prepare the Area**
1. Begin by clearing the area around the silicone, so you have enough room to work and the surface is dry. If there’s any standing water, dry it with a towel.
2. Wear gloves if you’re sensitive to mold or cleaning products, as a precaution.
#### **Step 2: Apply Your Cleaning Solution**
– **Option 1: White Vinegar**
Pour white vinegar into a spray bottle and generously spritz the affected silicone. Vinegar’s acidic nature helps break down mold and mildew, killing the spores effectively. Let it sit for **5–10 minutes** for maximum impact.
– **Option 2: Hydrogen Peroxide**
If you prefer hydrogen peroxide, use a **3% solution** and apply it directly to the moldy silicone. Let it sit for **5–10 minutes** to penetrate the mold and lift it from the surface.
#### **Step 3: Scrub the Silicone**
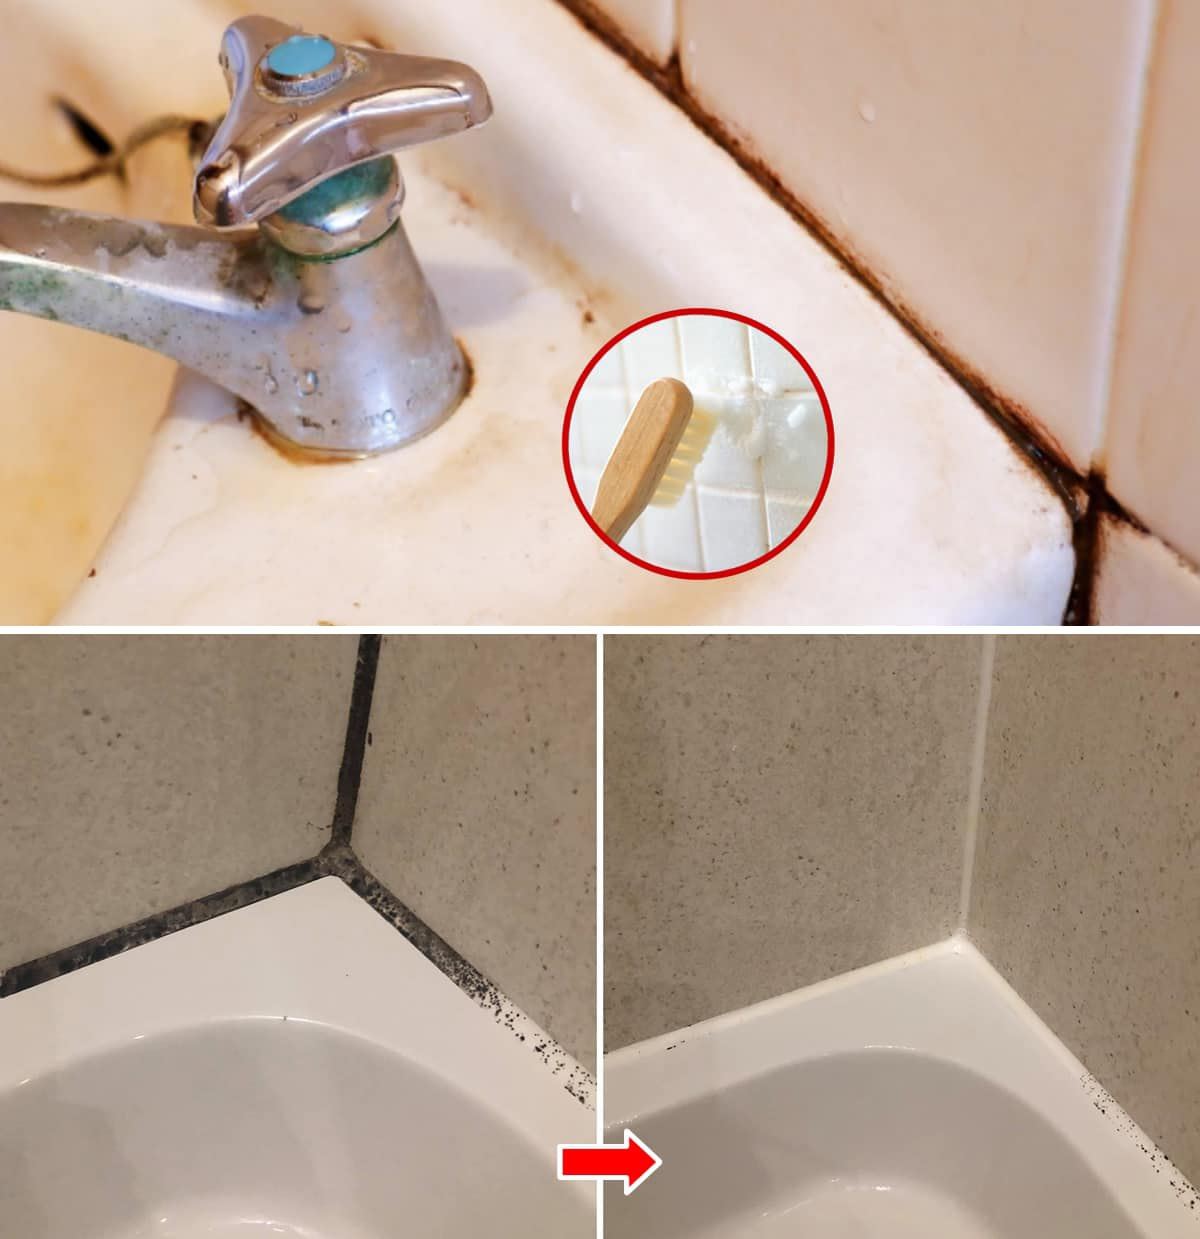
1. Using an old toothbrush or a small scrubbing brush, gently scrub the silicone seal where the mold is present. The bristles will help dislodge mold from the grooves and corners.
2. Be thorough in scrubbing, as mold often hides in small cracks that are hard to see.
#### **Step 4: Optional – Use Baking Soda for Stubborn Stains**
1. If the mold is particularly stubborn or if there are visible stains that won’t come off with the vinegar or hydrogen peroxide, sprinkle **baking soda** on top of the damp silicone.
2. Let the baking soda sit for a few minutes and then scrub again. Baking soda acts as a mild abrasive, helping to lift stubborn mold stains without damaging the silicone.
#### **Step 5: Rinse and Wipe Clean**
1. Once you’ve scrubbed away the mold, rinse the area with warm water to wash away any cleaning solution and loosened mold particles.
2. Wipe the silicone with a clean cloth or paper towel, ensuring that the area is completely dry. Drying the silicone is key to preventing future mold growth, as mold thrives in moisture.
—
### **Additional Tips to Prevent Mold Build-Up**
– **Ventilation**: Proper ventilation is essential in reducing humidity in the bathroom. Use an exhaust fan or open a window to allow moisture to escape, especially after a shower or bath.
– **Regular Cleaning**: Make a habit of wiping down the silicone seals with a dry cloth after each use of the shower or bath to reduce moisture buildup.
– **Silicone Sealant Maintenance**: Consider replacing old, cracked, or peeling silicone seals, as these areas are more prone to mold growth.
—
### **Why This Method Works**
Vinegar and hydrogen peroxide are both effective in killing mold and mildew without the need for harsh chemicals. They break down the mold structure and neutralize its spores. Combined with the scrubbing action of a toothbrush and the mild abrasive nature of baking soda, this method ensures that your bathroom silicone remains free from mold and grime, all within just **10 minutes**.
—
### **Final Thoughts**
Removing black mold from bathroom silicone doesn’t have to be a daunting or time-consuming task. With just a few simple ingredients and a little elbow grease, you can tackle the mold problem in minutes. Regular cleaning and preventive maintenance will keep your bathroom looking fresh and mold-free for longer, ensuring a cleaner, healthier environment for you and your family.
By following this quick and effective method, you’ll enjoy a sparkling, mold-free bathroom silicone in no time.
ADVERTISEMENT
