ADVERTISEMENT
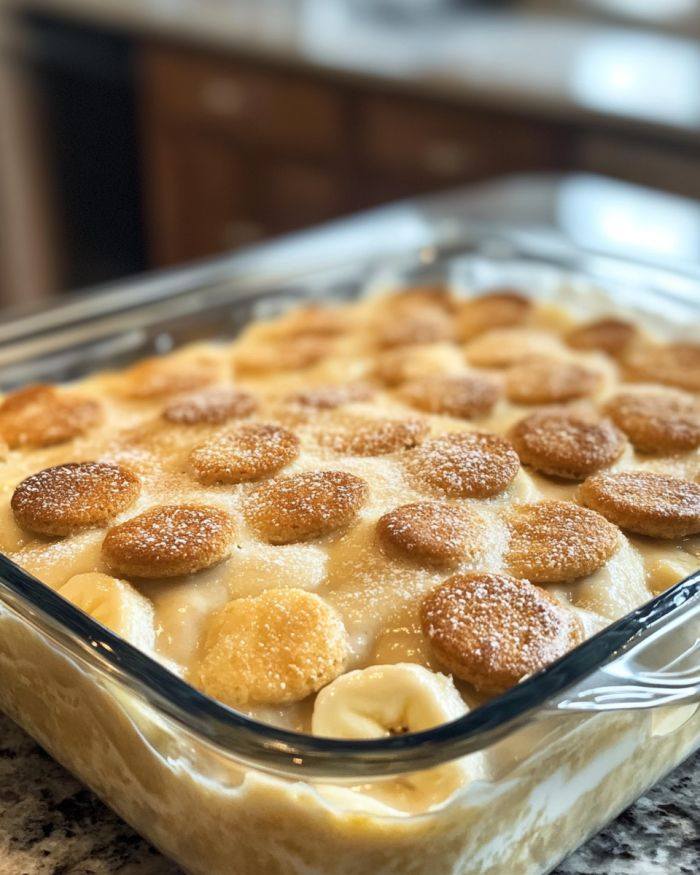
**We Affectionately Call This ‘Nana’s Sweet Dream’: The Ultimate Comfort Dessert**
Some recipes hold a special place in our hearts—not just because of their taste, but because of the memories and love they carry. **‘Nana’s Sweet Dream’** is one of those treasured desserts that has been passed down through generations, each bite evoking warmth, comfort, and a sense of home. It’s the kind of dessert that’s made for family gatherings, holiday dinners, and any occasion where a little sweetness is needed to make the moment even more special.
I’m often asked to make a **double batch** because everyone knows that this dessert disappears as quickly as it’s served. Whether it’s the velvety texture, the irresistible sweetness, or the nostalgic flavors, there’s something magical about **‘Nana’s Sweet Dream’** that makes it the ultimate comfort food.
In this article, I’ll share with you the recipe for this beloved dessert—along with a few tips for making it even more special. Get ready to fall in love with this timeless treat!
—
## **What Makes ‘Nana’s Sweet Dream’ So Special?**
The beauty of **‘Nana’s Sweet Dream’** lies in its simplicity. It’s not a complicated dessert, but each layer builds on the next, creating a combination of textures and flavors that feels just right. The secret is in the balance of sweetness, richness, and a little bit of nostalgia—ingredients that bring people together.
It’s the perfect dessert for any occasion, from a simple family dinner to a larger holiday gathering. And because it’s so easy to make, you’ll want to keep it on hand for when the mood for comfort food strikes.
—
## **Ingredients You’ll Need:**
To make **‘Nana’s Sweet Dream’**, you’ll need a few basic ingredients that you probably already have in your pantry and fridge. This dessert is known for its **creamy layers**, **delicate crust**, and **perfect balance of sweetness**, so it’s important to have everything prepped and ready.
### For the Crust:
– **1 ½ cups graham cracker crumbs** (about 12 graham crackers, crushed)
– **½ cup melted butter**
– **2 tablespoons sugar** (optional, for added sweetness)
### For the Cream Cheese Layer:
– **8 oz cream cheese**, softened
– **1 cup powdered sugar**
– **2 cups whipped topping** (or homemade whipped cream)
### For the Pudding Layer:
– **2 (3.4 oz) packages of instant vanilla pudding mix**
– **3 cups milk** (whole milk is recommended for a richer flavor)
### For the Topping:
– **1 cup whipped topping** (or more, for an extra creamy finish)
– **Shaved chocolate or cocoa powder** (optional, for garnish)
– **Crushed graham crackers** (optional, for garnish)
—
## **How to Make ‘Nana’s Sweet Dream’**
### Step 1: Prepare the Crust
1. **Crush the graham crackers**: Start by crushing the graham crackers into fine crumbs. You can do this in a food processor or by placing the crackers in a sealed plastic bag and using a rolling pin to crush them.
2. **Mix the crust**: In a medium bowl, combine the crushed graham crackers, melted butter, and sugar. Mix until the crumbs are evenly coated and the mixture holds together when pressed.
3. **Press into a pan**: Pour the mixture into the bottom of a **9×13 inch baking dish**. Press the crumbs firmly into the bottom of the pan to form a compact crust. Refrigerate the crust for about 30 minutes to set while you prepare the next layers.
### Step 2: Make the Cream Cheese Layer
1. **Whip the cream cheese**: In a separate bowl, beat the softened cream cheese until smooth and creamy.
2. **Add powdered sugar**: Gradually add the powdered sugar and continue beating until fully incorporated. The mixture should be light and fluffy.
3. **Fold in whipped topping**: Gently fold in the whipped topping (or homemade whipped cream) until the mixture is smooth and airy.
4. **Spread the layer**: Once the crust has set, spread the cream cheese mixture evenly over the graham cracker crust. Use a spatula to smooth it out.
### Step 3: Make the Pudding Layer
1. **Mix the pudding**: In a separate bowl, whisk together the instant vanilla pudding mix and milk. Continue whisking until the pudding thickens (this should only take a few minutes).
2. **Layer the pudding**: Once the pudding has thickened, spread it evenly over the cream cheese layer. You want to ensure it’s smooth and covers the entire surface.
### Step 4: Top with Whipped Topping
1. **Spread whipped topping**: Spoon the remaining whipped topping over the pudding layer. Use a spatula to gently spread it out so that it covers the pudding evenly.
2. **Garnish (Optional)**: If you like, garnish with a sprinkle of **shaved chocolate**, **cocoa powder**, or **crushed graham crackers** for extra texture and visual appeal.
Step 5: Chill and Serve
1. **Refrigerate**: Cover the dessert with plastic wrap or a lid and refrigerate for at least **4 hours**, or ideally overnight. This will allow the layers to set and the flavors to meld together perfectly.
2. **Serve and enjoy**: Once chilled, slice into squares or spoon servings into bowls, and enjoy the sweet, creamy goodness!
For Complete Cooking STEPS Please Head On Over To Next Page Or Open button (>) and don’t forget to SHARE with your Facebook friends
ADVERTISEMENT
