ADVERTISEMENT
**How to Cultivate Mushrooms at Home: A Step-by-Step Guide for Beginners**
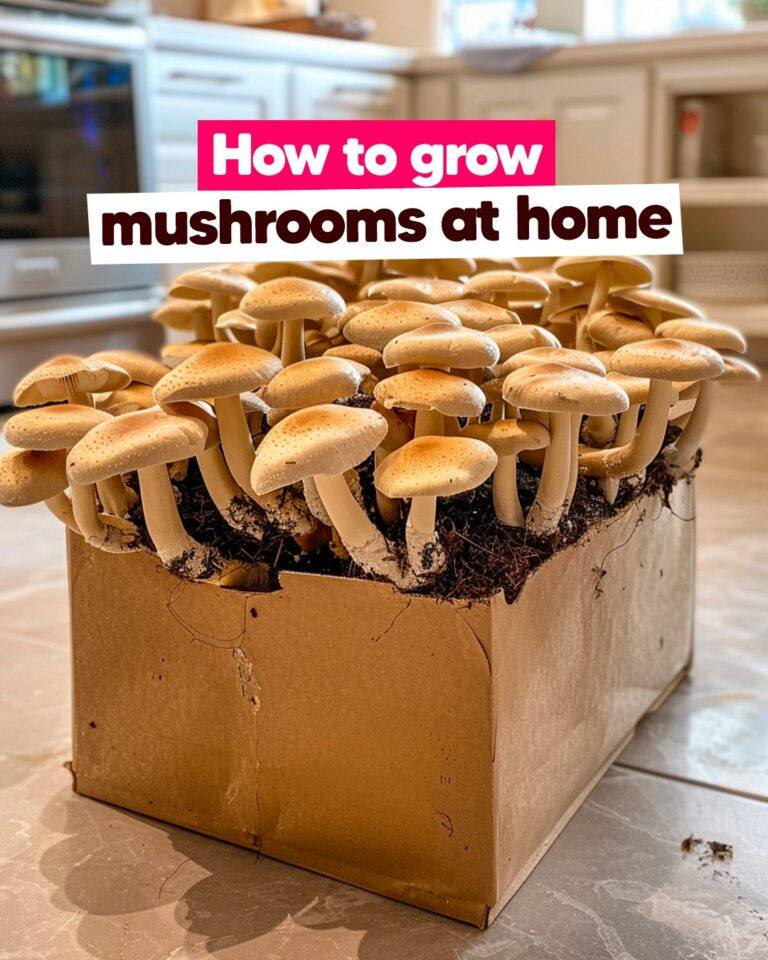
If you love the earthy flavor of fresh mushrooms and want to try growing your own, you’re in luck! Cultivating mushrooms at home is easier than you might think, and it’s a fun and rewarding project for both beginner gardeners and seasoned green thumbs. Whether you want to grow mushrooms for culinary purposes or as a hobby, this step-by-step guide will walk you through the process, from selecting the right mushroom type to harvesting your own homegrown crop.
### Why Grow Mushrooms at Home?
Growing mushrooms at home offers several benefits:
– **Cost-effective**: Store-bought mushrooms can be pricey, especially organic ones. Growing your own allows you to save money in the long run.
– **Freshness**: Homegrown mushrooms are incredibly fresh, and they can be harvested right before cooking, providing the best flavor.
– **Sustainable**: Cultivating mushrooms is an eco-friendly practice. They grow quickly, require minimal resources, and can even be grown in small spaces.
– **Fun and Educational**: Growing mushrooms is a fascinating process, and watching them develop from tiny spores into fully grown mushrooms can be quite rewarding.
### Step 1: Choose the Right Type of Mushroom
There are several types of mushrooms you can grow at home, and the best choice will depend on your preferences and the space you have available. Some popular mushroom varieties to grow at home include:
1. **Button Mushrooms (Agaricus bisporus)**: The most common type of mushroom, these are easy to grow and widely available.
2. **Oyster Mushrooms (Pleurotus ostreatus)**: Known for their delicate flavor and fast-growing nature, these mushrooms are perfect for beginners.
3. **Shiitake Mushrooms (Lentinula edodes)**: These mushrooms are prized for their rich, savory flavor and are often used in Asian cuisine.
4. **Lion’s Mane Mushrooms (Hericium erinaceus)**: A unique mushroom with a lobster-like texture and a mild, sweet taste.
5. **Portobello Mushrooms (Agaricus bisporus)**: A larger variety of button mushrooms, perfect for grilling or stuffing.
For beginners, **oyster mushrooms** are often recommended because they grow quickly, are low-maintenance, and are suitable for various growing environments.
### Step 2: Obtain Mushroom Spawn or Spores
To get started, you’ll need **mushroom spawn** (the material that contains the fungal mycelium) or **spores** (mushroom seeds). Mushroom spawn is easier to work with, especially for beginners, as it has already been inoculated with the mycelium, which is the vegetative part of the fungus.
You can purchase mushroom spawn online, at local gardening stores, or even from specialty mushroom suppliers. Common forms of spawn include:
– **Grain spawn**: Rye or millet grains inoculated with mycelium, which can be used to inoculate a growing medium.
– **Plug spawn**: Small wooden plugs inoculated with mycelium, ideal for inoculating logs.
– **Sawdust spawn**: Sawdust that has been colonized with mushroom mycelium, typically used for growing mushrooms on wood.
If you want to experiment with growing mushrooms from spores, you can find spore prints or syringes for various mushroom varieties.
### Step 3: Prepare the Growing Medium
Mushrooms grow in various environments, but they all need a nutritious, moist substrate to thrive. The growing medium provides the nutrients the mushroom mycelium needs to develop.
– **For Oyster Mushrooms**: You can grow them on a variety of organic materials, such as straw, coffee grounds, or sawdust. You can also purchase mushroom-specific growing kits that come with a pre-made substrate.
– **For Button and Portobello Mushrooms**: These mushrooms prefer rich, organic compost or mushroom-specific growing mixes, often available at gardening stores.
– **For Shiitake Mushrooms**: These mushrooms thrive on logs, especially hardwood like oak or maple.
For simplicity, especially as a beginner, consider purchasing a mushroom-growing kit that includes a ready-to-use substrate, or follow instructions specific to your chosen mushroom type to prepare your own growing medium.
### Step 4: Inoculate the Growing Medium with Mushroom Spawn
Once you have your growing medium ready, it’s time to inoculate it with the mushroom spawn. The process will vary slightly depending on the type of mushroom and substrate you’re using.
1. **For Sawdust or Straw Substrates**:
– Break up the spawn into smaller pieces and mix it thoroughly into the substrate. Make sure the spawn is evenly distributed for consistent growth.
– If using a kit, follow the manufacturer’s instructions for inoculation.
2. **For Logs (Shiitake Mushrooms)**:
– Drill small holes into the logs and insert plug spawn into the holes. Seal the holes with wax to prevent contamination and maintain moisture.
After inoculating the substrate, place it in a warm, dark place. Mushrooms prefer temperatures between 65-75°F (18-24°C), with high humidity (80-90%) to encourage mycelial growth.
### Step 5: Incubate and Wait for Mycelium to Grow
After inoculating the substrate, allow the mycelium to colonize it. During this incubation period, which can take anywhere from a few weeks to a couple of months, the mycelium will spread through the substrate, creating a white, fuzzy network.
For Complete Cooking STEPS Please Head On Over To Next Page Or Open button (>) and don’t forget to SHARE with your Facebook friends
ADVERTISEMENT
