ADVERTISEMENT
#### Instructions:
1. **Soak Fenugreek Seeds**:
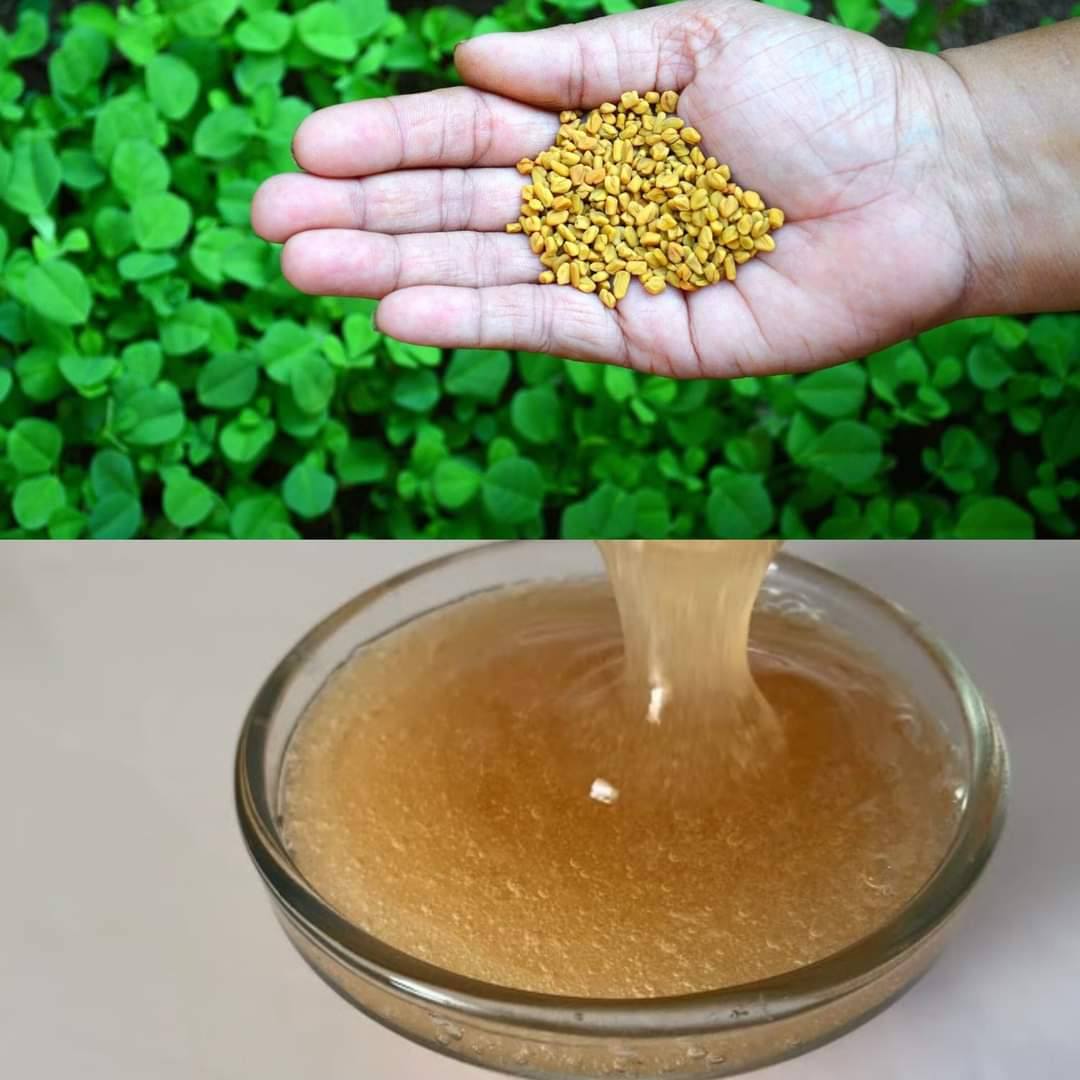
Begin by soaking 2 tablespoons of fenugreek seeds in a bowl of water overnight. This allows the seeds to soften and release their beneficial compounds. If you’re short on time, you can soak them for at least 4-6 hours.
2. **Grind the Fenugreek Seeds**:
After soaking, drain the fenugreek seeds and blend them in a blender or food processor until you achieve a smooth, thick paste. You may need to add a little water during blending to help it mix properly.
3. **Prepare the Shampoo Base**:
In a separate bowl, combine 1 tablespoon of castile soap (or a liquid soap base) with 1 tablespoon of coconut oil. Coconut oil adds moisture to the hair and helps nourish the scalp. If you’re using Aloe vera gel, add 1 tablespoon to soothe the scalp and hydrate your hair.
4. **Mix the Fenugreek Paste**:
Add the fenugreek paste to the soap and oil mixture. Stir well until all ingredients are thoroughly combined. If the mixture is too thick, you can add more water to achieve a more shampoo-like consistency.
5. **Add Essential Oils**:
If you’d like your homemade shampoo to have a pleasant scent, add a few drops of essential oil. Lavender, rosemary, and tea tree oil are all great options for promoting hair growth and maintaining a healthy scalp.
6. **Transfer to a Bottle**:
Once everything is mixed well, pour the shampoo into a clean bottle or container with a lid. Store the shampoo in the fridge if you plan to keep it for more than a week, as the natural ingredients are free from preservatives.
### How to Use Fenugreek Shampoo
Using your DIY fenugreek shampoo is easy, and the results will speak for themselves. Here’s how to apply it for the best outcome:
1. **Wet Your Hair**:
Start by thoroughly wetting your hair with lukewarm water. This helps the shampoo to spread easily and cleanse effectively.
2. **Apply the Shampoo**:
Take a small amount of your fenugreek shampoo and gently massage it into your scalp, using your fingertips. Be sure to apply it from the roots to the tips of your hair. You may want to apply a little more shampoo if your hair is longer or thicker.
3. **Massage Your Scalp**:
Gently massage your scalp for about 3-5 minutes to help improve circulation and ensure the shampoo is evenly distributed. This also helps promote healthy hair growth.
4. **Rinse Thoroughly**:
Rinse your hair thoroughly with lukewarm water. You may want to follow up with a cold water rinse to help seal the hair cuticle and add extra shine.
5. **Repeat if Necessary**:
If your hair is particularly oily or dirty, you may need to repeat the process. However, since fenugreek is a gentle cleanser, you might find that a single wash is sufficient.
6. **Condition and Style**:
After rinsing, you can follow up with your regular conditioner (or a fenugreek-based conditioner if you prefer) to lock in moisture. Style as usual.
### Tips for Best Results
– **Consistency Is Key**: Like any natural remedy, fenugreek shampoo works best when used consistently. Try using it 2-3 times a week for the best results.
– **Add More Ingredients**: You can customize the shampoo by adding other nourishing ingredients like **honey**, **yogurt**, or **argan oil** to enhance the benefits for your specific hair type.
– **Patch Test**: If you’ve never used fenugreek on your scalp or skin before, it’s a good idea to perform a patch test to ensure you don’t have an allergic reaction. Apply a small amount of the paste or shampoo to a small area of your skin and wait for 24 hours to check for any irritation.
– **Combine with a Healthy Hair Routine**: For maximum hair health, combine the use of this shampoo with a balanced diet, regular scalp massages, and protection from heat styling tools.
### Conclusion
Fenugreek is a natural, affordable, and effective way to improve the health of your hair. By making your own DIY fenugreek shampoo, you can enjoy the benefits of this powerful herb without the chemicals found in commercial products. This homemade shampoo can help nourish your scalp, promote hair growth, prevent hair fall, and leave your hair looking silky, smooth, shiny, and soft.
Give this simple DIY recipe a try, and embrace the natural way to healthier, more beautiful hair!
ADVERTISEMENT
