ADVERTISEMENT
**The Trick to Cleaning Dirty Grout and Tiles and Leaving a Sweet Scent**
Tiles and grout are a staple in many kitchens, bathrooms, and entryways. They provide durability, functionality, and a sleek look to our homes. However, over time, grout can accumulate dirt, stains, and mold, while tiles can become grimy and lose their shine. Cleaning grout and tiles can often feel like a never-ending chore, but there’s a simple trick to getting them sparkling clean and leaving behind a fresh, sweet scent. In this article, we’ll explore an easy method for cleaning dirty grout and tiles that will not only leave them gleaming but also fill your home with a delightful fragrance.
### Why Grout and Tiles Get Dirty
Grout, the material used to fill the spaces between tiles, is porous and easily absorbs dirt, grease, and moisture. This makes it prone to staining, especially in high-traffic areas like kitchens and bathrooms. Additionally, mold and mildew can develop in the grout due to its moisture-retentive properties.
Tiles, on the other hand, are usually less porous, but over time, soap scum, watermarks, and grime can dull their shine, making them look dirty and worn. Keeping these surfaces clean can be a struggle, but with the right cleaning method, the task becomes a lot easier.
### The Secret to Effective Cleaning: Baking Soda and Vinegar
One of the most effective and natural ways to clean grout and tiles is by using common household ingredients—**baking soda** and **vinegar**. These two ingredients are inexpensive, non-toxic, and powerful enough to tackle tough stains, grime, and odors.
#### What You’ll Need:
– 1 cup baking soda
– 1/4 cup white vinegar
– 1/4 cup water
– 10-15 drops of essential oil (lavender, lemon, or peppermint are great options for a sweet scent)
– A spray bottle
– A grout brush or old toothbrush
– A clean cloth or microfiber towel
– A mop or sponge
### Step-by-Step Guide to Clean Grout and Tiles
#### 1. **Prep the Cleaning Solution:**
– In a small bowl, combine the baking soda, vinegar, and water. Stir well to form a paste. The baking soda will react with the vinegar, creating a bubbling action that helps lift dirt and stains. For added freshness, add 10-15 drops of your favorite essential oil to the mixture. Essential oils like lavender or lemon not only leave a sweet, refreshing scent but also have natural antibacterial properties, which are great for cleaning.
#### 2. **Apply the Paste to Grout:**
– Using a grout brush or an old toothbrush, scoop out some of the paste and begin applying it to the grout lines. Focus on areas with visible stains or discoloration. The paste should cover the grout evenly, and its thick texture will allow it to cling to the grout and target tough dirt.
– For particularly stubborn grout stains, you can let the paste sit for 5-10 minutes to allow the ingredients to work their magic. The effervescence from the baking soda and vinegar will start to break down the grime and loosen the dirt.
#### 3. **Scrub the Grout:**
– After allowing the paste to sit, use your grout brush or toothbrush to scrub the grout lines in circular motions. Be sure to apply enough pressure to lift the dirt but be gentle enough not to damage the grout. For moldy grout, you may need to scrub a bit harder, and in those cases, using a mixture of vinegar and water in a spray bottle might help.
– You can also use the same paste on the tiles themselves, particularly around the edges and corners where dirt tends to accumulate.
#### 4. **Clean the Tiles:**
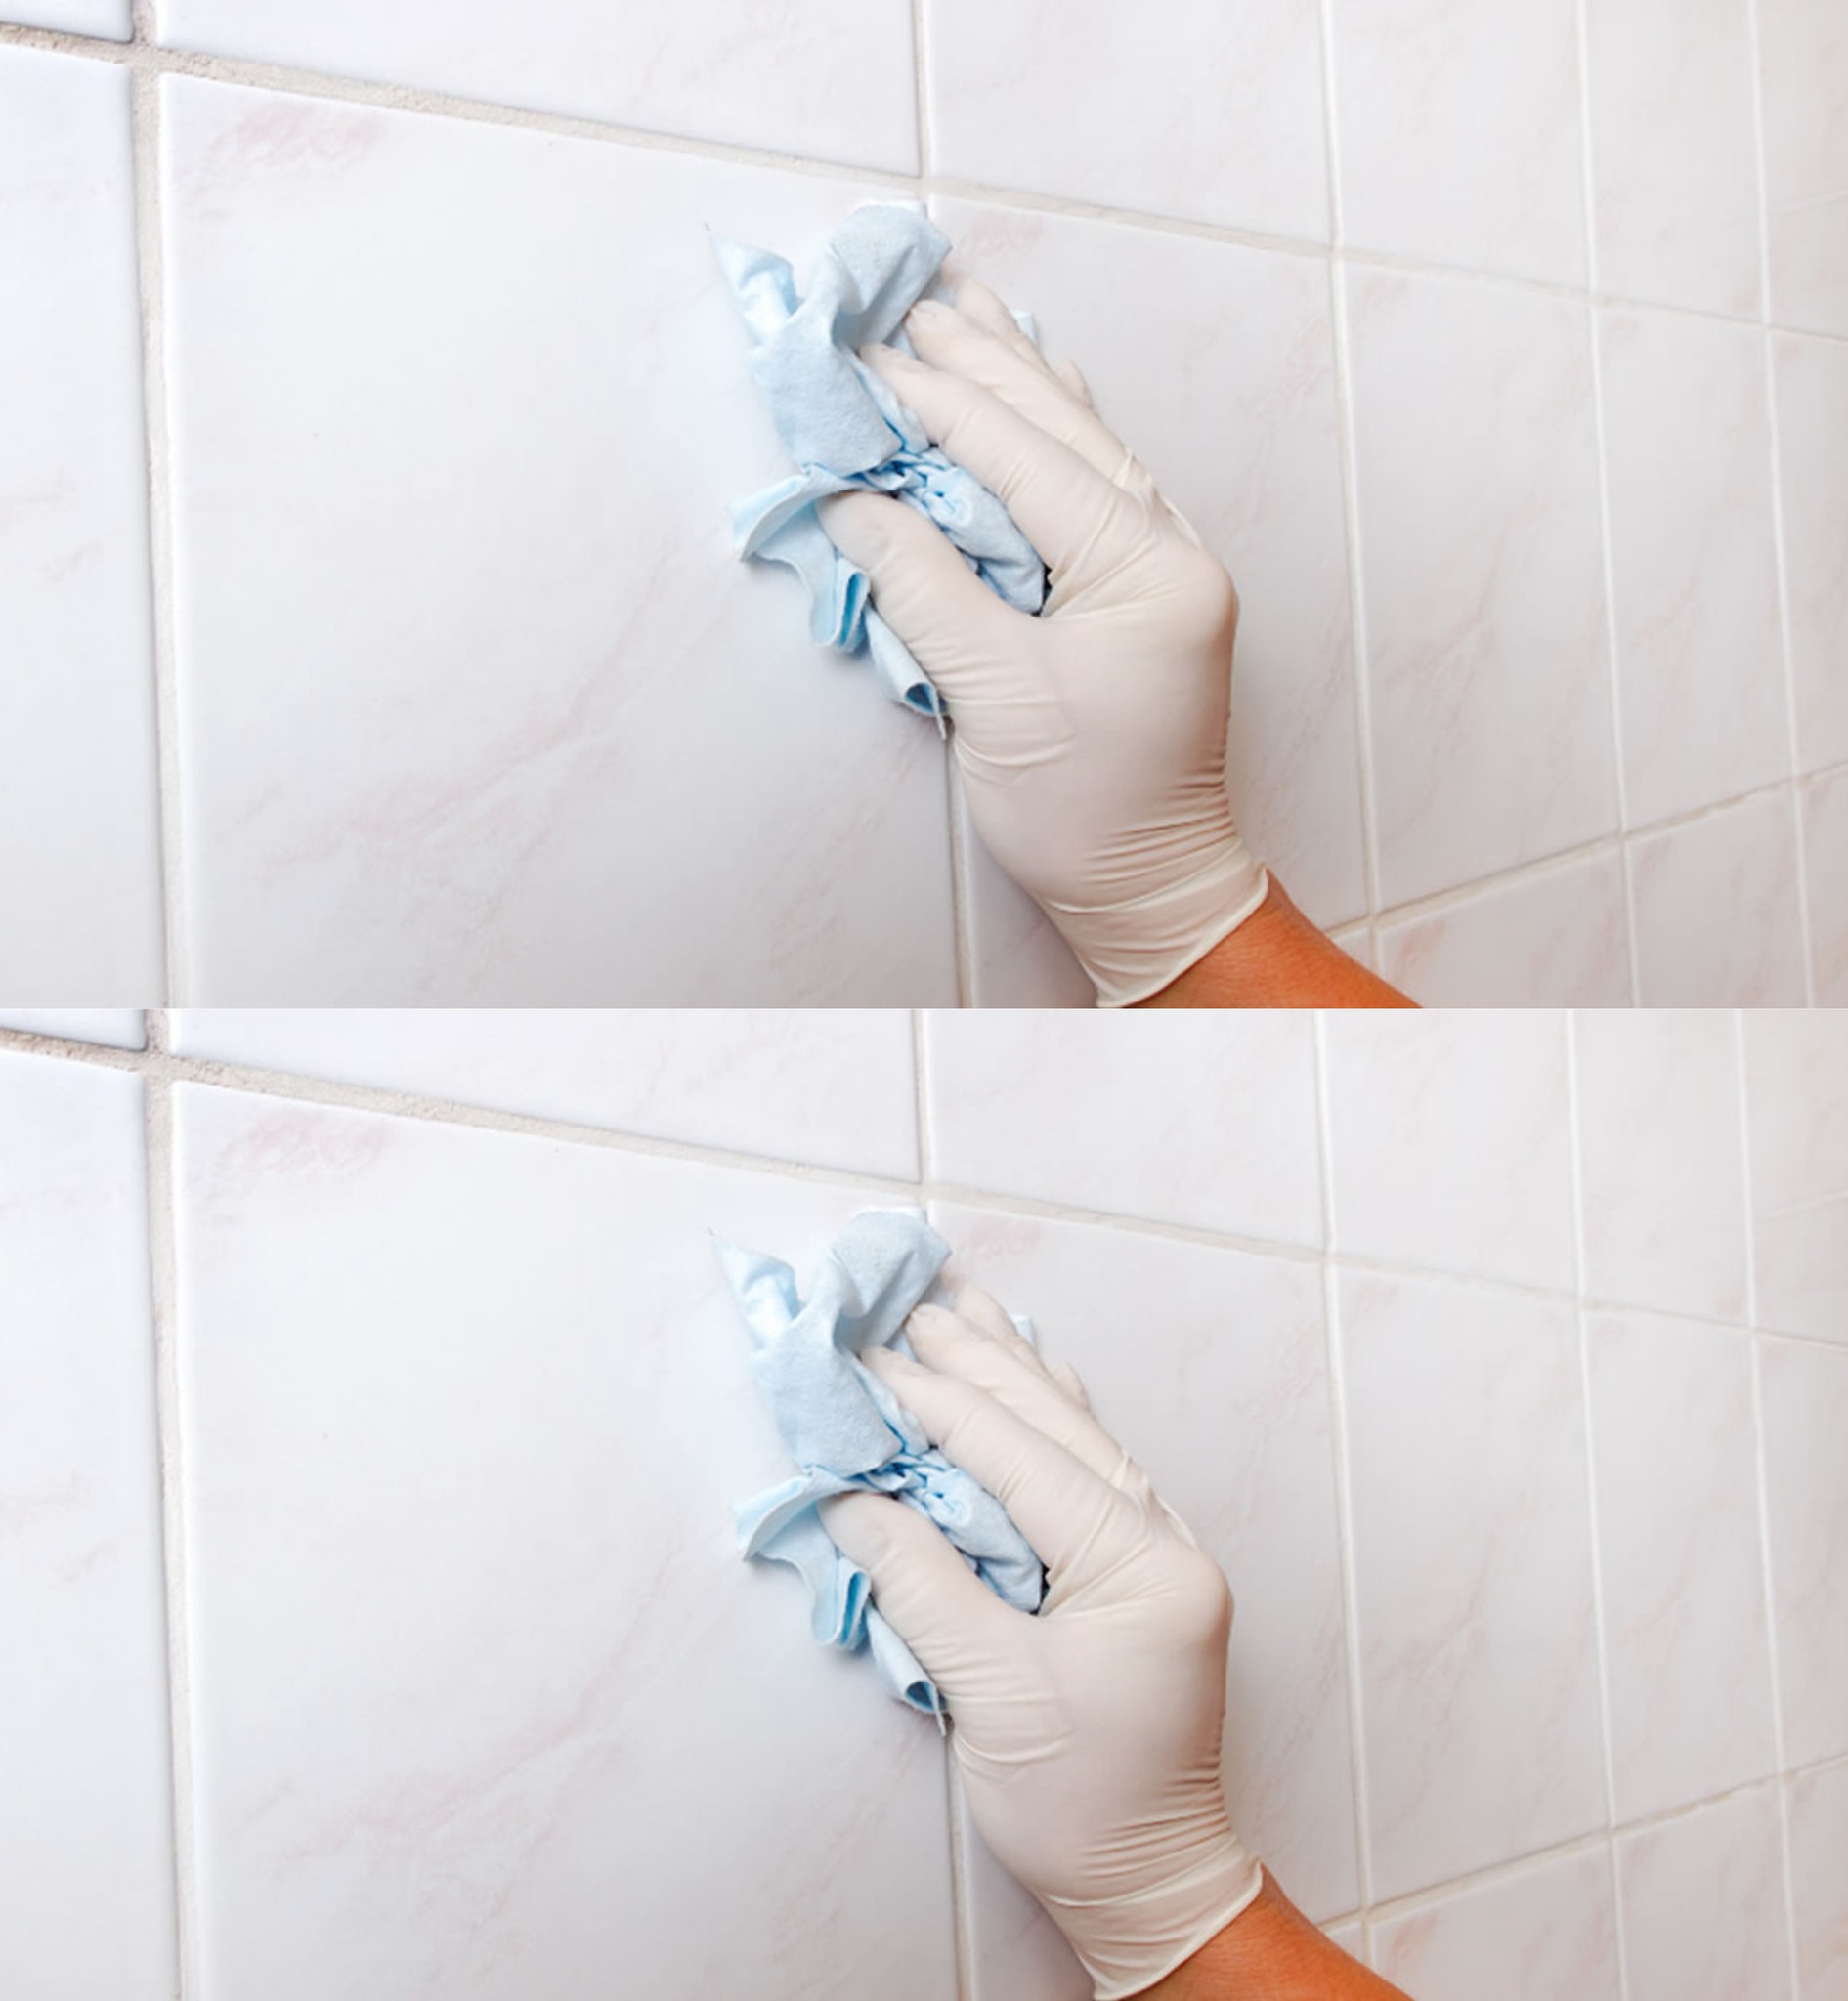
– Once the grout is scrubbed clean, use a damp cloth or sponge to wipe down the tiles. If needed, spray the surface with a mixture of water and vinegar in a spray bottle and wipe the tiles clean. The vinegar will help dissolve any soap scum or watermarks on the tiles, leaving them shining like new.
#### 5. **Rinse and Dry:**
– After cleaning, rinse the area with clean water to remove any excess paste or vinegar. Wipe the grout and tiles with a dry microfiber towel to leave them streak-free and gleaming. The tiles should be clean, shiny, and free of any leftover residue.
– For a final touch, mop the floor or wipe the walls with a damp mop or sponge to remove any remaining grime and give the tiles a polished, gleaming look.
For Complete Cooking STEPS Please Head On Over To Next Page Or Open button (>) and don’t forget to SHARE with your Facebook friends
ADVERTISEMENT
