ADVERTISEMENT
### Instructions:
#### 1. **Activate the Yeast**:
In a small bowl, combine the warm water, sugar, and yeast. Stir until the sugar dissolves and let it sit for about 5-10 minutes, or until the mixture becomes frothy. This step ensures that the yeast is active and ready to help the bread rise.
#### 2. **Prepare the Dough**:
In a large mixing bowl, combine the flour and salt. Add the yeast mixture and the warm milk to the bowl, along with the egg. Mix everything together until a dough forms. You can use a spoon or your hands to bring the dough together.
#### 3. **Knead the Dough**:
Turn the dough out onto a lightly floured surface and knead it for about 8-10 minutes, or until it becomes smooth, elastic, and slightly tacky to the touch. Add a bit more flour if necessary, but be careful not to overdo it. The dough should be soft and slightly sticky but should not stick to your hands.
#### 4. **Incorporate the Butter**:
Once the dough is kneaded, add the softened butter to the dough, a little at a time. Continue kneading until the butter is fully incorporated into the dough, and the dough is smooth and shiny. This step ensures that the bread has that soft, rich texture characteristic of milk bread.
#### 5. **First Rise**:
Place the dough in a lightly greased bowl, covering it with a clean kitchen towel or plastic wrap. Let it rise in a warm, draft-free area for 1-1.5 hours, or until the dough has doubled in size. This is the time for the yeast to work its magic, creating a light, airy dough.
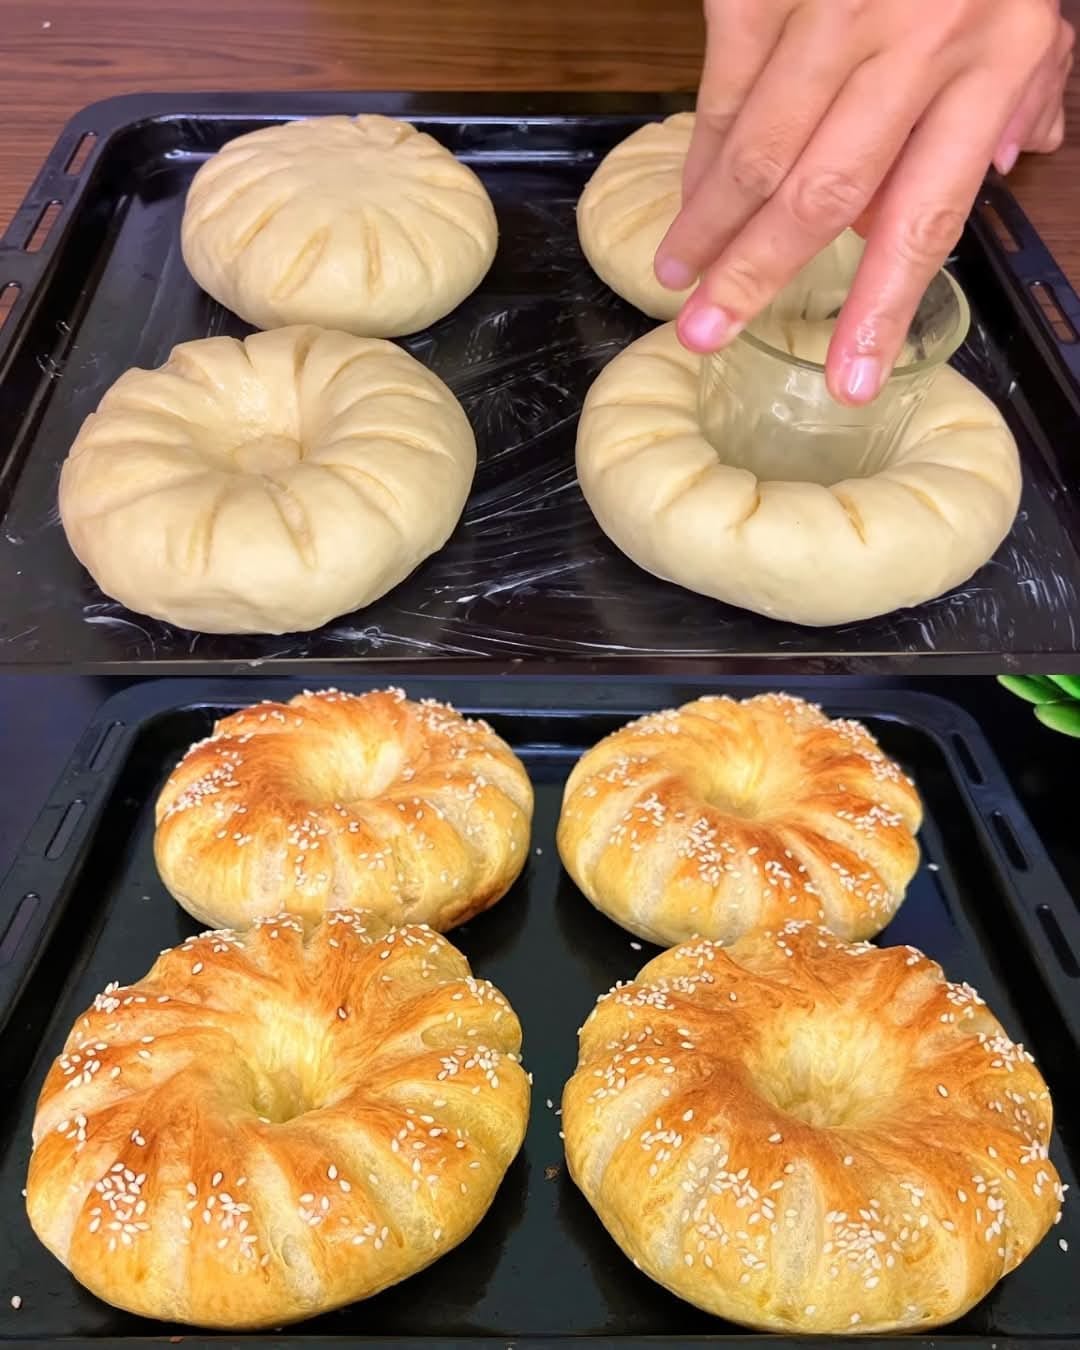
#### 6. **Shape the Dough**:
Once the dough has doubled, punch it down gently to release any air bubbles. Turn it out onto a floured surface and divide the dough into two equal portions. Roll each portion into a ball and let them rest for about 10 minutes.
After the resting period, shape each ball of dough into a loaf by flattening it out, folding the edges inward, and rolling it up tightly. Place the shaped loaves into greased 9×5-inch loaf pans.
#### 7. **Second Rise**:
Cover the loaf pans with a towel and let the dough rise for about 30-45 minutes, or until the dough has risen to the top of the pans. This second rise allows the dough to become even fluffier and lighter.
#### 8. **Preheat the Oven**:
While the dough is rising, preheat your oven to 350°F (175°C). This is the perfect time to get the oven ready for baking.
#### 9. **Egg Wash (Optional)**:
For a beautiful golden-brown crust, beat the remaining egg and brush it lightly over the top of each loaf just before baking. This step is optional, but it gives the bread a beautiful finish.
#### 10. **Bake the Bread**:
Place the loaf pans in the preheated oven and bake for 25-30 minutes, or until the tops are golden brown and the loaves sound hollow when tapped on the bottom. You can also check the internal temperature with a thermometer—when fully baked, the bread should reach 190°F (88°C).
#### 11. **Cool and Slice**:
Remove the bread from the oven and let it cool in the pans for about 10 minutes. Afterward, transfer the loaves to a wire rack to cool completely before slicing. For the best texture and flavor, allow the bread to cool before cutting into it, although it’s hard to resist slicing it while still warm!
### Tips for Perfect Milk Bread:
– **Use Whole Milk**: For a richer flavor and texture, whole milk works best in this recipe. The milk adds moisture and tenderness to the bread.
– **Knead Thoroughly**: Kneading the dough properly is key to achieving a soft, fluffy texture. Don’t skip this step; it ensures that the gluten develops, giving the bread structure and a smooth texture.
– **Don’t Rush the Rises**: Allow the dough to rise properly. If the dough doesn’t double in size, it may result in a denser loaf. Be patient and let the yeast do its work!
– **Use Fresh Yeast**: Make sure your yeast is fresh for the best results. Old or expired yeast may not rise as effectively, resulting in flat bread.
– **Storage**: Milk bread stays fresh for several days when stored properly. Keep it in an airtight container or wrap it in plastic wrap to maintain its soft texture. You can also freeze the bread for up to 3 months if you’d like to keep it for longer.
### Why You’ll Love This Soft and Delicious Milk Bread:
This **Soft and Delicious Milk Bread** is a recipe that combines simplicity with unbeatable results. The bread’s delicate flavor, tender crumb, and soft texture make it perfect for all occasions. Whether you’re enjoying it for breakfast, making sandwiches for lunch, or just savoring a slice with a cup of tea, this milk bread will quickly become a favorite in your household.
By making this bread at home, you get the joy of fresh, warm bread without any of the preservatives or additives found in store-bought loaves. Plus, it’s a fun and rewarding project for both beginner and seasoned bakers alike.
Give this milk bread recipe a try, and treat yourself and your family to a homemade loaf that’s guaranteed to be soft, delicious, and utterly irresistible!
ADVERTISEMENT
