ADVERTISEMENT
### Instructions:
#### 1. **Prepare the Pan**:
Line an 8×8-inch baking dish with parchment paper or lightly grease it with butter. This will make it easier to remove the fudge once it’s set.
#### 2. **Melt the Ingredients**:
In a medium saucepan over low heat, combine the sweetened condensed milk, butter, and a pinch of salt. Stir occasionally until the butter is melted and the mixture is smooth. Be sure not to let it boil—keep the heat low to avoid burning the milk.
#### 3. **Add the Chocolate Chips**:
Once the butter and milk mixture is smooth, add the semi-sweet chocolate chips to the pan. Stir constantly until the chocolate chips are completely melted and the fudge mixture is smooth and creamy. This step should only take a few minutes.
#### 4. **Add Vanilla Extract**:
Once the chocolate is fully melted, remove the saucepan from the heat. Stir in the vanilla extract, ensuring it’s fully incorporated into the fudge mixture.
#### 5. **Add Optional Mix-Ins**:
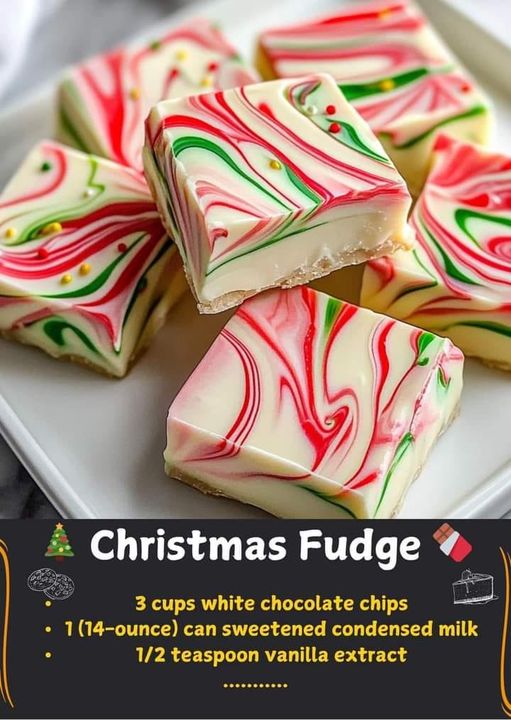
If you’d like to customize your fudge, this is the time to add any mix-ins. You can add nuts, crushed peppermint, sprinkles, or dried cranberries to give the fudge a holiday twist. Gently fold them into the mixture to distribute them evenly.
#### 6. **Pour the Fudge into the Pan**:
Pour the fudge mixture into the prepared baking dish. Use a spatula to smooth it into an even layer.
#### 7. **Chill and Set**:
Refrigerate the fudge for at least 2 hours, or until it is firm and fully set. The chilling time helps the fudge solidify and become firm enough to slice into squares.
#### 8. **Cut and Serve**:
Once the fudge is set, remove it from the pan using the parchment paper or by gently lifting it out. Cut it into squares or rectangles, and it’s ready to enjoy!
#### 9. **Storage**:
Store the fudge in an airtight container at room temperature for up to a week, or refrigerate it for longer shelf life. You can also freeze the fudge for up to 3 months if you’d like to save it for later.
### Tips for Perfect Christmas Fudge:
– **Use Good Quality Chocolate**: The key to smooth, creamy fudge is using good-quality chocolate. While semi-sweet chocolate chips work perfectly, you can experiment with milk or dark chocolate for different flavor profiles.
– **Be Patient with the Melting Process**: It’s essential to melt the ingredients on low heat to avoid burning the milk or chocolate. Stir constantly to ensure the mixture is smooth.
– **Add Flavor with Extracts**: While vanilla is the classic choice, you can add other extracts, such as peppermint, almond, or hazelnut, to give your fudge a unique twist. Just a few drops will infuse the fudge with a subtle, delightful flavor.
– **Let It Chill Completely**: For the best texture and consistency, be sure to let the fudge set completely in the refrigerator before cutting it. This ensures clean slices and prevents it from being too soft.
– **Get Creative with Toppings**: For a festive look, top your fudge with crushed candy canes, a sprinkle of powdered sugar, or a drizzle of melted white chocolate. These little touches will make your fudge even more Instagram-worthy!
### Why Christmas Fudge Is a Must-Have Holiday Treat:
Christmas fudge is a timeless treat that captures the spirit of the holiday season. With its rich, creamy flavor and the ability to customize it with various mix-ins and toppings, it’s a versatile dessert that everyone will love. Whether you’re baking it to share with loved ones, gifting it to friends and neighbors, or simply enjoying a piece by the fireplace, this Christmas fudge recipe will quickly become a holiday tradition in your home.
The best part is that it’s so easy to make! No need for complicated techniques or ingredients—just simple, high-quality items that come together in a few simple steps. So, next time you’re looking for a quick and delicious holiday treat, whip up a batch of this **Christmas Fudge** and spread some holiday joy!
ADVERTISEMENT
