ADVERTISEMENT
### Instructions:
#### 1. **Prepare the Duck Legs**:
Start by patting the duck legs dry with paper towels. This step is important to achieve a crisp, golden skin when searing. Season the duck legs generously with salt and freshly ground black pepper on both sides.
#### 2. **Sear the Duck Legs**:
Heat the olive oil in a large Dutch oven or heavy-bottomed pot over medium-high heat. Once the oil is hot, place the duck legs skin-side down in the pot. Sear the legs for about 5-7 minutes, or until the skin is golden brown and crispy. Flip the duck legs and sear the other side for an additional 3-4 minutes. Remove the duck legs from the pot and set them aside.
#### 3. **Sauté the Vegetables**:
In the same pot, reduce the heat to medium and add the chopped onion, garlic, carrot, and celery. Sauté the vegetables for 5-6 minutes, or until they begin to soften and the onion becomes translucent. Stir occasionally to avoid burning the garlic.
#### 4. **Deglaze the Pot**:
Once the vegetables have softened, add the tomato paste to the pot and cook for 1-2 minutes, stirring constantly, to allow the tomato paste to caramelize and enhance the flavor. Next, pour in the red wine to deglaze the pot, scraping up any browned bits on the bottom with a wooden spoon. This adds layers of flavor to your braising liquid.
#### 5. **Add the Broth and Herbs**:
After the wine has reduced slightly, pour in the chicken or vegetable broth. Add the thyme, bay leaf, and black pepper. Stir the mixture together, then return the duck legs to the pot, skin-side up. The liquid should come halfway up the sides of the duck legs.
#### 6. **Braised to Perfection**:
Bring the mixture to a gentle simmer, then cover the pot with a lid and reduce the heat to low. Let the duck legs braise for about 2 hours, or until the meat is fork-tender and falling off the bone. Check occasionally to ensure the braising liquid doesn’t reduce too much; if needed, add a bit more broth or wine to maintain the liquid level.
#### 7. **Finish the Dish**:
Once the duck is fully cooked and tender, remove the duck legs from the pot and set them aside. Discard the thyme sprigs and bay leaf. If you’d like to thicken the braising liquid, you can reduce it further by simmering it uncovered for a few more minutes. Optionally, stir in 1 tablespoon of balsamic vinegar for extra depth of flavor and a touch of acidity.
#### 8. **Serve and Enjoy**:
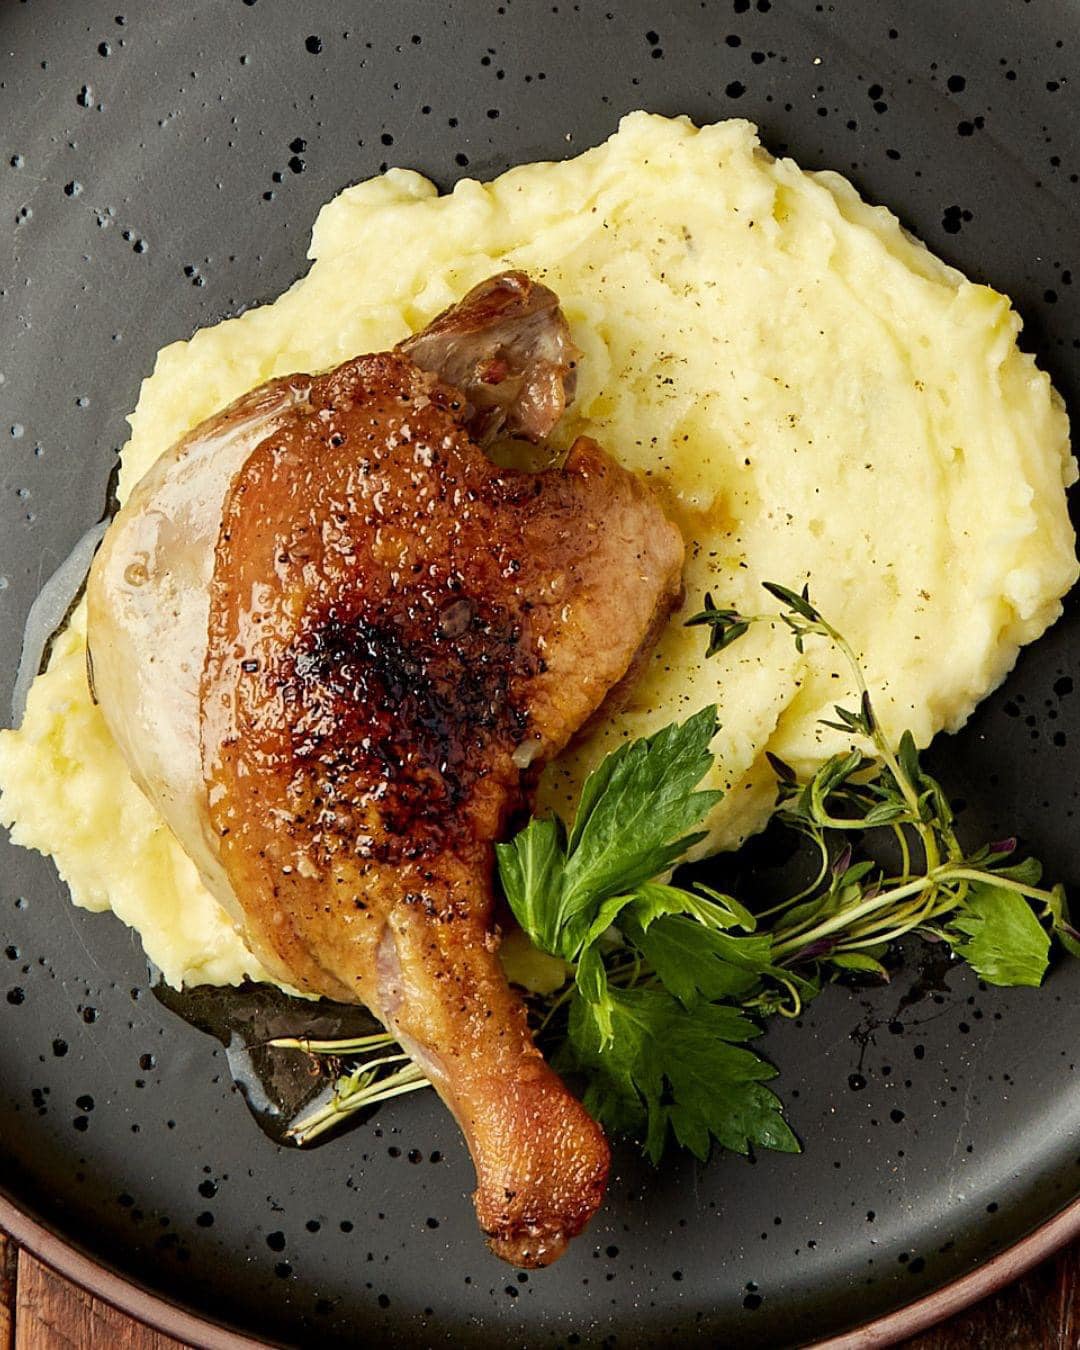
To serve, place the duck legs on a plate and spoon the rich braising sauce over the top. Pair this dish with roasted vegetables, mashed potatoes, or a simple green salad for a complete, luxurious meal. The tender duck and rich sauce will impress your guests and leave you feeling like you’ve just enjoyed a meal at a top-tier restaurant.
### Why You’ll Love Braised Duck Leg:
1. **Tender and Flavorful**: The slow-braising method ensures that the duck legs are fall-off-the-bone tender, and the braising liquid infuses the meat with incredible flavor.
2. **Restaurant-Quality**: With its rich flavor profile and luxurious texture, braised duck leg feels like a dish you would order in a high-end restaurant, but it’s easy to recreate in your own kitchen.
3. **Impressive Yet Simple**: Although this recipe may look fancy, it’s relatively simple to prepare. The hands-on time is short, and most of the cooking happens while the dish braises in the oven. This makes it an excellent choice for entertaining or a special weeknight meal.
4. **Versatile**: The braised duck leg pairs beautifully with a variety of sides, such as mashed potatoes, polenta, or a vibrant vegetable medley. The sauce can also be adjusted to your taste, whether you prefer a more savory or slightly sweet sauce.
### Tips for Perfect Braised Duck Legs:
– **Crisp the Skin**: Don’t rush the searing process. Crisping the duck skin is key to achieving that signature restaurant-style texture. Make sure your pan is hot enough before placing the duck in, and allow the skin to brown well before flipping it.
– **Use a Dutch Oven**: A Dutch oven or heavy-bottomed pot is ideal for braising, as it maintains an even temperature and helps lock in moisture.
– **Time is Key**: Braising is a slow process that requires patience. Don’t be tempted to cook the duck legs at a higher heat—low and slow is the secret to tender, flavorful meat.
– **Customize the Sauce**: Feel free to experiment with different herbs, spices, or even fruit juices (like orange or pomegranate) in the braising liquid to add unique flavors to your dish.
### Final Thoughts
**Braised Duck Leg** is a dish that makes a statement. With its rich flavors, melt-in-your-mouth texture, and elegant presentation, it’s perfect for special occasions or simply treating yourself to something extraordinary. This recipe brings restaurant-quality braised duck right into your own home, proving that with a little patience and the right technique, anyone can create a meal worthy of fine dining.
The next time you’re craving something special, why not indulge in the flavors of perfectly braised duck? It’s the perfect dish to impress your guests or elevate your dinner routine, and you’ll be savoring every bite.
ADVERTISEMENT
