ADVERTISEMENT
**Strawberry Biscoff Cheesecake Tart: A Decadent Dessert for Every Occasion**
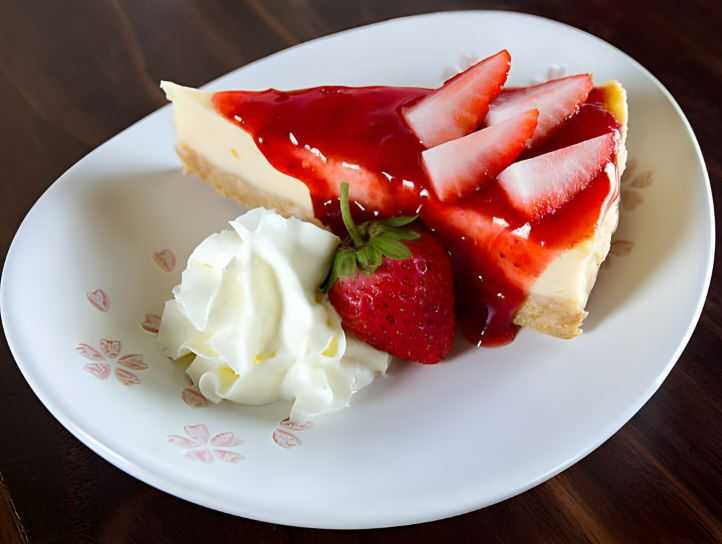
If you’re looking for a show-stopping dessert that combines indulgent flavors with a visually stunning presentation, the **Strawberry Biscoff Cheesecake Tart** is the perfect choice. This dessert brings together the rich, creamy texture of cheesecake, the irresistible flavor of **Biscoff cookies**, and the fresh, sweet tang of **strawberries**, creating a mouthwatering treat that’s sure to delight anyone who takes a bite.
Perfect for special occasions, gatherings, or simply as a sweet indulgence, this tart is not only delicious but also easy to make. Let’s dive into how you can make this spectacular dessert that will impress your guests and leave them asking for seconds.
### Why You’ll Love Strawberry Biscoff Cheesecake Tart
– **Biscoff Cookie Crust**: The base of this tart is made from **Biscoff cookies**, which are known for their unique caramelized flavor. Crushed and combined with melted butter, the cookies create a buttery, crisp crust that pairs perfectly with the creamy cheesecake filling.
– **Creamy Cheesecake Filling**: The cheesecake layer is smooth, rich, and velvety, with just the right amount of tang from the cream cheese. It’s lightly sweetened to balance out the tartness of the strawberries and the crunchiness of the Biscoff crust.
– **Fresh Strawberries**: The **fresh strawberries** add a burst of color and sweetness, elevating the tart and making it feel light and refreshing. Their natural juiciness contrasts beautifully with the creamy filling and crunchy crust.
– **No-Bake**: This cheesecake tart requires no baking! It’s a simple, no-fuss dessert that comes together quickly, making it perfect for both novice bakers and experienced dessert enthusiasts.
### Ingredients for Strawberry Biscoff Cheesecake Tart
To make this **Strawberry Biscoff Cheesecake Tart**, you’ll need the following ingredients:
#### For the Biscoff Cookie Crust:
– **1 and 1/2 cups Biscoff cookies** (or speculoos cookies), crushed
– **1/4 cup granulated sugar**
– **1/4 cup unsalted butter**, melted
#### For the Cheesecake Filling:
– **2 cups cream cheese**, softened
– **1 cup heavy cream**
– **1/2 cup powdered sugar**
– **1 teaspoon vanilla extract**
– **1 tablespoon lemon juice** (optional, for a slight tang)
#### For the Topping:
– **1 pound fresh strawberries**, hulled and sliced
– **2 tablespoons strawberry jam or preserves** (optional, for glazing)
– **Extra Biscoff cookies**, for garnish (optional)
### How to Make Strawberry Biscoff Cheesecake Tart
#### Step 1: Prepare the Crust
Start by making the **Biscoff cookie crust**. In a food processor, pulse the **Biscoff cookies** until they are finely crushed. Alternatively, you can place them in a zip-top bag and crush them with a rolling pin.
Once the cookies are crushed, transfer them to a bowl and mix in the **sugar** and **melted butter**. Stir until the mixture is well combined and has a sandy texture that clumps together when pressed.
Next, press the cookie mixture evenly into the bottom of a **9-inch tart pan** with a removable bottom, ensuring the crust is compact and covers the entire base. Use the back of a spoon or your fingers to press it firmly. Refrigerate the crust for about **15 minutes** to set while you prepare the cheesecake filling.
#### Step 2: Make the Cheesecake Filling
In a large bowl, use an electric mixer to beat the **cream cheese** until smooth and creamy. Add the **heavy cream**, **powdered sugar**, **vanilla extract**, and **lemon juice** (if using). Beat the mixture until it becomes thick and fluffy, about **3-4 minutes**.
Taste the filling and adjust the sweetness if necessary. If you prefer a firmer cheesecake filling, you can fold in a tablespoon of **whipped cream cheese** or adjust the powdered sugar for a firmer texture.
#### Step 3: Assemble the Tart
Once the cheesecake filling is ready and the crust has set in the fridge, carefully spoon the cheesecake mixture into the chilled Biscoff cookie crust. Use a spatula to spread the filling evenly over the crust, smoothing the top to create a flat surface.
For Complete Cooking STEPS Please Head On Over To Next Page Or Open button (>) and don’t forget to SHARE with your Facebook friends
ADVERTISEMENT
